title: springcloud学习(九)-Config(服务的动态配置)
date: 2021-1-31
tags:
- 微服务
- springcloud学习(九)-Config(服务的动态配置)
- springcloud
- spring
- springboot
categories: - 微服务
- springcloud
- springcloud学习(九)-Config(服务的动态配置)

一、Config 的介绍
Config 可以解决的问题:
- 配置文件分散在不同项目中的,不方便去维护。
- 配置文件的安全问题。
- 修改配置文件,无法立即生效。
二、搭建 Config Server
2.1 创建 Maven 工程
创建一个名为 07-config 的 Maven 子项目。
2.2 导入依赖
<dependencies><dependency><groupId>org.springframework.cloud</groupId><artifactId>spring-cloud-config-server</artifactId></dependency><dependency><groupId>org.springframework.cloud</groupId><artifactId>spring-cloud-netflix-eureka-client</artifactId></dependency><dependency><groupId>org.springframework.boot</groupId><artifactId>spring-boot-starter-web</artifactId></dependency></dependencies>2.3 编写启动类
添加 @EnableConfigServer 注解来开启 Config 服务。
@SpringBootApplication@EnableConfigServerpublicclassConfigApplication{publicstaticvoidmain(String[] args){SpringApplication.run(ConfigApplication.class,args);}}2.4 编写配置文件
#指定Eureka服务的地址eureka:client:service-url:defaultZone: http://root:root@localhost:8761/eureka, http://root:root@localhost:8762/eureka#指定服务的名称spring:application:name: CONFIGcloud:config:server:git:basedir:*:\****# 本地仓库地址username: xxxxxx#远程仓库的用户名password: xxxxxxxx#远程仓库的密码uri: https://gitee.com/****/config-resp.git#远程仓库地址server:port:80832.5 测试
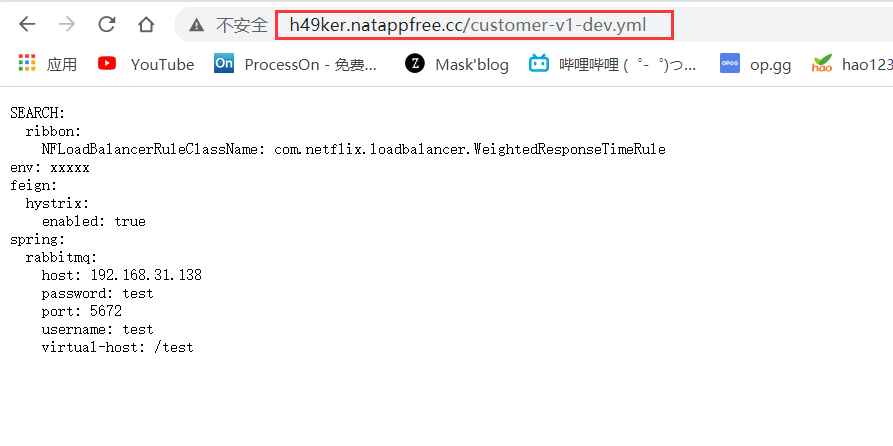
访问路径 http://localhost:8083/master/customer-xxx.yml。
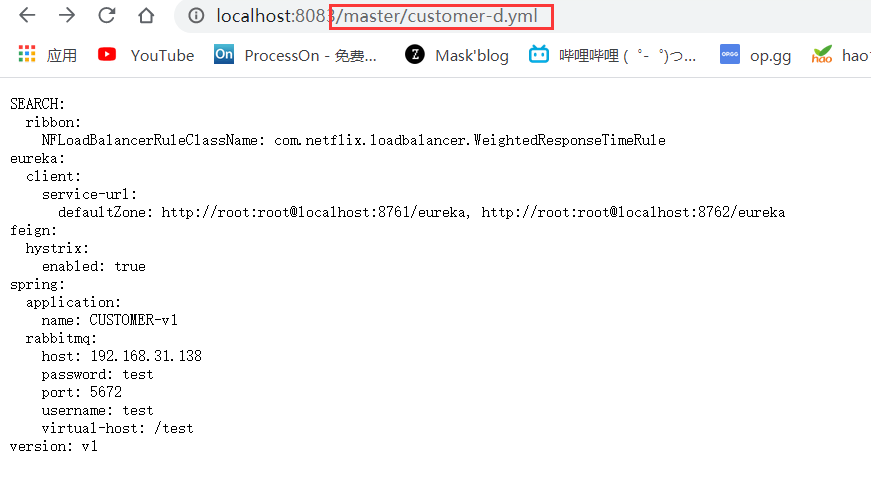
访问规则如下:
/{application}/{profile}[/{label}]/{application}-{profile}.yml/{label}/{application}-{profile}.yml/{application}-{profile}.properties/{label}/{application}-{profile}.properties
三、搭建 Config Client
修改 Coustomer ,使其连接 Config Server。
3.1 导入依赖
<dependency><groupId>org.springframework.cloud</groupId><artifactId>spring-cloud-config-client</artifactId></dependency>3.2 编写配置文件
#指定Eureka服务的地址eureka:client:service-url:defaultZone: http://root:root@localhost:8761/eureka, http://root:root@localhost:8762/eurekaversion: v1spring:application:name: CUSTOMER-${version}cloud:config:discovery:enabled:true# 开启 Config clientservice-id: CONFIG# 指定 Config Server 服务名profile: dev# 只当配置文件的环境名这样就会去 Config Server 中去拉取名为 customer-v1-dev.yml (项目名-版本-开发环境)的配置文件。
3.3 修改配置文件名
将 Config Client 的配置文件名修改为bootstrap.yml,目的是为了 让此配置文件先于 application.yml 加载,防止项目出错。
四、Config 动态配置
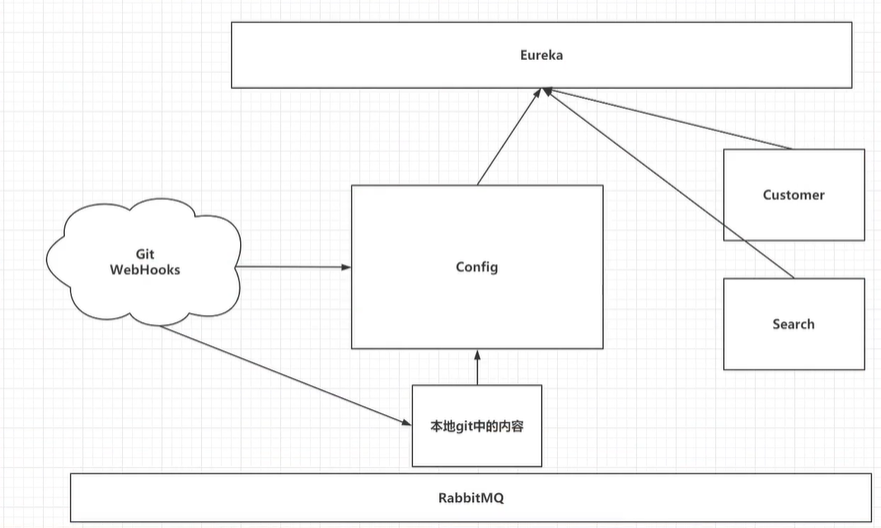
4.1 动态配置的简介
4.2 服务连接 RabbitMQ
4.2.1 导入依赖
在 Config Server 和 Config Client 中都导入依赖,其它们都连接 RabbitMQ。
<dependency><groupId>org.springframework.cloud</groupId><artifactId>spring-cloud-starter-bus-amqp</artifactId></dependency>4.2.2 编写配置文件
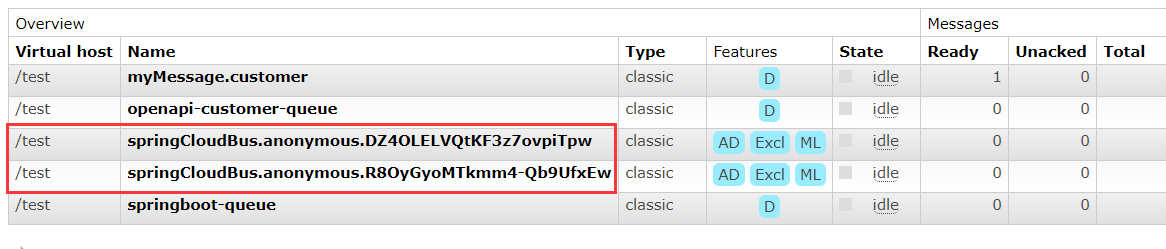
在 Config Server 和 Config Client 配置文件中编写 RabbitMQ 的连接信息。
spring:rabbitmq:host: 192.168.31.138port:5672username: testpassword: testvirtual-host: /test4.2.3 测试
4.3 实现手动刷新配置文件
4.3.1 导入相关依赖
Config Server 和Config Client 中都需要导入。
<dependency><groupId>org.springframework.boot</groupId><artifactId>spring-boot-starter-actuator</artifactId></dependency>4.3.2 编写配置文件
Config Server 和Config Client 中都需要添加此配置。
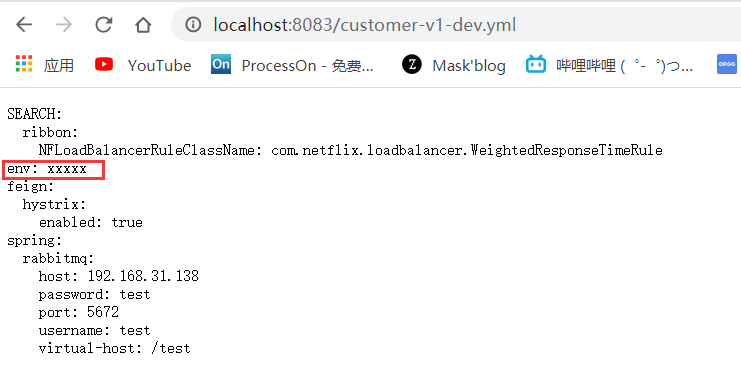
management:endpoints:web:exposure:include:"*"4.3.3 编写测试接口
@RestController@RefreshScopepublicclassCustomerController{//Config@Value("${env}")privateString env;@GetMapping("/env")publicStringenv(){return env;}}需要在 Controller 上添加@RefreshScope 注解使手动刷新生效。
4.3.4 测试
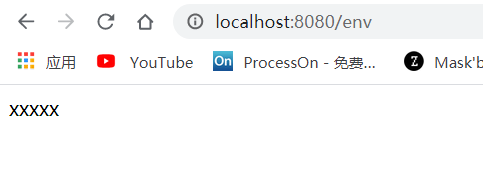
当 gitee 上的配置文件发生变化时,Config Server是可以获取到最新的配置文件的,但 Config Client 不可以需要重启项目,所以需要我们来向 http://localhost:10000/actuator/bus-refresh 发送一个 POST请求,就可以不用重启项目就可以更新 Config Client 的配置文件。
4.4 内网穿透
由于 Config Server 是本地项目,所以我们需要做内网穿透,使 gitee 可以访问到 Config Server。
4.4.1 注册账号
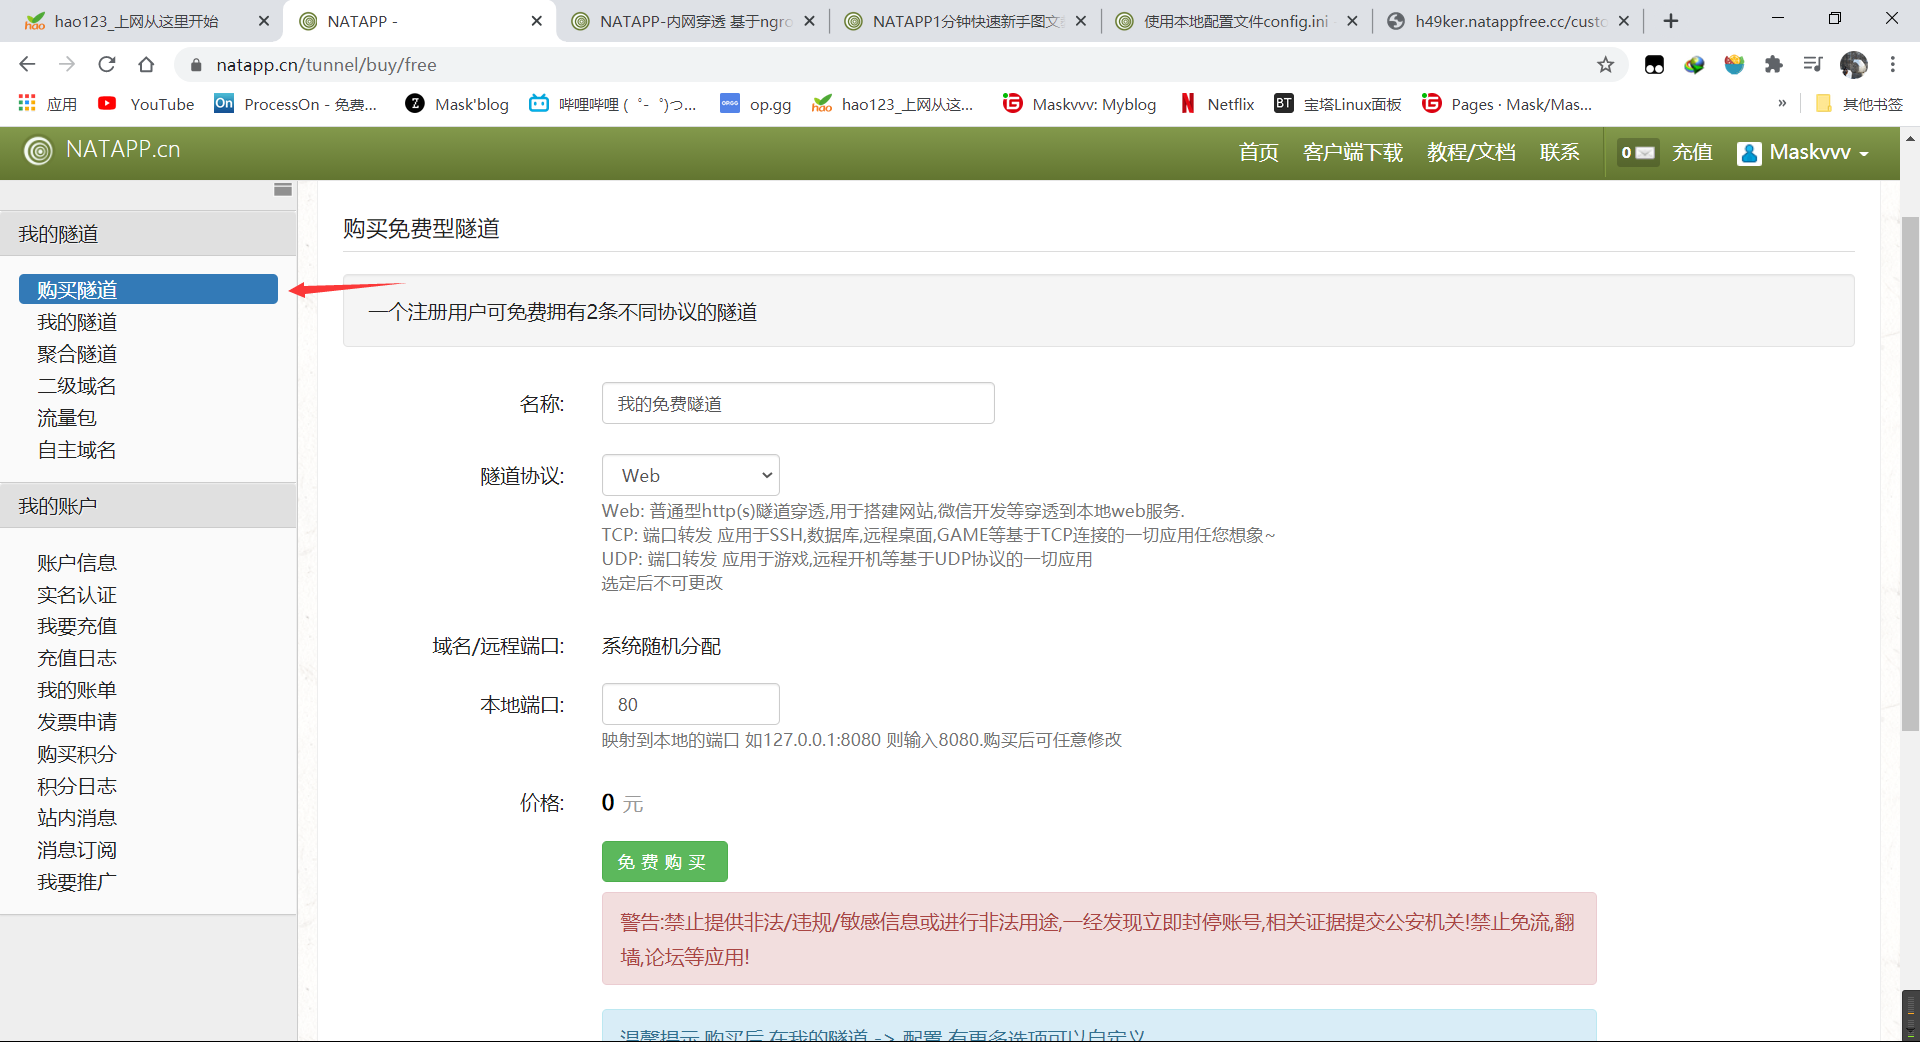
网址 https://natapp.cn/。
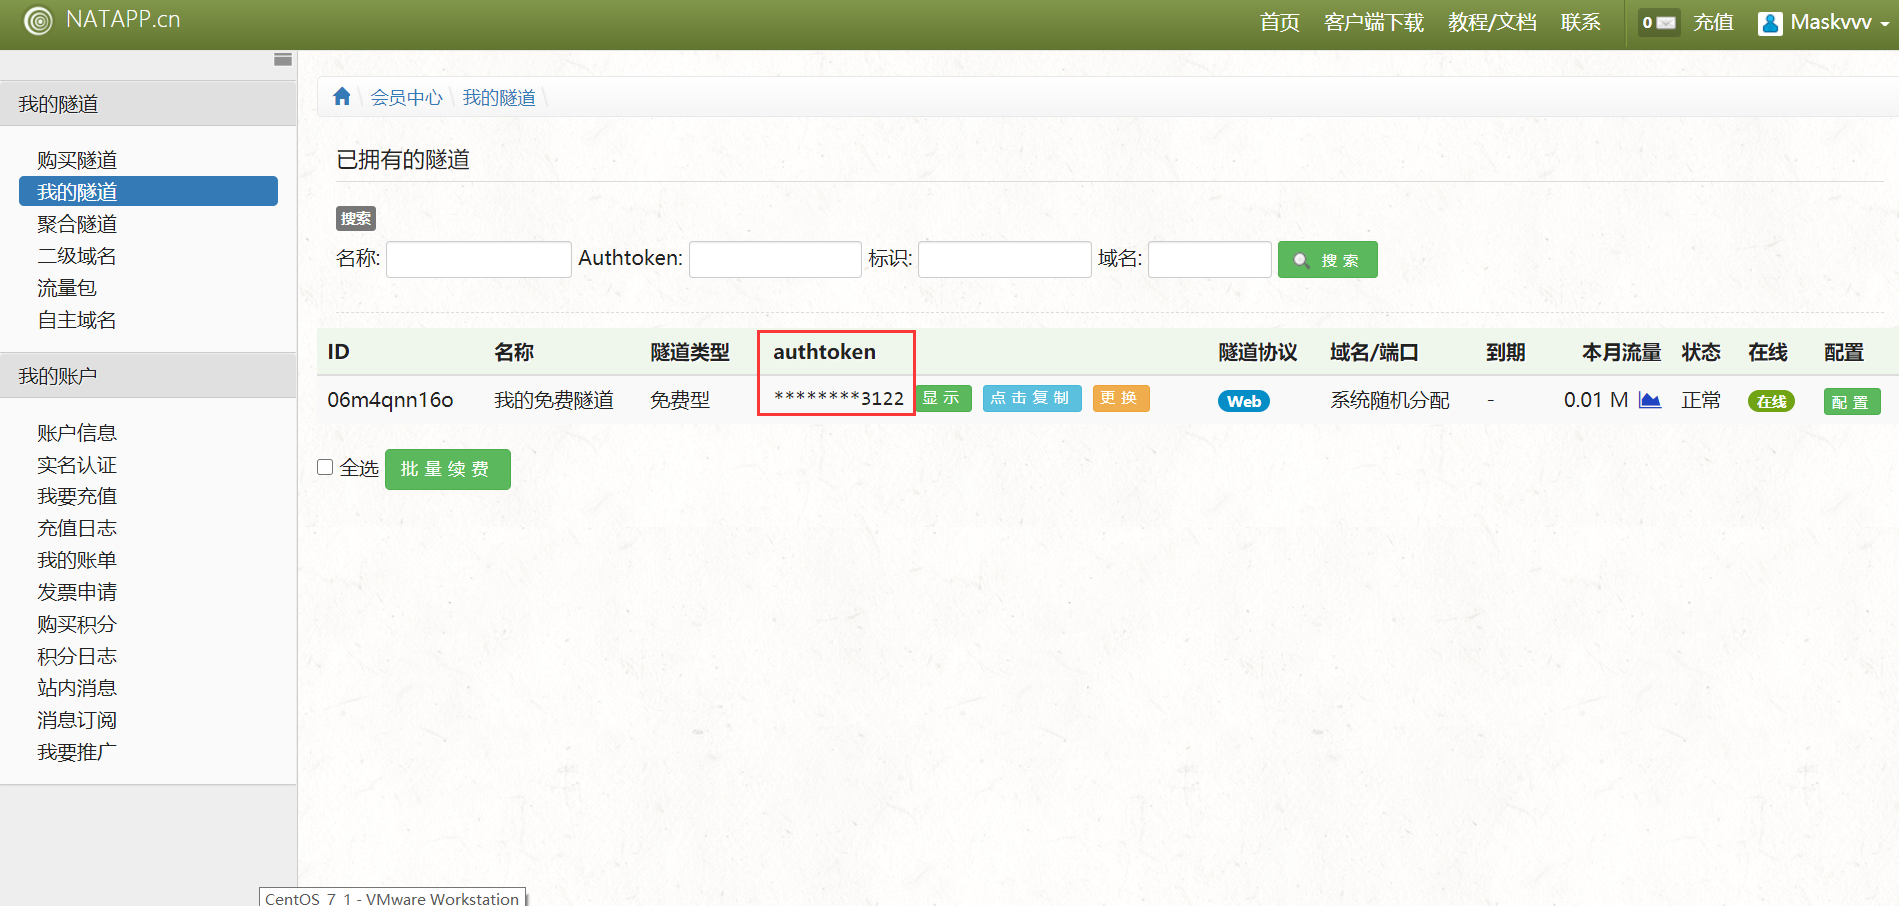
4.4.2 购买免费的隧道
4.4.3 修改隧道的配置
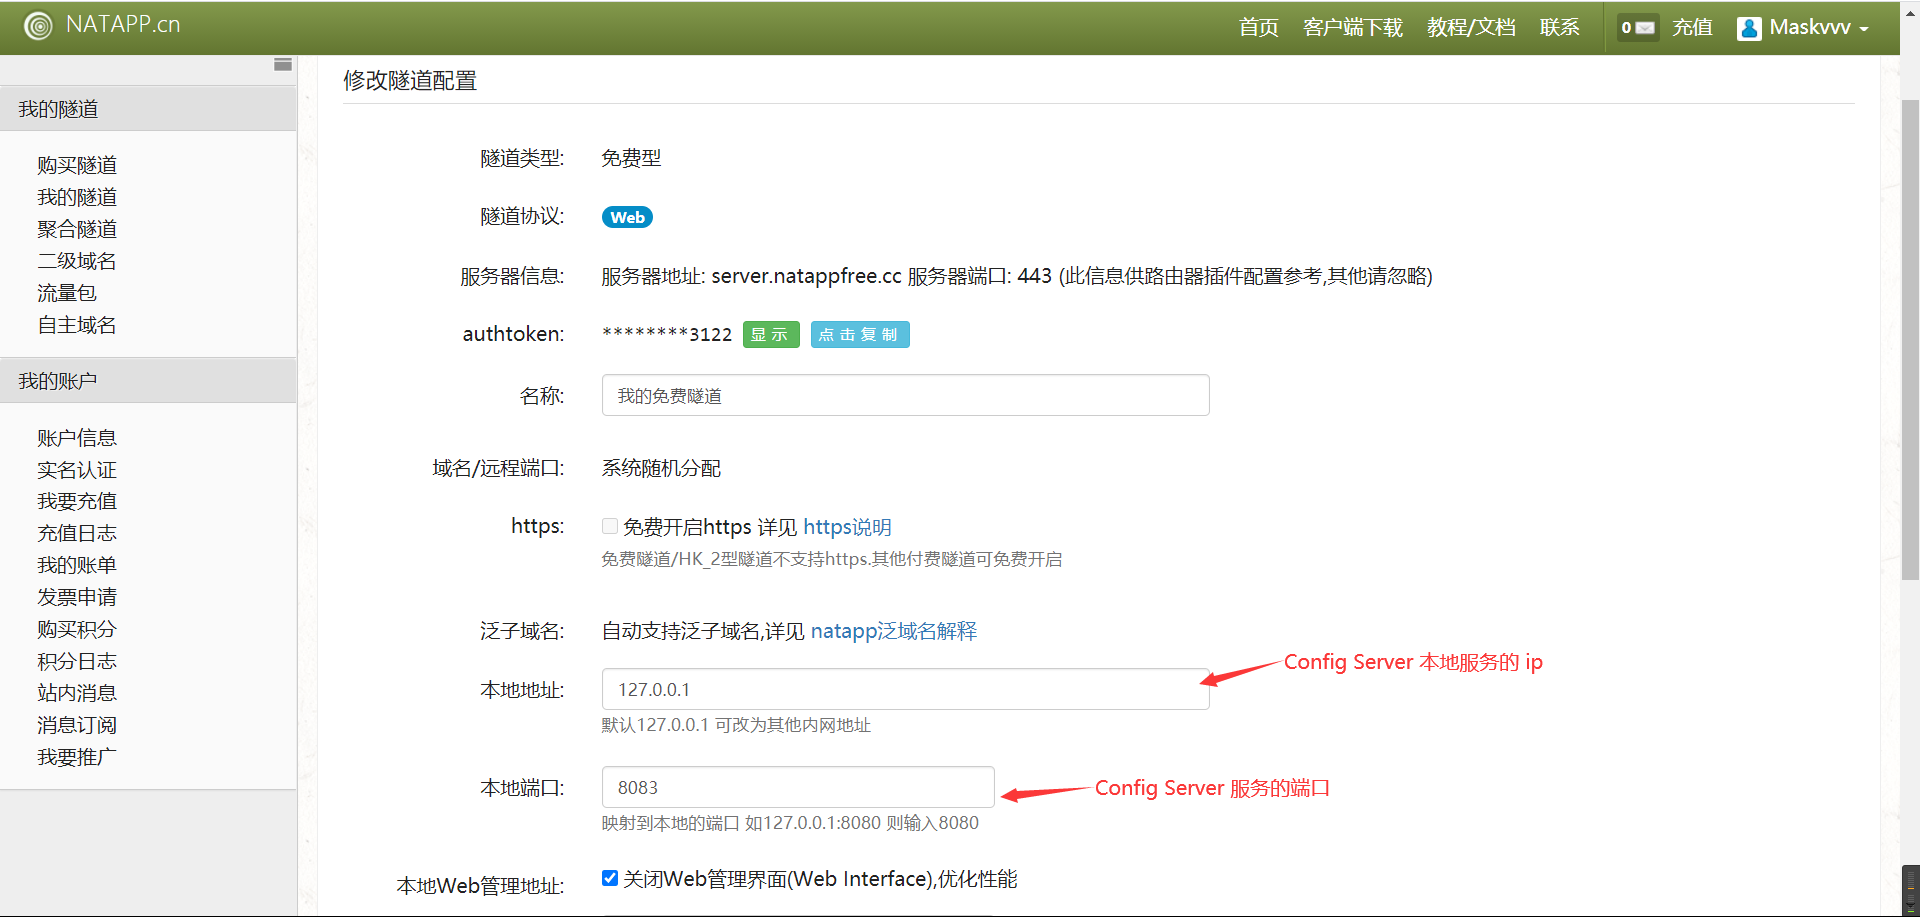
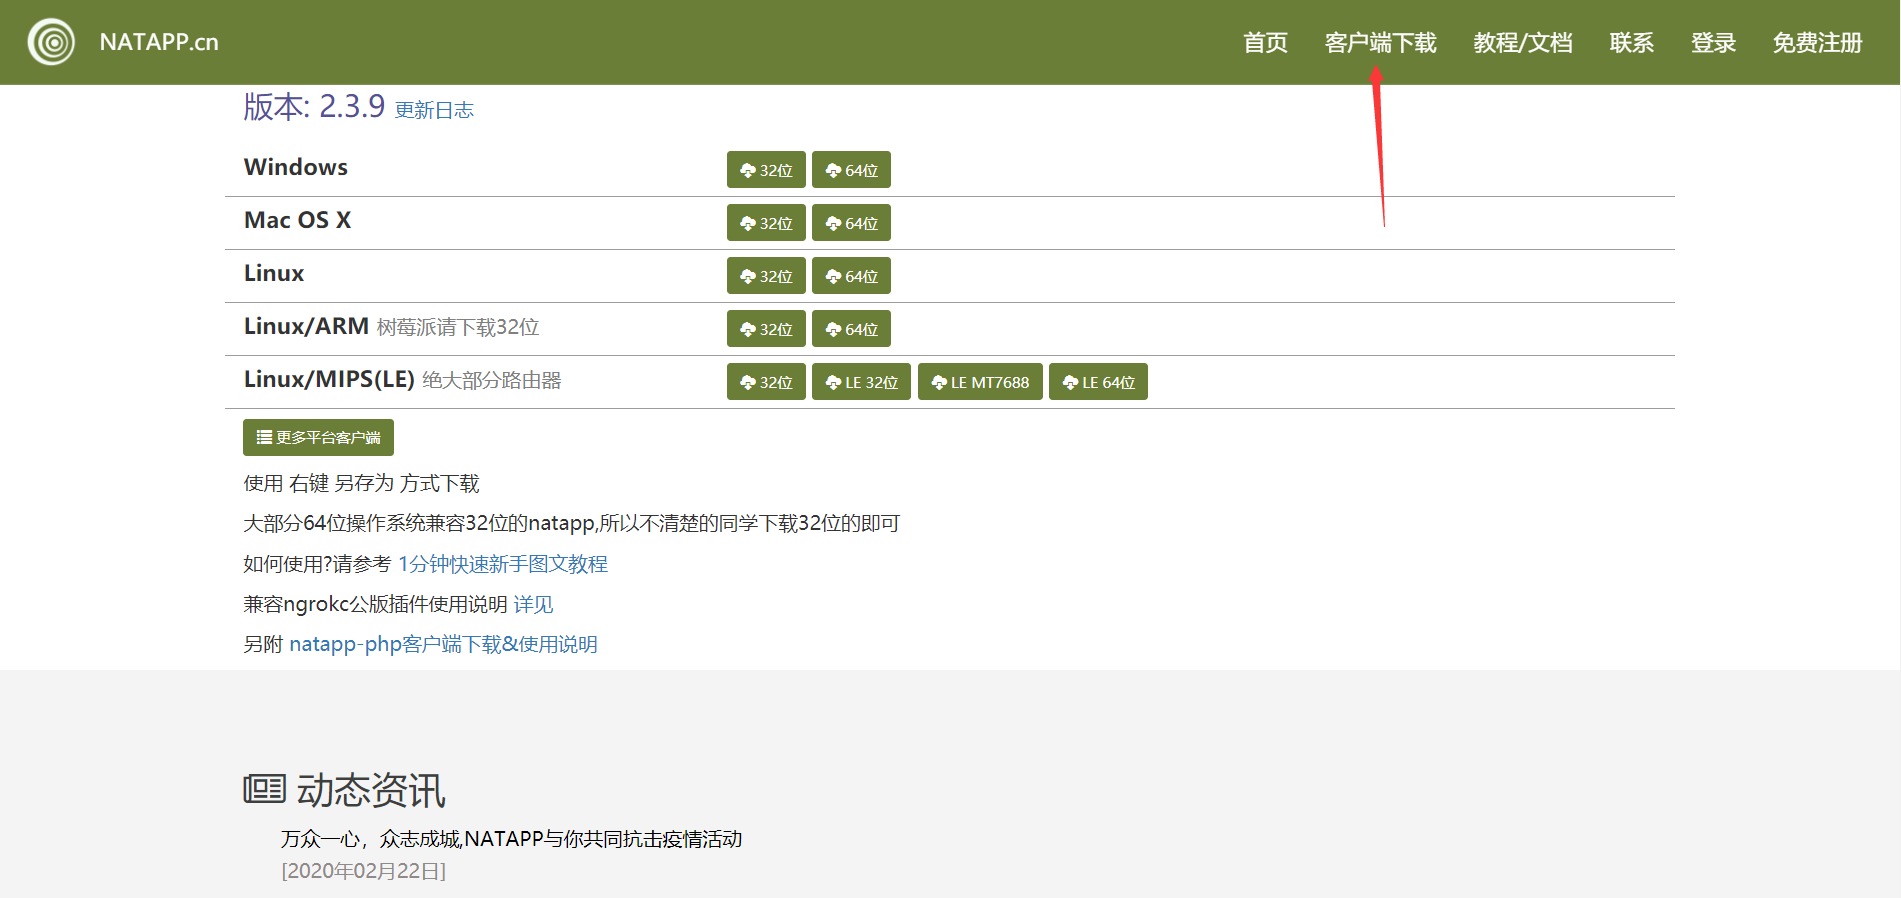
4.4.4 下载客户端
4.4.5 编写配置文件
在客户端的同级路径下编写名为 config.ini 配置文件,只需要添加上你隧道的 authtoken 即可。
#将本文件放置于natapp同级目录 程序将读取 [default] 段
#在命令行参数模式如 natapp -authtoken=xxx 等相同参数将会覆盖掉此配置
#命令行参数 -config= 可以指定任意config.ini文件
[default]
authtoken=你的authtoken                    #对应一条隧道的authtoken
clienttoken=                    #对应客户端的clienttoken,将会忽略authtoken,若无请留空,
log=none                        #log 日志文件,可指定本地文件, none=不做记录,stdout=直接屏幕输出 ,默认为none
loglevel=ERROR                  #日志等级 DEBUG, INFO, WARNING, ERROR 默认为 DEBUG
http_proxy=                     #代理设置 如 http://10.123.10.10:3128 非代理上网用户请务必留空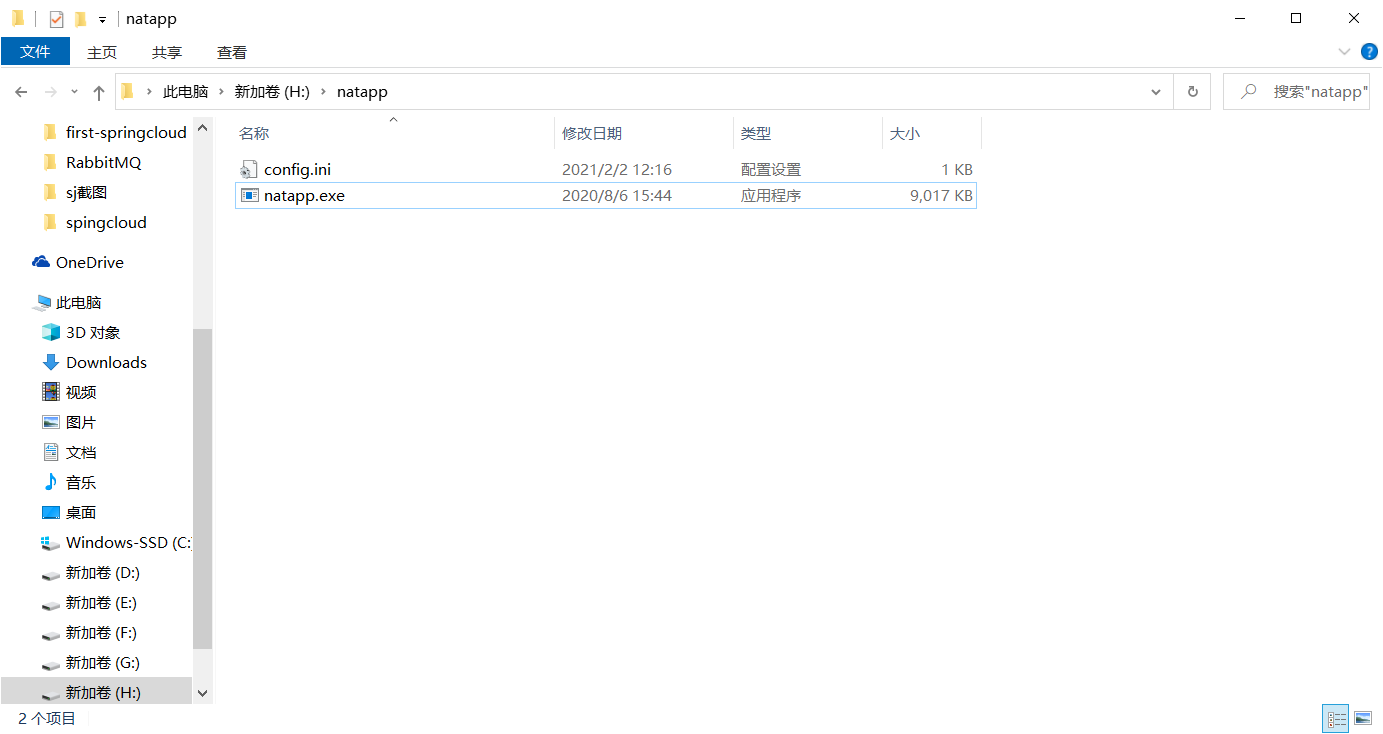
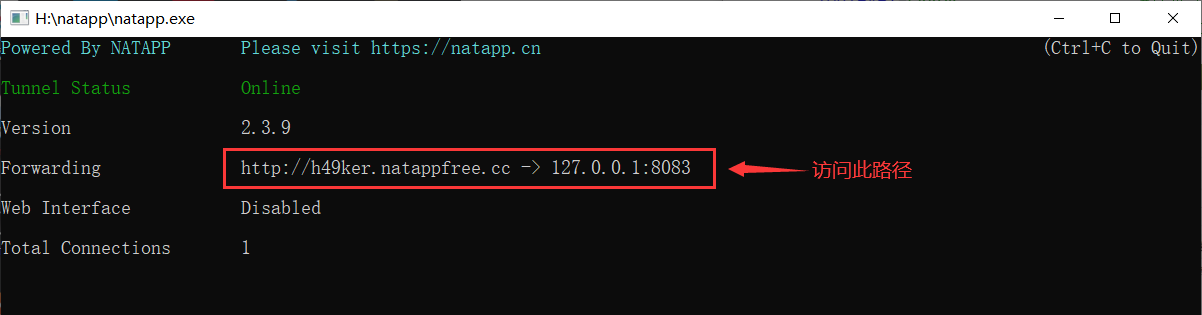
4.4.6 测试
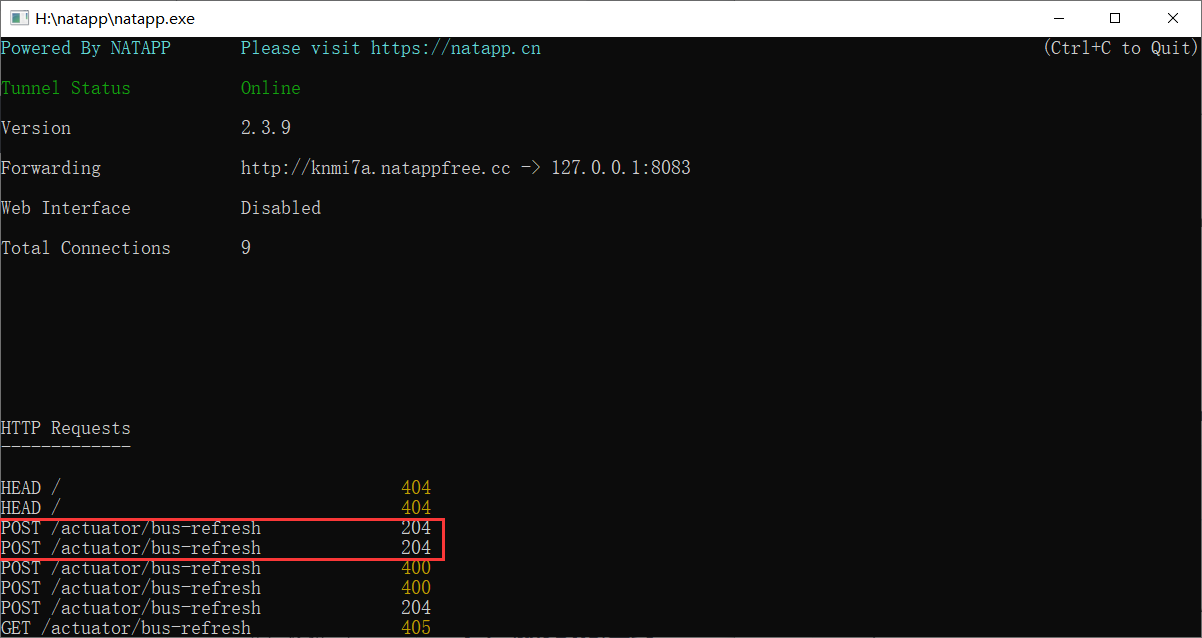
双击 natapp.exe 运行。
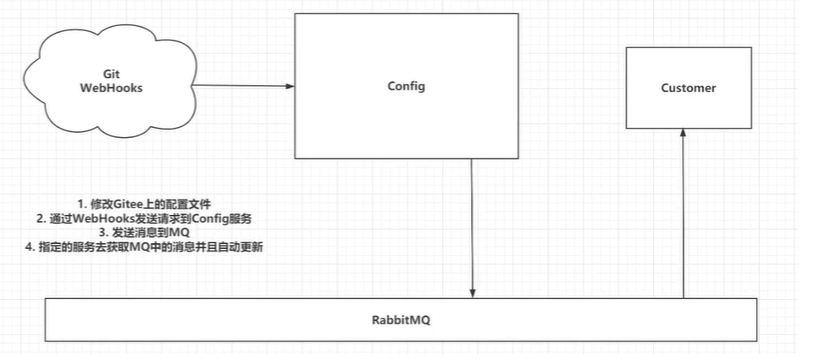
4.5 实现自动刷新配置
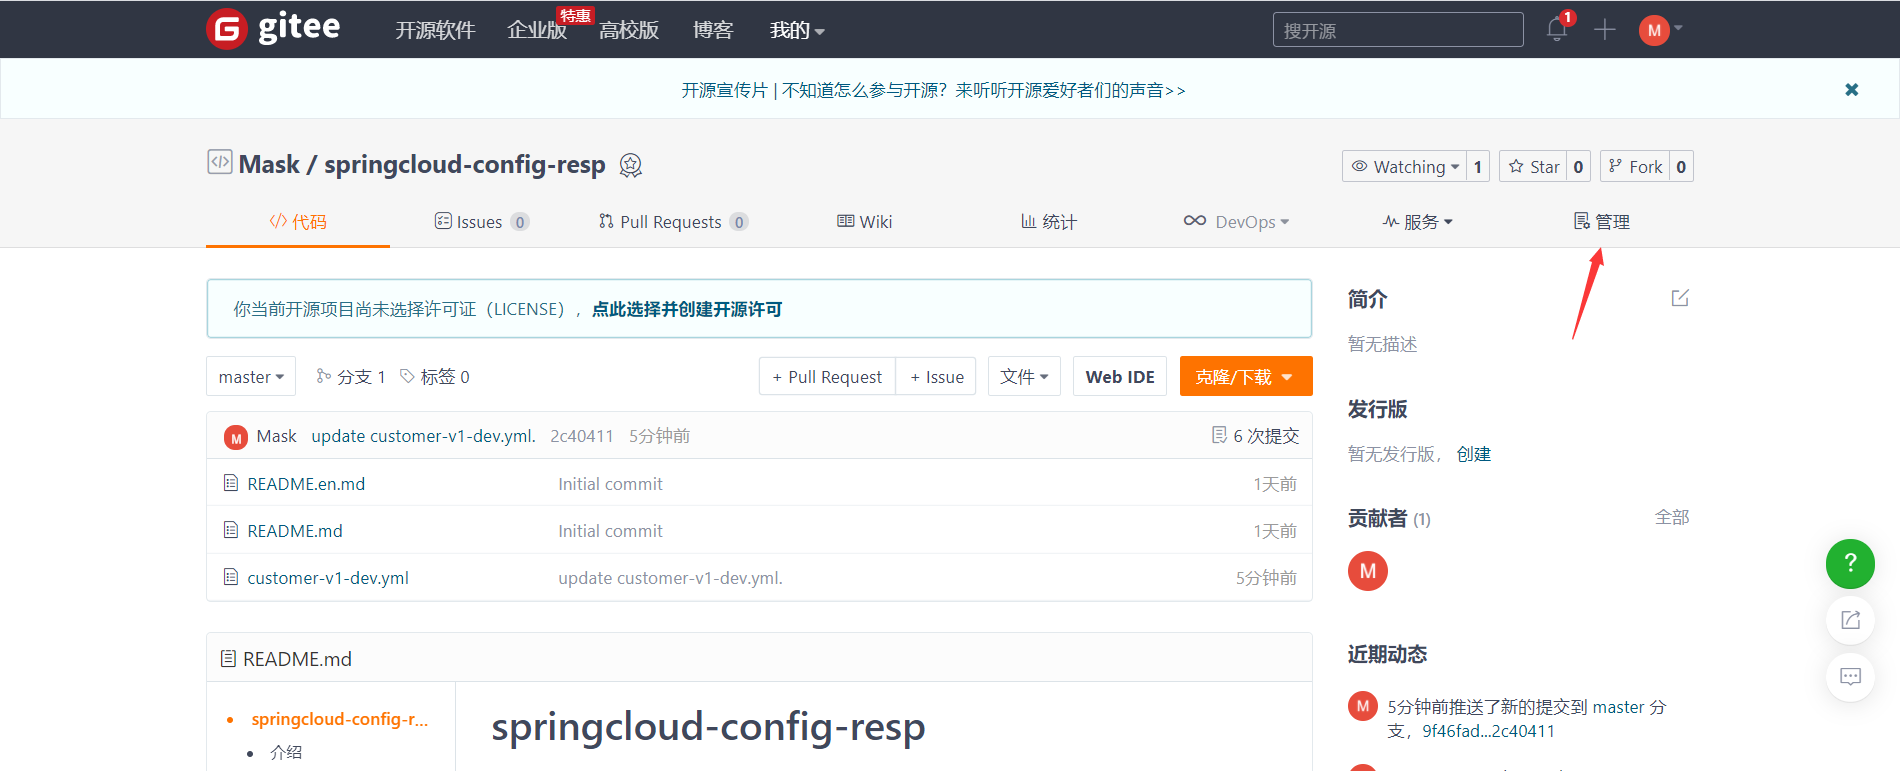
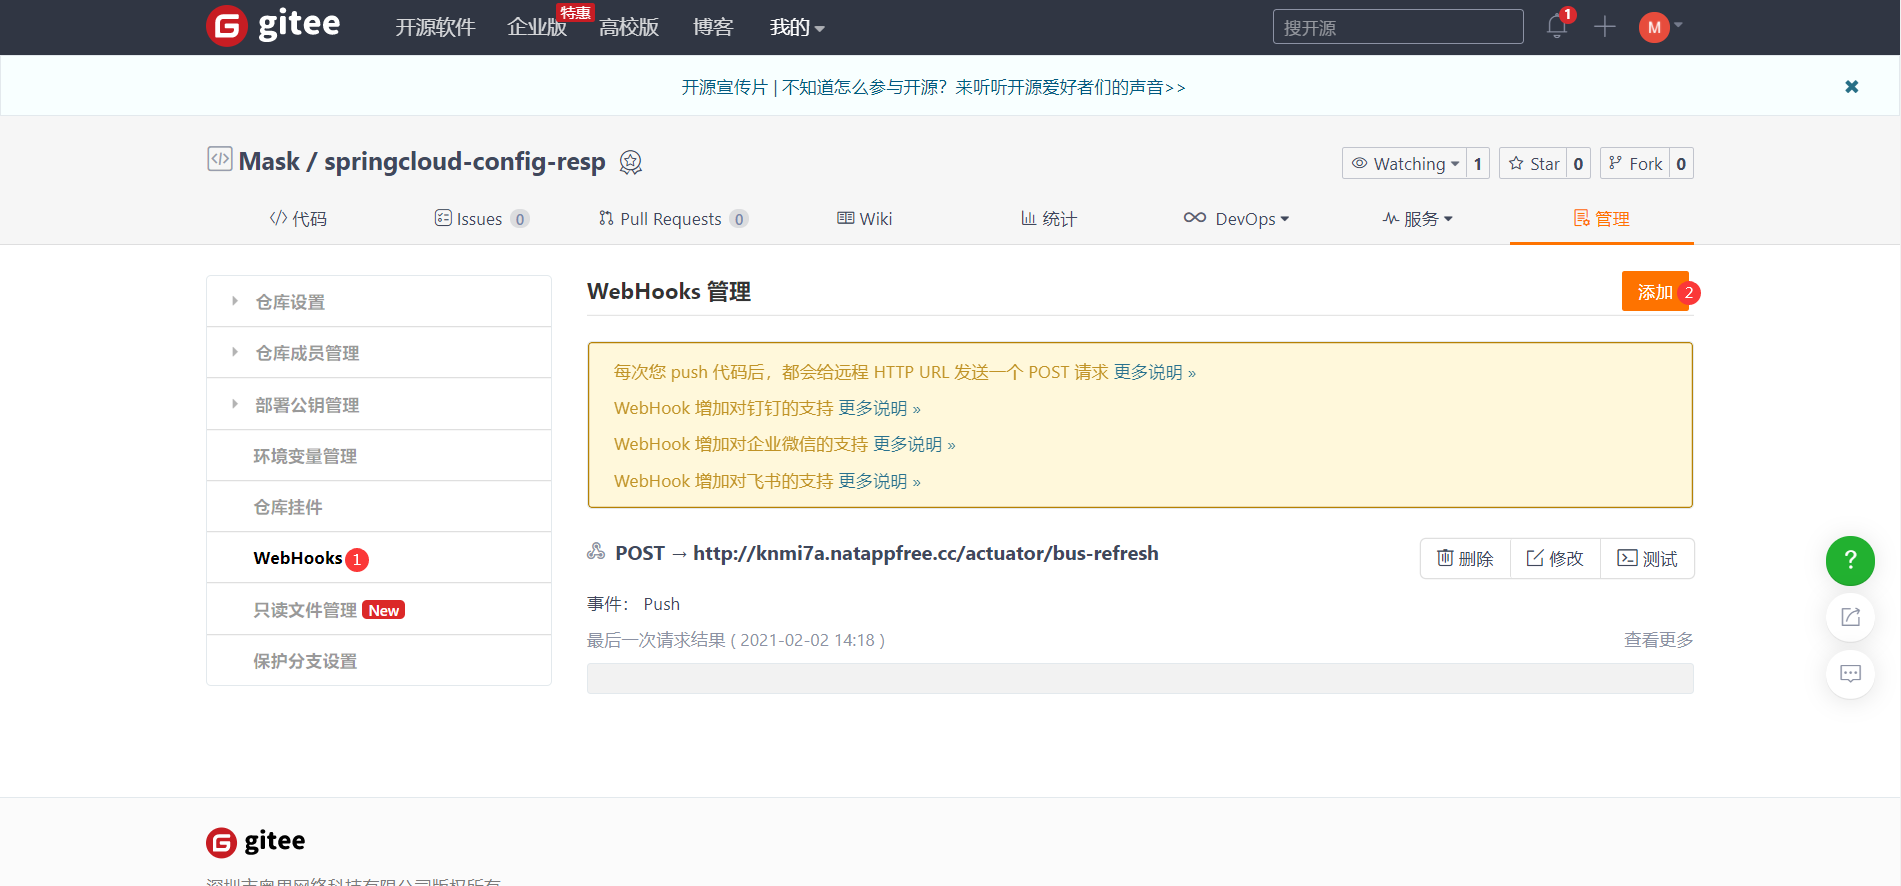
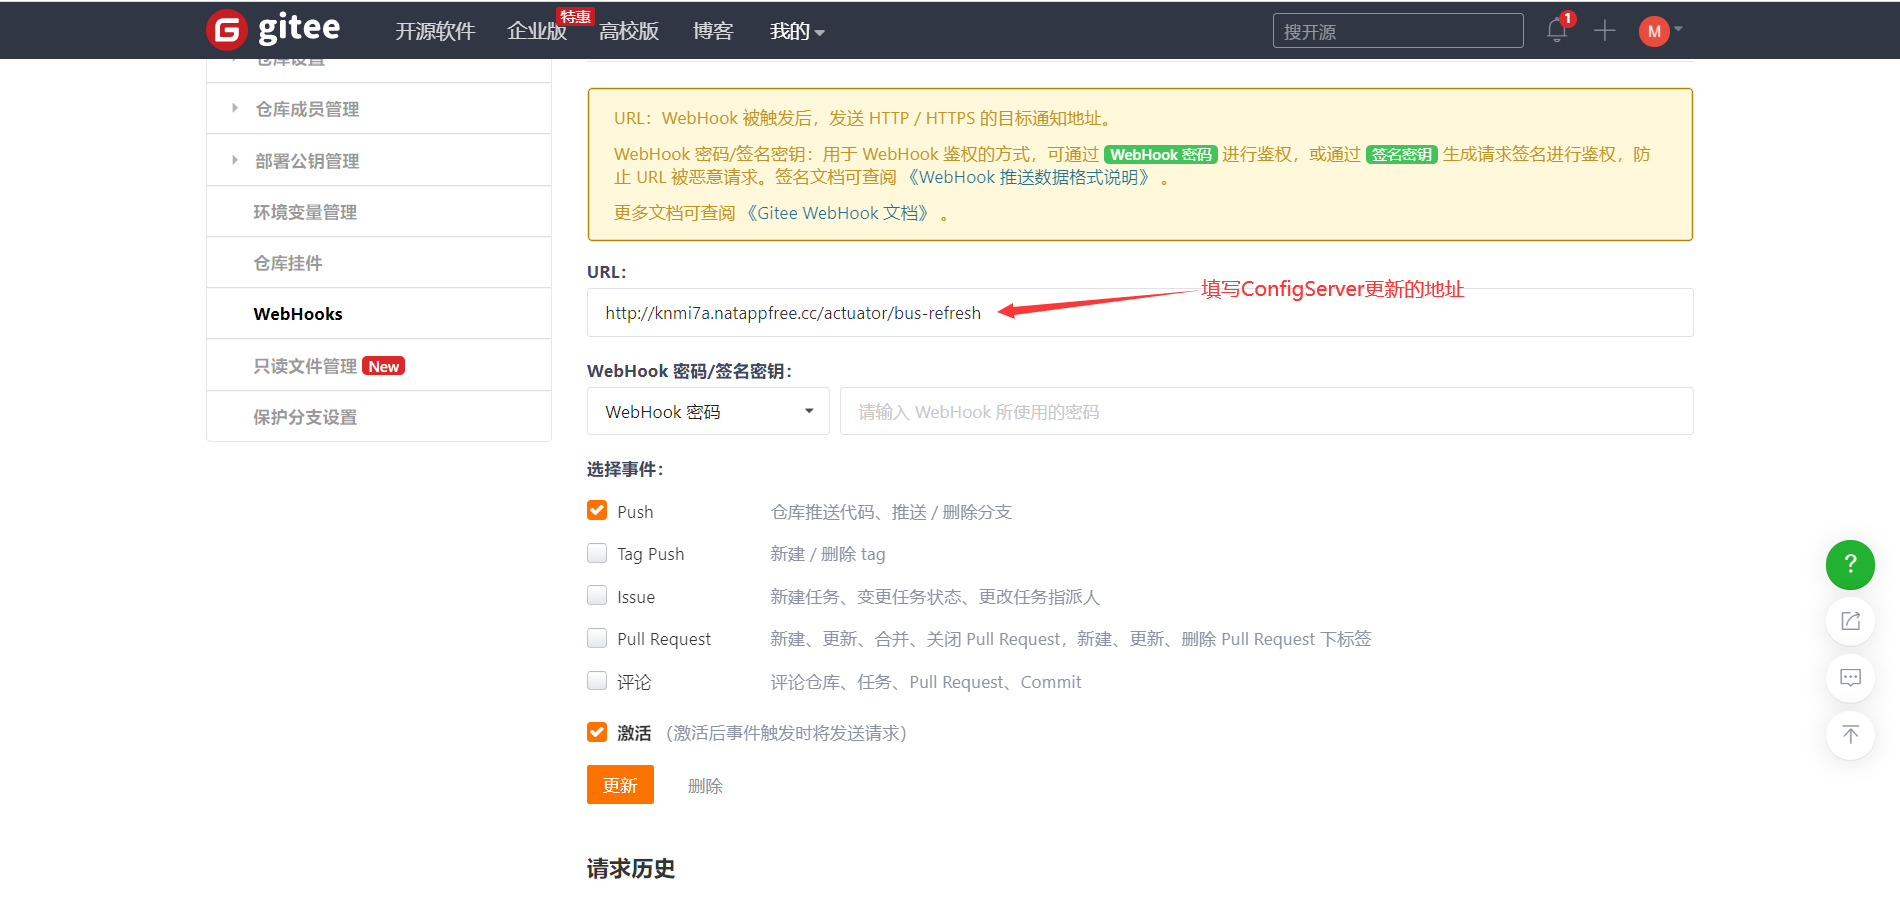
4.5.1 配置 Gitee 中的 WebHooks
配置 WebHooks 后,当我们修改 git 中的配置文件时,git 就会自动向http://ConfigServer ip/actuator/bus-refresh发送 PSOT 请求,来更行配置文件。
4.5.2 编写过滤器
因为 WebHooks 发送请求时会携带参数,如果不把参数过滤掉会发生400异常,所以需要在 Config Server 中添加一个过滤器。
@WebFilter("/*")publicclassUrlFilterimplementsFilter{@OverridepublicvoiddoFilter(ServletRequest servletRequest,ServletResponse servletResponse,FilterChain filterChain)throwsIOException,ServletException{HttpServletRequest httpServletRequest=(HttpServletRequest) servletRequest;String url=httpServletRequest.getRequestURI();System.out.println(url);if(!url.endsWith("/actuator/bus-refresh")){
            filterChain.doFilter(servletRequest,servletResponse);return;}String body=(httpServletRequest).toString();System.out.println("original body: "+ body);RequestWrapper requestWrapper=newRequestWrapper(httpServletRequest);
        filterChain.doFilter(requestWrapper,servletResponse);}privateclassRequestWrapperextendsHttpServletRequestWrapper{publicRequestWrapper(HttpServletRequest request){super(request);}@OverridepublicServletInputStreamgetInputStream()throwsIOException{byte[] bytes=newbyte[0];ByteArrayInputStream byteArrayInputStream=newByteArrayInputStream(bytes);ServletInputStream servletInputStream=newServletInputStream(){@Overridepublicintread()throwsIOException{return byteArrayInputStream.read();}@OverridepublicbooleanisFinished(){return byteArrayInputStream.read()==-1?true:false;}@OverridepublicbooleanisReady(){returnfalse;}@OverridepublicvoidsetReadListener(ReadListener listener){}};return servletInputStream;}}}
4.5.3 编辑启动类
在启动类上添加 @ServletComponentScan(“”) 注解,使 filter 注入到 spring 中。
@SpringBootApplication@EnableConfigServer@ServletComponentScan("com.zhy.filter")publicclassConfigApplication{publicstaticvoidmain(String[] args){SpringApplication.run(ConfigApplication.class,args);}}4.5.4 测试