1.controller
@RestController@RequestMapping("students")//为何放在类上,是为了简化@CrossOrigin//开启crossOrigin,跨域请求被授权,否则前台无法访问publicclassStudentController{@AutowiredprivateStudentMapper studentMapper;////获取所有的学生信息@GetMapping//路径默认是 /students,因为类上写了@RequestMapping("students")publicList<Student>students(){return studentMapper.selectList(null);}//上传excel并解析@PostMapping(value="/parseExcel")//其实路径是 /students/parseExcelpublicvoidparseExcel(@RequestParam("file")MultipartFile file){List<Student> students=newArrayList<Student>();Student student=null;try{XSSFWorkbook workbook=newXSSFWorkbook(newFileInputStream("C:\\Users\\xxxxxxxxx\\Desktop\\"+file.getOriginalFilename()));//file.getOriginalFilename() 就是文件名//前缀地址 改为你上传文件的地址XSSFSheet sheetAt= workbook.getSheetAt(0);for(Row row: sheetAt){if(row.getRowNum()<1){//就是忽略第一行的表头 name , stu_no , age,第一行有必要获取的话 就去掉if这块continue;}
	        row.getCell(0).setCellType(CellType.STRING);//1.setCellType(CellType.XXX)中的 CellType.XXX 和实体类的属性类型 对应,//假如属性类型是String,就用CellType.STRING,如student的name是string 就用 CellType.STRING//2.是Long 或  int  或 integer 的话,就用CellType.NUMERIC//具体可以查看 输入CellType.    ,弹出很多后面代码
	        student=newStudent();
	        student.setName(row.getCell(0).getStringCellValue());
	        row.getCell(1).setCellType(CellType.STRING);
	        student.setStuNo(row.getCell(1).getStringCellValue());
	        row.getCell(2).setCellType(CellType.NUMERIC);
	        student.setAge((long) row.getCell(2).getNumericCellValue());System.out.println(student);
	        students.add(student);//存入一个集合类,注意students 是集合类,student是一个实体类的实例}}catch(Exception e){
	      e.printStackTrace();}//上面遍历好了,把excel所有的数据存入 students,接下来是批量添加到数据库for(Student s: students){
			studentMapper.insert(s);}}}
2.vue
action 需要换成后台的接口api
<template><div id="student"><Upload action="http://localhost:8888/students/parseExcel":on-success="handleSuccess"><Button icon="ios-cloud-upload-outline">Upload files</Button></Upload><Table:columns="columns":data="data1"></Table><Button type="primary" @click="getStudents()"></Button></div></template><script>exportdefault{data(){return{
columns:[{
title:"姓名",
key:"name",},{
title:"学号",
key:"stuNo",},{
title:"年龄",
key:"age",},],
data1:[],};},
methods:{getStudents(){//http://localhost:8888/students 换成你后台的获取所有信息的接口apithis.axios.get("http://localhost:8888/students").then((data)=>{this.data1= data.data;});},handleSuccess(res, file, fileList){this.getStudents()
console.log("111111");},},};</script><style>
#student{
width:1000px;
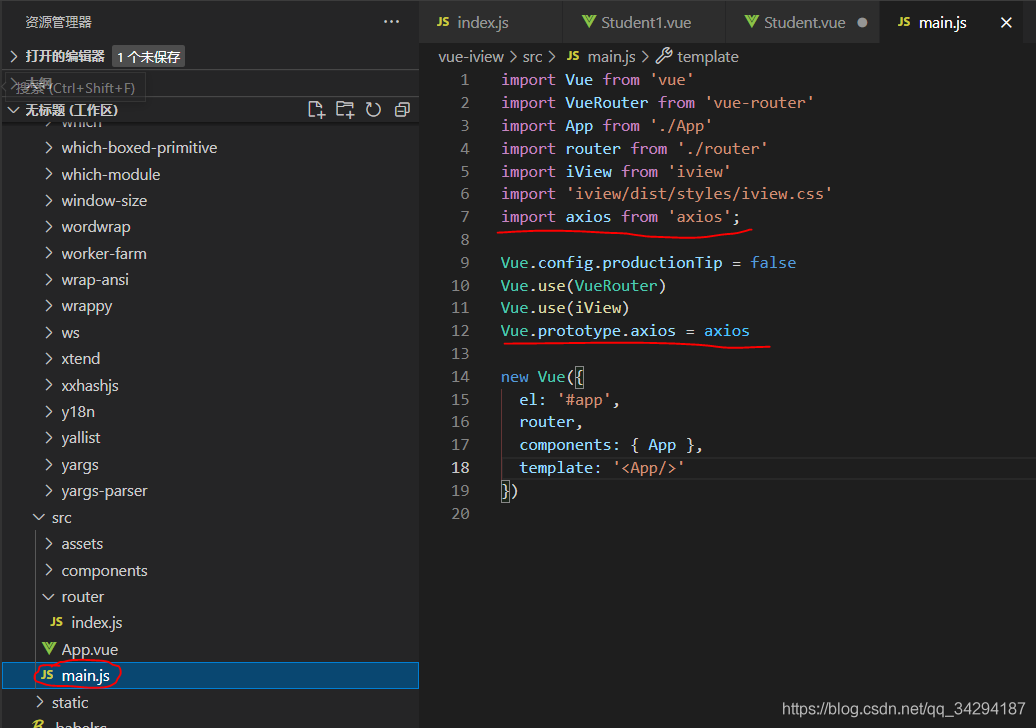
margin: auto;}</style>前端项目需要把axios插件安装下(npm install axios),然后全局挂载,看红线即可
https://segmentfault.com/q/1010000011814400