目前大量数据接口均采用API的方式为各类应用提供数据服务。Nancy是.net下实现webapi的一个轻量级的框架,可以快速搭建一个api服务环境,是一种快速建立api服务的不错选择。
本文记录.net core环境下利用Nancy快速搭建webapi的全过程。
Ⅰ.开发环境
跨平台的:.net core 2.1
宇宙级ide:vs2017
Ⅱ.代码实现
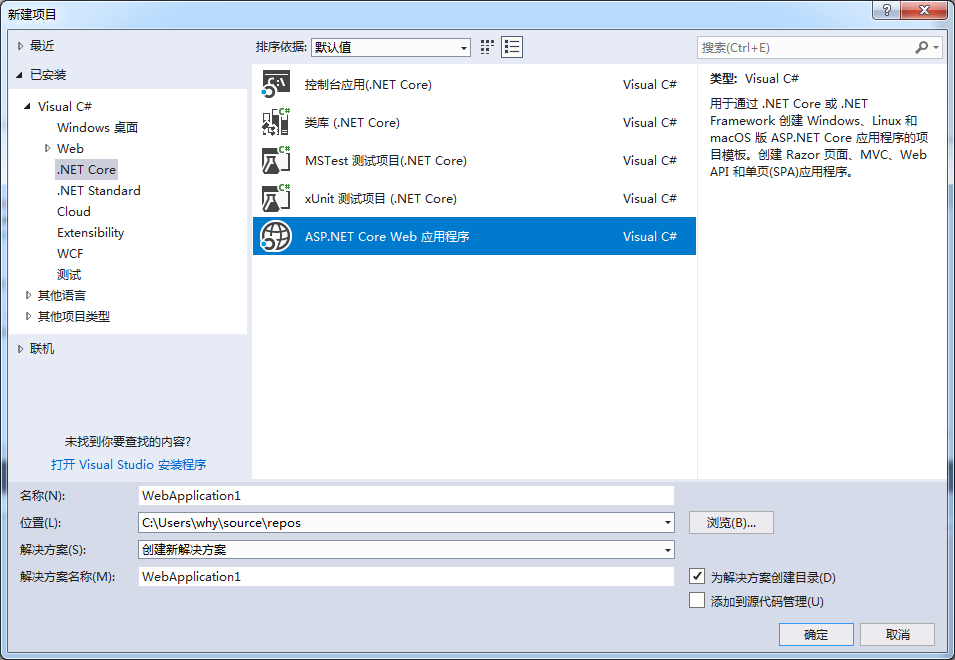
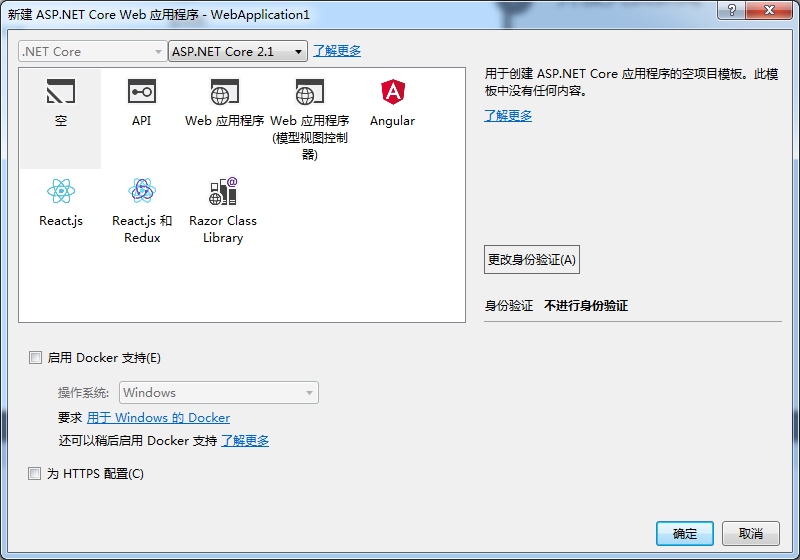
1.新建应用框架
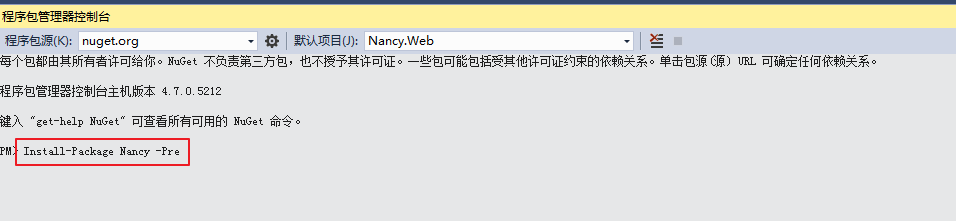
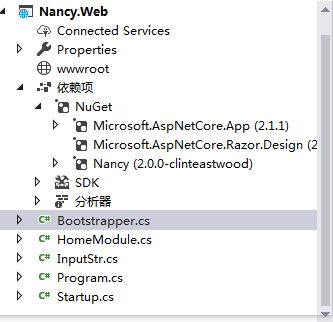
2.下载安装Nancy类库,由于需要支持.netcore环境,则需要安装Nancy2.0版本。执行下面的包安装命令。
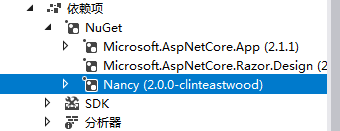
所需要包的目录结构如下:
3.实现.netcore支持Nancy,修改Startup.cs文件中Configure的内容
using Microsoft.AspNetCore.Builder;using Microsoft.AspNetCore.Hosting;using Microsoft.Extensions.DependencyInjection;using Nancy.Owin;namespace Nancy.Web
{publicclass Startup
    {// This method gets called by the runtime. Use this method to add services to the container.// For more information on how to configure your application, visithttps://go.microsoft.com/fwlink/?LinkID=398940publicvoid ConfigureServices(IServiceCollection services)
        {
        }// This method gets called by the runtime. Use this method to configure the HTTP request pipeline.publicvoid Configure(IApplicationBuilder app, IHostingEnvironment env)
        {if (env.IsDevelopment())
            {
                app.UseDeveloperExceptionPage();
            }
            app.UseOwin(x=> x.UseNancy());//app.Run(async (context) =>//{//    await context.Response.WriteAsync("Hello World!");//});        }
    }
}
3.实现路由访问,新建HomeModule.cs类,继承NancyModule,开始写Nancy格式的路由。路由写法参见文档。
using System;using System.Collections.Generic;using System.Linq;using System.Threading.Tasks;using Nancy;using Nancy.ModelBinding;namespace Nancy.Web
{publicclass HomeModule:NancyModule
    {public HomeModule()
        {
            Get("/", r =>"Hello,Nancy,i am running on ASP.NET Core");
            Get("/{name}", r =>"你好:" + r.name);


            Post("/loadstr", r =>
            {var strRecive =this.Bind<InputStr>();return strRecive.inputstr;
            });
        }
    }
}
4.解决跨域访问,新建Bootstrapper.cs类,该类为Nancy特有配置类,重写ApplicationStartup方法。
using Nancy.Bootstrapper;using Nancy.TinyIoc;namespace Nancy.Web
{publicclass Bootstrapper: DefaultNancyBootstrapper
    {protectedoverridevoid ApplicationStartup(TinyIoCContainer container, IPipelines pipelines)
        {//CORS Enable  解决跨域问题
            pipelines.AfterRequest.AddItemToEndOfPipeline((ctx) =>
            {

                ctx.Response.WithHeader("Access-Control-Allow-Origin","*")// * 允许跨域问题的网站  *号代表面向所有网站  也可指定网站,如http://localhost:8080
                            .WithHeader("Access-Control-Allow-Methods","POST,GET,PUT,DELETE,OPTION")
                            .WithHeader("Access-Control-Allow-Headers","Accept, Origin, Content-type");

            });

        }
    }
}
5.新建InputStr.cs类,用于测试post提交数据
using System;using System.Collections.Generic;using System.Linq;using System.Threading.Tasks;namespace Nancy.Web
{publicclass InputStr
    {publicstring inputstr {get;set; }//定义输入字符串
    }
}
整体文件目录如下:
测试一下,看看运行效果


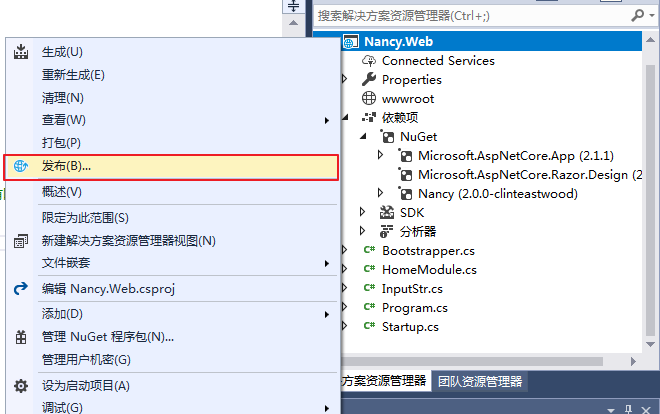
Ⅲ.应用部署
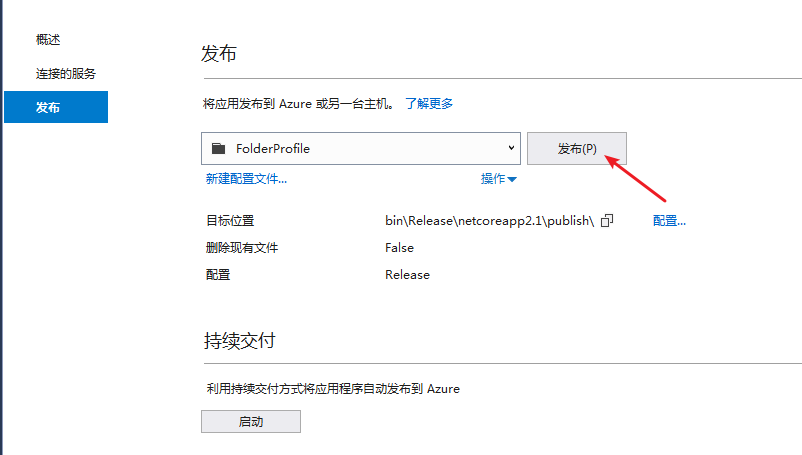
1.发布应用
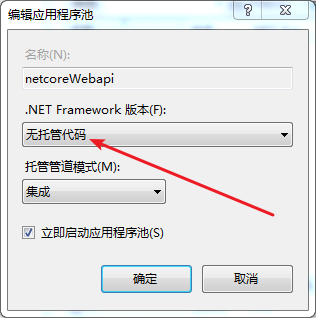
2.部署至IIS,将上面发布至publish文件夹的文件拷贝到IIS服务器上
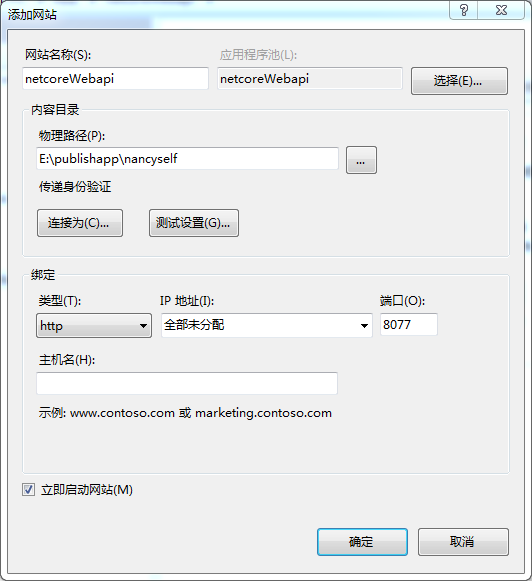
编辑应用程序池,因为是.net core项目,所以.net framework版本设置为“无托管代码”
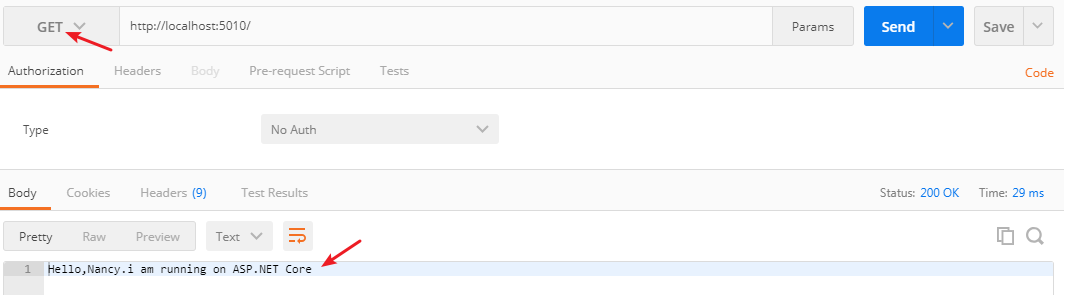
3.利用PostMan进行程序测试
GET方式
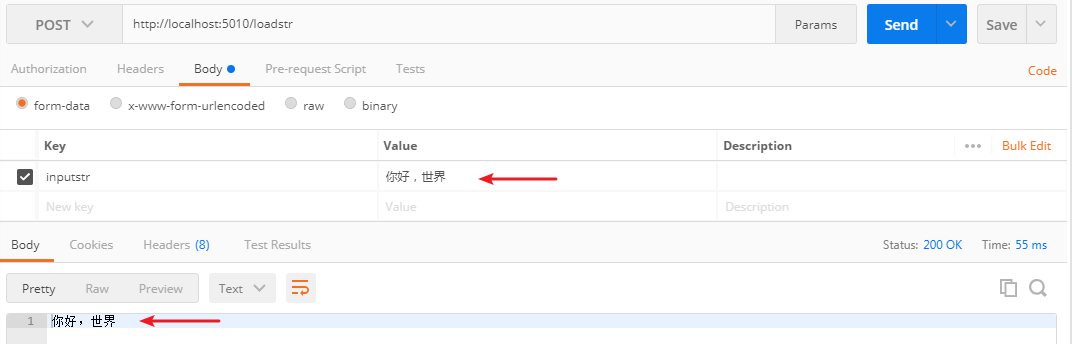
POST方式
好啦,从搭建、测试到部署完成了一个轻量级的webapi。下一步可以根据具体需求进行扩展,愉快的开发接口了。
下载源码戳这里
转载于:https://www.cnblogs.com/ihappycat/p/10223376.html