pydub库安装
https://www.php.cn/python-tutorials-424614.html
pydub安装路径:https://github.com/jiaaro/pydub
报错
使用pip install pydub安装报错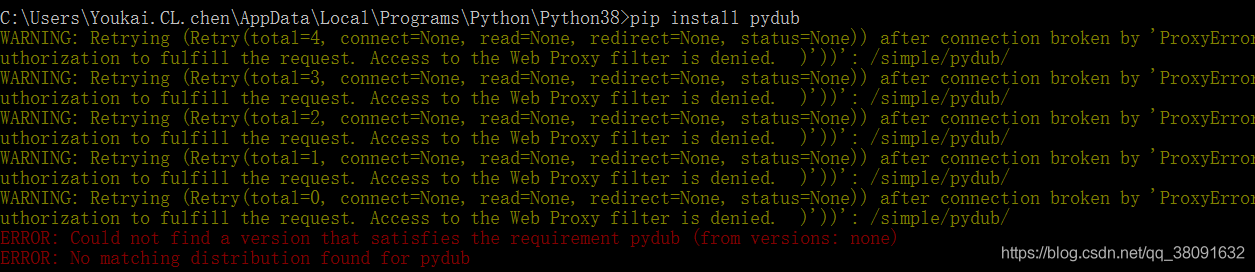
压缩包安装
我在python路径下建了一个文件夹python_zip,下载的压缩包解压放到这个目录下。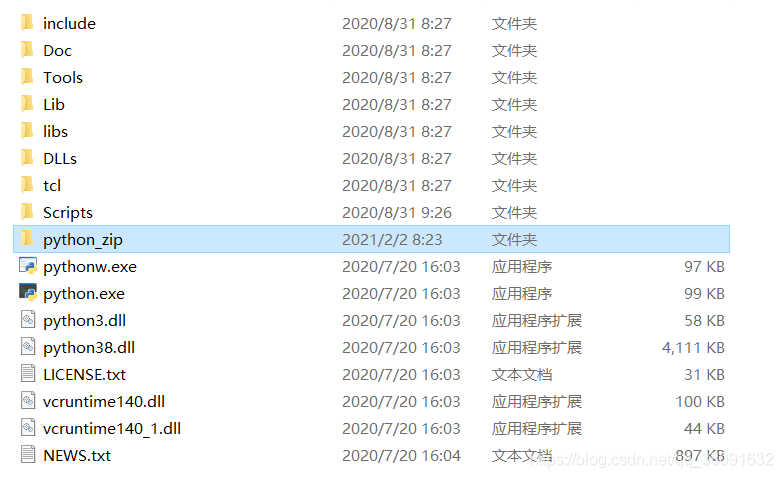
可以看到这个压缩包有一个setup.py文件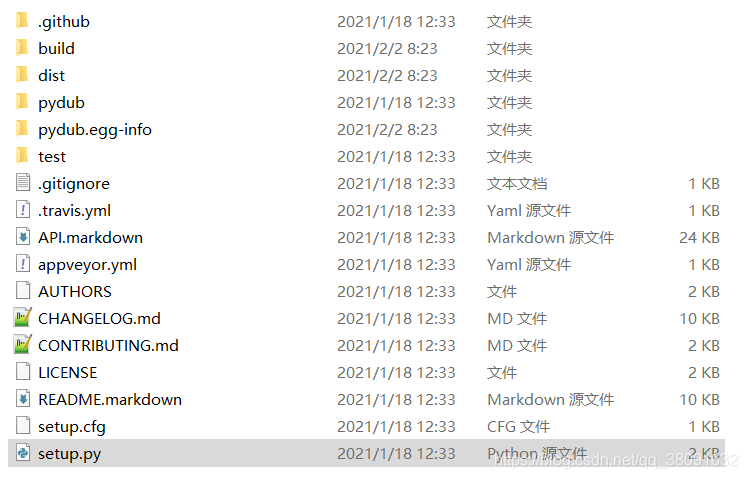
进入这个文件夹,打开cmd窗口,输入命令python setup.py install
https://www.cnblogs.com/ZhangYuniang/p/10632242.html
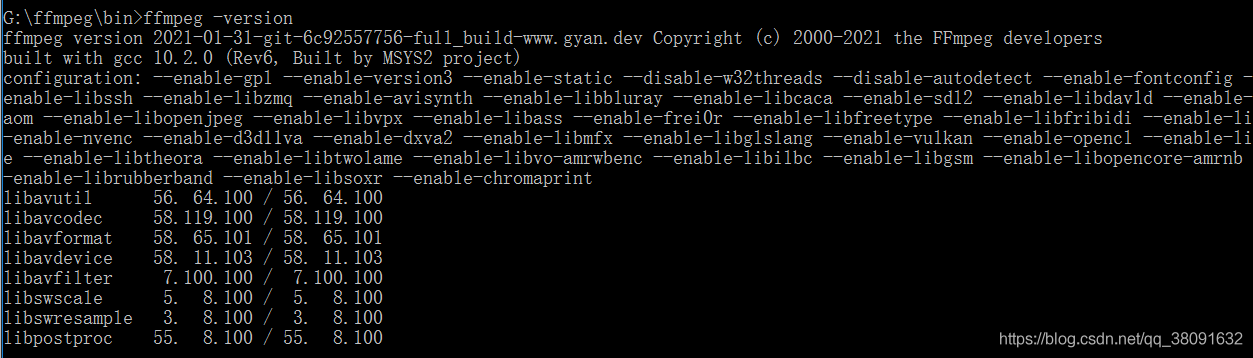
环境bain了要新增,然后进入bin目录下运行cmd
ffmpeg -version
https://www.cnblogs.com/ZhangYuniang/p/10632242.html
分离音频代码
描述:
获取音频文件,把文件分割成时长为1s的音频段,并保存。
import waveimport osfrom pydubimport AudioSegmentfrom pydub.silenceimport split_on_silence# 初始化
audiopath="G:/python_test/mic/20210201_120146.wav"
audiotype='wav'#如果wav、mp4其他格式参看pydub.AudioSegment的API

cut_time=1#音频切割间隔1s# 读入音频print('读入音频')
sound= AudioSegment.from_file(audiopath,format=audiotype)# sound = sound[:3*60*1000] #如果文件较大,先取前3分钟测试,根据测试结果,调整参数
duration= sound.duration_seconds*1000# 音频时长(ms)print(sound.duration_seconds)
num=sound.duration_seconds/cut_time#切割成多少个文件
file_num=int(num)print('wav file num = ',num,'loss 1')

filepath= os.path.split(audiopath)[0]#获取当前处理音频的路径
cuts_path= filepath+'/cuts/'print(cuts_path)for iinrange(file_num+1):#加1是因为分割数可能是小数
    begin=0+ cut_time*i*1000
    end=begin+cut_time*1000if end/1000> file_num:
        end=sound.duration_seconds*1000print('begin=',begin,'end=',end)
    cut_file_path=cuts_path+'cutxxx'+'.wav'if i<10:
        cut_file_path=cut_file_path.replace('xxx','0'+str(i))else:
        cut_file_path=cut_file_path.replace('xxx',str(i))

    cut_wav= sound[begin:end]#以毫秒为单位截取[begin, end]区间的音频
cut_wav.export(cut_file_path,format='wav')#存储新的wav文件print('保存完毕')傅里叶变换
需要安装库,但是我还没找到源码=<