SpringCloud(二)-手把手教你搭建Eureka Server和Eureka Client
转载自:Renaissance_
https://www.jianshu.com/p/cc61898291e3
实际项目中,一个系统由众多微服务组成。微服务之间的联系和调用关系该由谁来组织和协调呢,Spring Cloud提供了Eureka这个解决方案。因此这篇文章我们将继续上一篇文章的讲解,笔者将通过搭建的方式讲述如何通过Eureka实现服务的注册与发现。
系列文章
SpringCloud(一)-手把手教你创建springcloud微服务父子项目
SpringCloud(二)-手把手教你搭建Eureka Server和Eureka Client
SpringCloud(三)-手把手教你通过Rinbbon实现客户端负载均衡
SpringCloud(四)-手把手教你使用OpenFeign
SpringCloud(五)-手把手教你使用Hystrix配置服务熔断和降级以及Hystrix Dashboard
SpringCloud(六)-手把手教你搭建SpringCloud Config配置中心
SpringCloud(七)-手把手教你使用消息总线Bus实现动态刷新
SpringCloud(八)-手把手教你使用Stream消息驱动
Eureka介绍
Eureka 是C/S架构,这意味着我们Eureka是由server端和client端组成。在我们的项目中,商品服务的提供者和消费者都是服务客户端,我们都需要将服务注册到Eureka Server端,因此我们需要构建一个新的子项目springcloud-eureka-server-8300作为Eureka Server。
1. 搭建Eureka Server
1.1 新建springcloud-eureka-server-8300 子模块
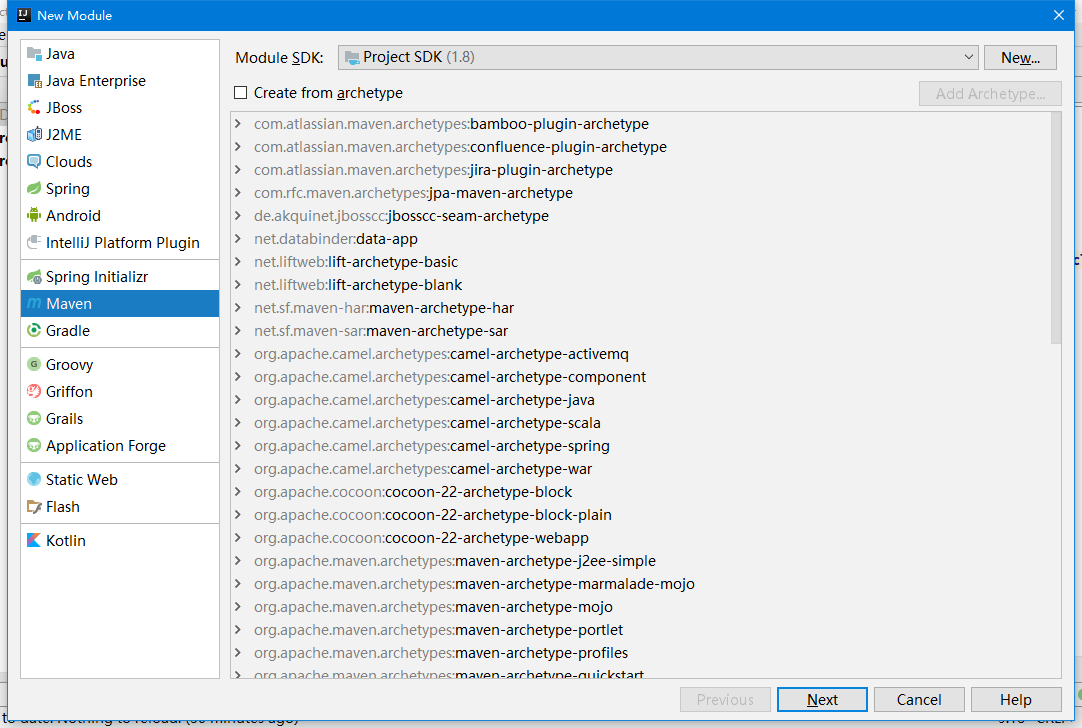
右键父项目
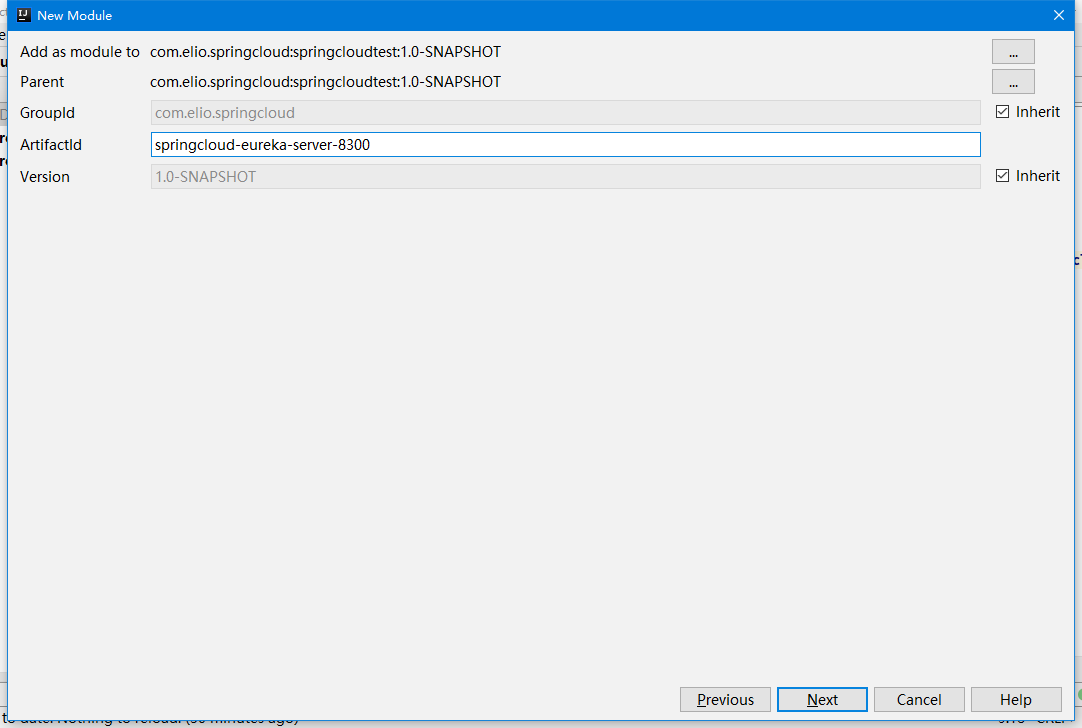
输入项目名
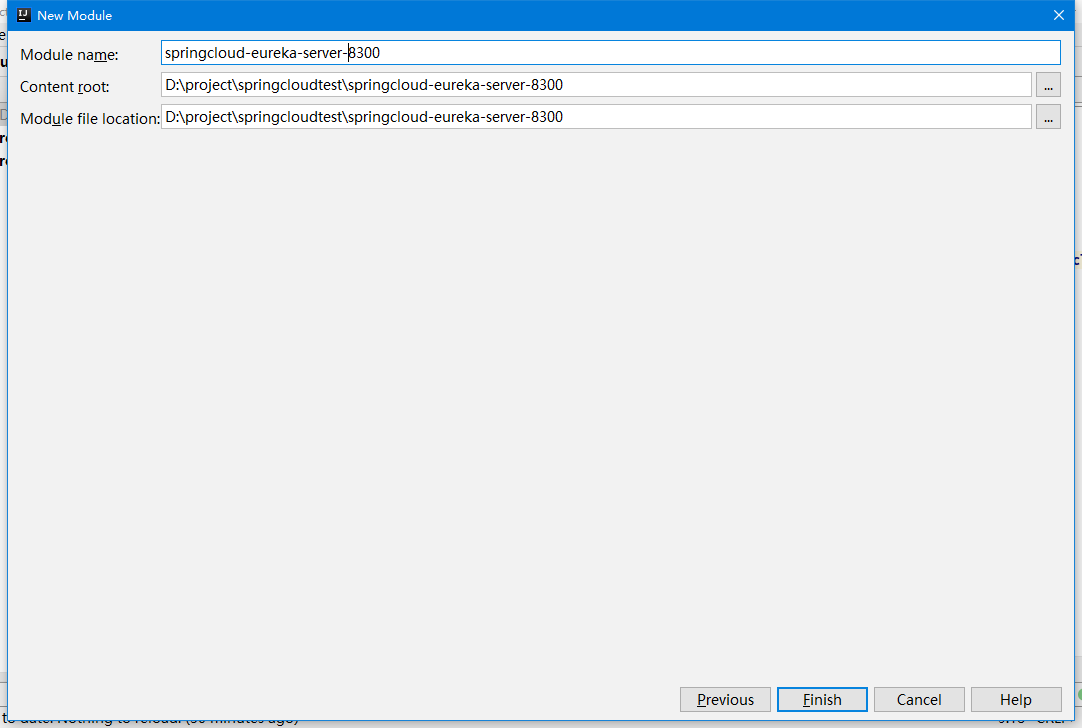
输入项目名
1.1 pom.xml引入相关jar包
<?xml version="1.0" encoding="UTF-8"?>
<project xmlns="http://maven.apache.org/POM/4.0.0"
         xmlns:xsi="http://www.w3.org/2001/XMLSchema-instance"
         xsi:schemaLocation="http://maven.apache.org/POM/4.0.0 http://maven.apache.org/xsd/maven-4.0.0.xsd">
    <parent>
        <artifactId>springcloudtest</artifactId>
        <groupId>com.elio.springcloud</groupId>
        <version>1.0-SNAPSHOT</version>
    </parent>
    <modelVersion>4.0.0</modelVersion>

    <artifactId>springcloud-eureka-server-8300</artifactId>

    <dependencies>
        <!--eureka-server -->
        <dependency>
            <groupId>org.springframework.cloud</groupId>
            <artifactId>spring-cloud-starter-netflix-eureka-server</artifactId>
        </dependency>
        <!--spring boot -->
        <dependency>
            <groupId>org.springframework.boot</groupId>
            <artifactId>spring-boot-starter-web</artifactId>
        </dependency>
        <!--热部署-->
        <dependency>
            <groupId>org.springframework.boot</groupId>
            <artifactId>spring-boot-devtools</artifactId>
        </dependency>
    </dependencies>

</project>
1.2 新增application.yml配置
server:
  port: 8300

spring:
  application:
    name: springcloud-eureka-server

eureka:
  instance:
    hostname: localhost
  client:
    register-with-eureka: false
    fetch-registry: false
    service-url:
      defaultZone: http://${eureka.instance.hostname}:${server.port}/eureka/
1.3 新增主启动类EurekaServer8300.java
关键是添加@EnableEurekaServer注解
package com.elio.springcloud;

import org.springframework.boot.SpringApplication;
import org.springframework.boot.autoconfigure.SpringBootApplication;
import org.springframework.cloud.netflix.eureka.server.EnableEurekaServer;

@SpringBootApplication
@EnableEurekaServer
public class EurekaServer8300 {

    public static void main(String[] args){
        SpringApplication.run(EurekaServer8300.class, args);
    }
}
1.4 测试
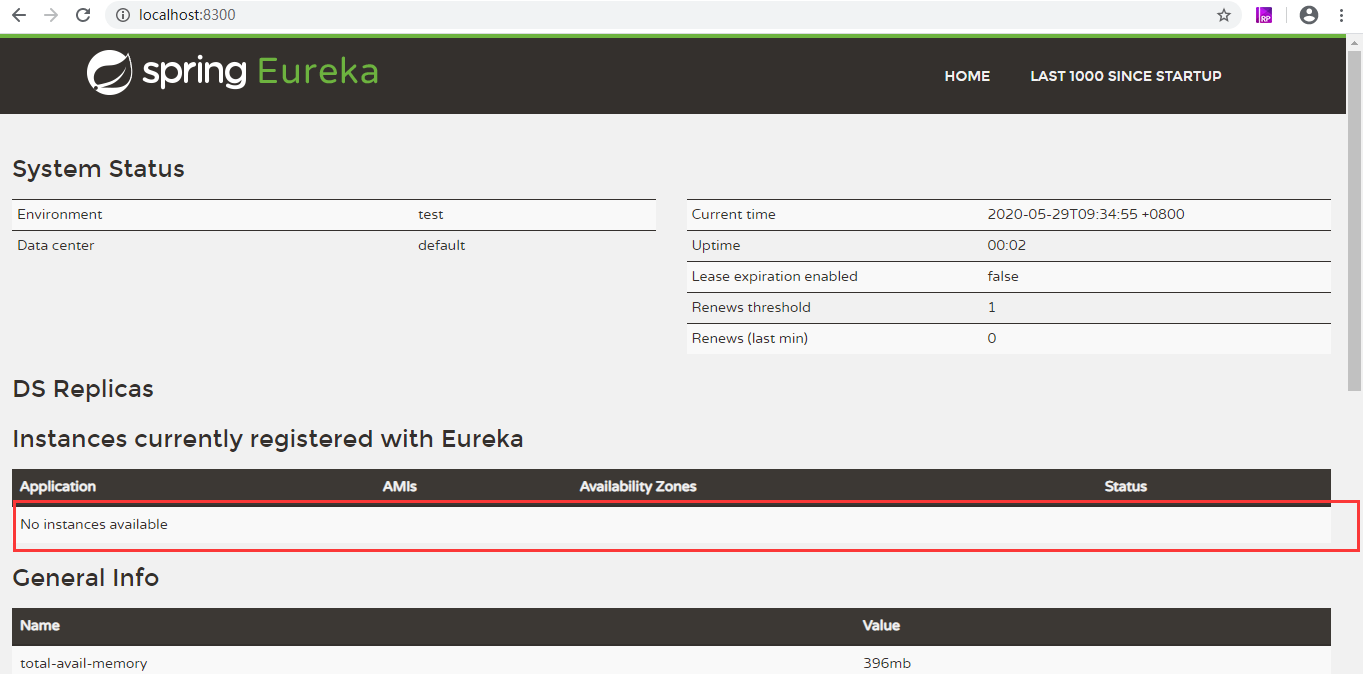
至此我们已经搭建完Eureka Server项目了,接下来就是启动Eureka Server来启动测试了
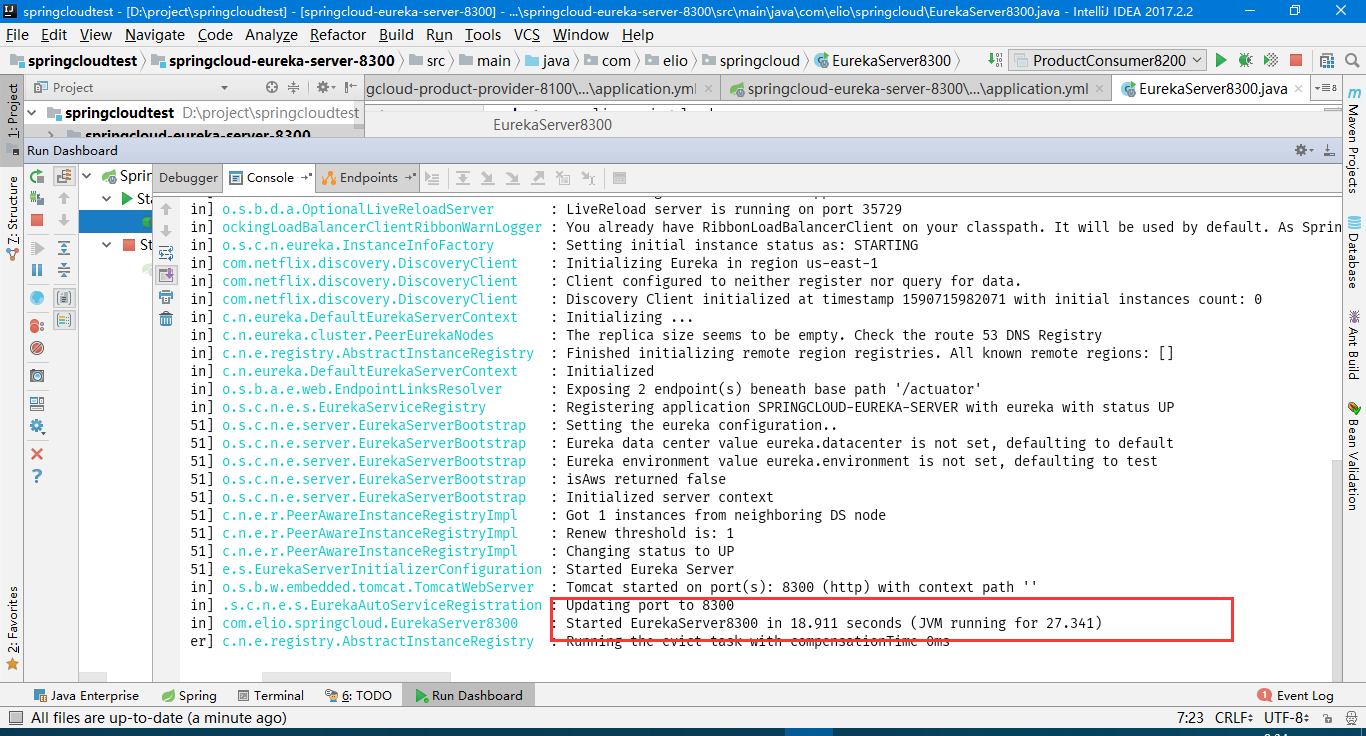
启动成功
浏览器输入http://localhost:8300/,我们发现应用实例那块为空,是因为我们还没有开始配置Eureka client端。
成功显示
2. 搭建Eureka Client
Eureka Client 就是我们上篇文章中新增的商品服务提供者 springcloud-product-provider-8100和 商品服务消费者springcloud-product-consumer-8200,我们要做的就是三步,引入jar包,添加注解,修改配置即可。
2.1 pom.xml引入jar包
 <!--eureka-client -->
        <dependency>
            <groupId>org.springframework.cloud</groupId>
            <artifactId>spring-cloud-starter-netflix-eureka-client</artifactId>
        </dependency>
2.2 application.yml添加Eureka相关配置
eureka:
  instance:
    instance-id: ${spring.application.name}
  client:
    fetch-registry: true
    register-with-eureka: true
    service-url:
      defaultZone: http://localhost:8300/eureka/ #Eureka地址
2.3 主启动类加上@EnableDiscoveryClient注解
package com.elio.springcloud;

import org.mybatis.spring.annotation.MapperScan;
import org.springframework.boot.SpringApplication;
import org.springframework.boot.autoconfigure.SpringBootApplication;
import org.springframework.cloud.client.discovery.EnableDiscoveryClient;

@SpringBootApplication
@MapperScan("com.elio.springcloud.dao")
@EnableDiscoveryClient
public class ProductProvider8100 {

    public static void main(String[] args){
        SpringApplication.run(ProductProvider8100.class, args);
    }
}
2.4
两个项目的步都是以上三步,操作完后,我们接下来可以启动8100和8200两个项目了。然后浏览器中刷新Eureka服务地址
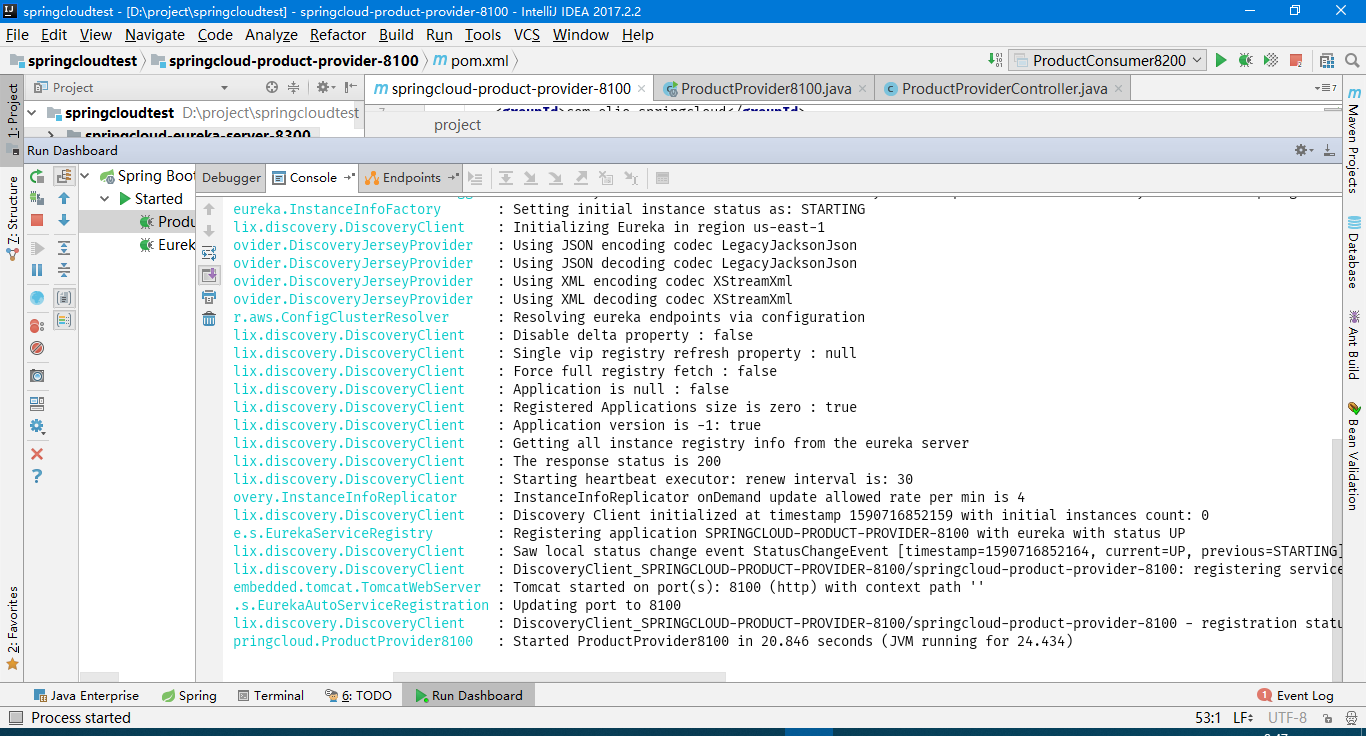
启动8100项目

启动8200项目
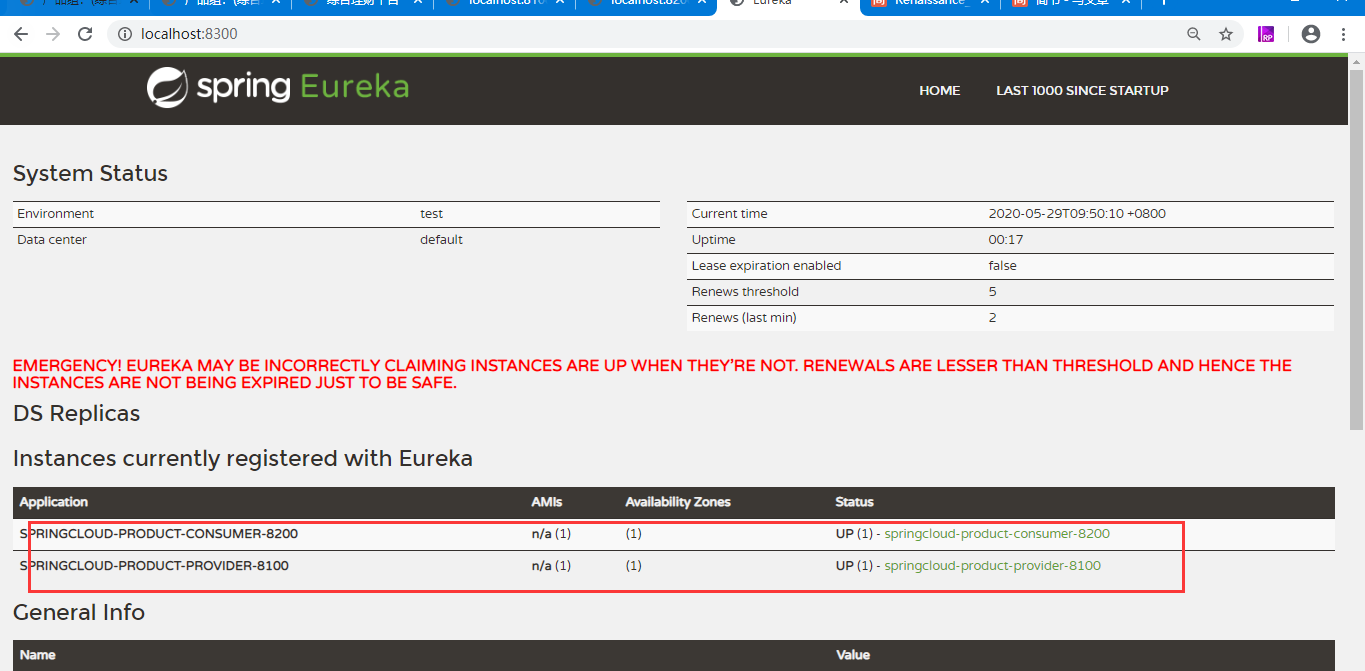
消费者和服务者已经成功注册成功
3. 搭建集群Eureka Server
上两步中我们已经成功搭建了Eureka Server 和Eureka Client单机版本,但是在实际的生产中,微服务的部署都是通过集群的方式,一个微服务可能部署在多台服务器上,一个Eureka Server也必须集群部署,因为当一个Eureka Server节点挂掉后,其它的Eureka Server还可以继续提供服务发现的功能,接下来就一步步搭建Eureka Server集群。在本例中,我们将新建一个Eureka Server 8301项目,新建一个Eureka Client 8201项目。
3.1 新增Eureka Server 8301项目
3.1.1 新增springcloud-eureka-server-8301
右键-new
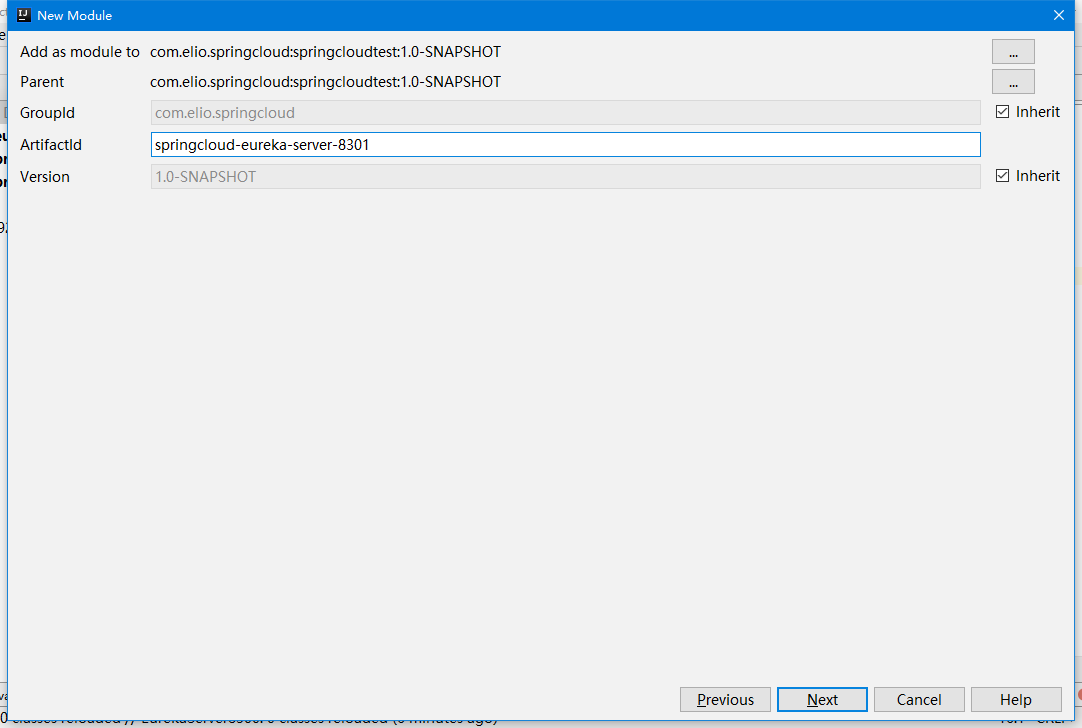
输入项目名
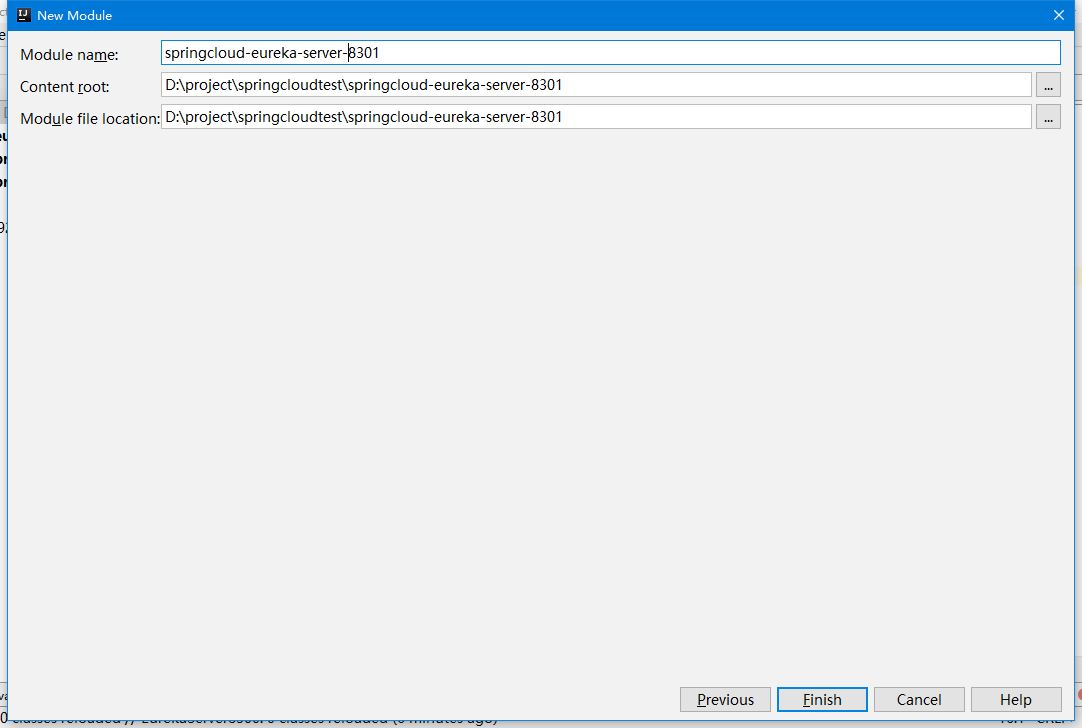
选择路径
3.1.2 pom.xml引入jar包
<?xml version="1.0" encoding="UTF-8"?>
<project xmlns="http://maven.apache.org/POM/4.0.0"
         xmlns:xsi="http://www.w3.org/2001/XMLSchema-instance"
         xsi:schemaLocation="http://maven.apache.org/POM/4.0.0 http://maven.apache.org/xsd/maven-4.0.0.xsd">
    <parent>
        <artifactId>springcloudtest</artifactId>
        <groupId>com.elio.springcloud</groupId>
        <version>1.0-SNAPSHOT</version>
    </parent>
    <modelVersion>4.0.0</modelVersion>

    <artifactId>springcloud-eureka-server-8301</artifactId>

    <dependencies>
        <!--eureka-server -->
        <dependency>
            <groupId>org.springframework.cloud</groupId>
            <artifactId>spring-cloud-starter-netflix-eureka-server</artifactId>
        </dependency>
        <!--spring boot -->
        <dependency>
            <groupId>org.springframework.boot</groupId>
            <artifactId>spring-boot-starter-web</artifactId>
        </dependency>
        <!--热部署-->
        <dependency>
            <groupId>org.springframework.boot</groupId>
            <artifactId>spring-boot-devtools</artifactId>
        </dependency>
    </dependencies>
</project>
3.1.3 新增application.yml配置文件
server:
  port: 8301

spring:
  application:
    name: springcloud-eureka-server-8301

eureka:
  instance:
    hostname: localhost
  client:
    register-with-eureka: true
    fetch-registry: true
    service-url:
      defaultZone: http://${eureka.instance.hostname}:${server.port}/eureka/,http://localhost:8300/eureka/
3.1.4 新增主启动类EurekaServer8301
package com.elio.springcloud;

import org.springframework.boot.SpringApplication;
import org.springframework.boot.autoconfigure.SpringBootApplication;
import org.springframework.cloud.netflix.eureka.server.EnableEurekaServer;

@SpringBootApplication
@EnableEurekaServer
public class EurekaServer8301 {

    public static void main(String[] args){
        SpringApplication.run(EurekaServer8301.class, args);
    }

}
3.1.5 测试
至此我们已经成功搭建了第二个Eureka Server服务项目,接下来就是启动这个8301项目了
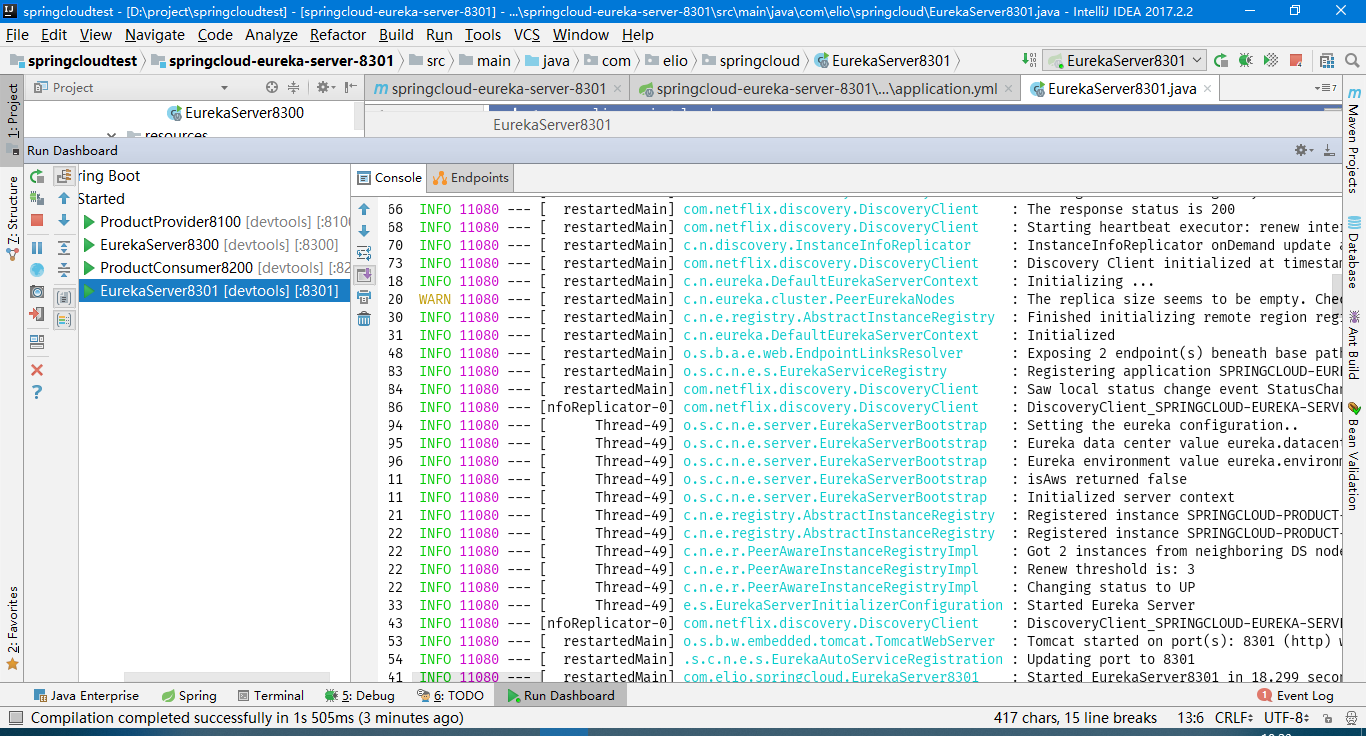
启动成功
修改Eureka Server 8300 和Eureka Client 8100 和8200配置
上面我们已经成功搭建了Eureka Server 8301项目,接下来需要修改配置将8300,8100,8200都注册到8301上,接下来就是直接修改这三个项目的Eureka配置即可
3.1.6 修改服务提供者和消费者配置
8300 application.yml
server:
  port: 8300

spring:
  application:
    name: springcloud-eureka-server-8300

eureka:
  instance:
    hostname: localhost
  client:
    register-with-eureka: true
    fetch-registry: true
    service-url:
      defaultZone: http://${eureka.instance.hostname}:${server.port}/eureka/,http://localhost:8301/eureka/
8100 application.yml
server:
  port: 8100 #端口号

spring:
  application:
    name: springcloud-product-provider-8100
  datasource:
      url: jdbc:mysql://localhost:3306/test?useUnicode=true&characterEncoding=utf8&userSSL=false
      driverClassName: com.mysql.jdbc.Driver
      username: root
      password: 111111

mybatis:
  mapper-locations: classpath:mapping/*mapper.xml # Mybatis 映射文件位置
  type-aliases-package: com.elio.springcloud.entity  # 表对应的实体类包

eureka:
  instance:
    instance-id: ${spring.application.name}
  client:
    fetch-registry: true
    register-with-eureka: true
    service-url:
      defaultZone: http://localhost:8300/eureka/,http://localhost:8301/eureka/
8200 application.yml
server:
  port: 8200

spring:
  application:
    name: springcloud-product-consumer-8200

eureka:
  instance:
    instance-id: ${spring.application.name}
  client:
    fetch-registry: true
    register-with-eureka: true
    service-url:
      defaultZone: http://localhost:8300/eureka/,http://localhost:8301/eureka/
3.1.7 集群测试
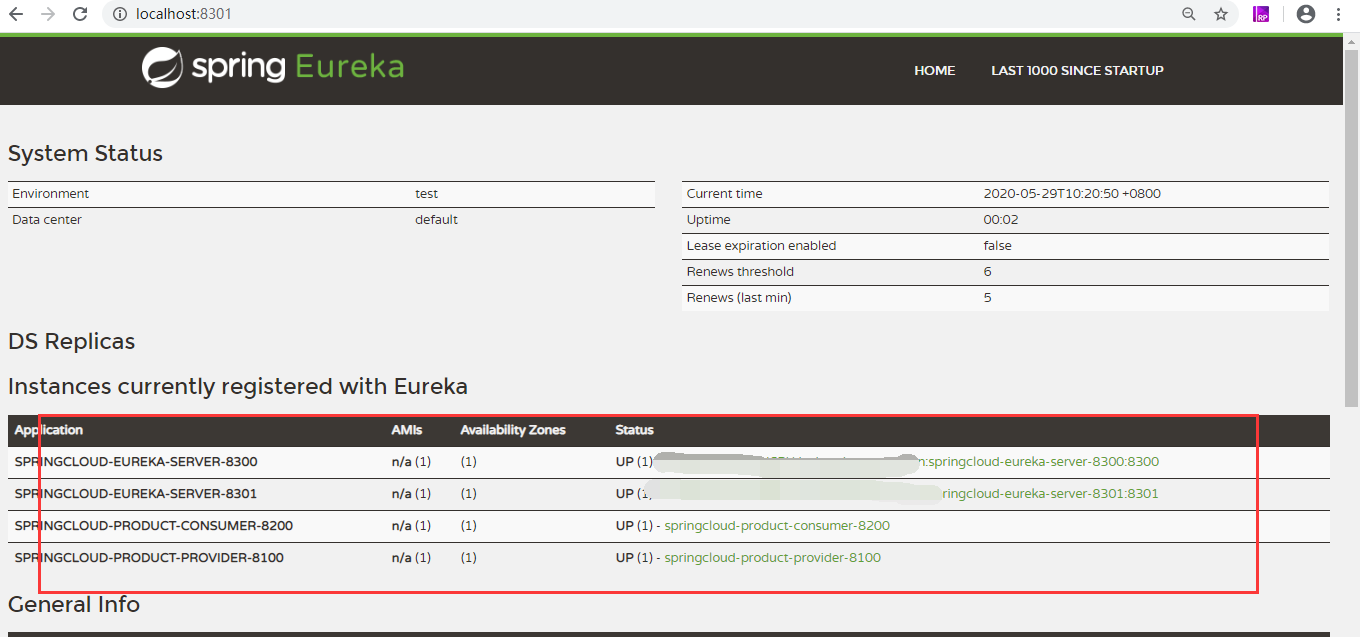
接下来就是依次启动8300,8301,8100,8200项目了,四个项目启动成功后,打开8300和8301的界面,发现8100和8200成功注册到两个Eureka Server上面了
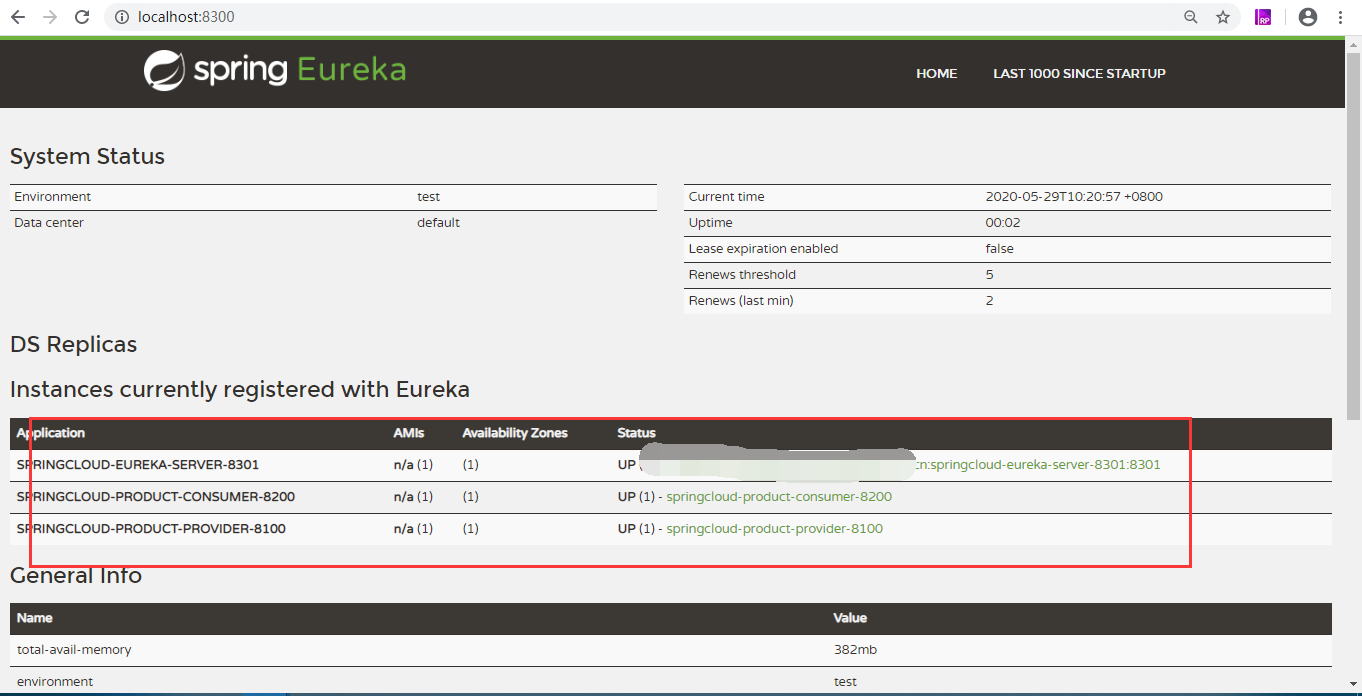
8300 Eureka server
8301 Eureka Server
4. 搭建集群Eureka Client
在上一步中,我们成功创建了Eureka Server集群,但是还没有测试微服务提供者和消费者的集群,在此仅以消费者集群为例,创建Eureka Client 集群。我们接下来新增一个8201消费者,创建步骤和8200的步骤一模一样,只是名字不一样而已,在此笔者不赘述了,直接贴出关键代码即可。
4.1 pom.xml引入jar包
<?xml version="1.0" encoding="UTF-8"?>
<project xmlns="http://maven.apache.org/POM/4.0.0"
         xmlns:xsi="http://www.w3.org/2001/XMLSchema-instance"
         xsi:schemaLocation="http://maven.apache.org/POM/4.0.0 http://maven.apache.org/xsd/maven-4.0.0.xsd">
    <parent>
        <artifactId>springcloudtest</artifactId>
        <groupId>com.elio.springcloud</groupId>
        <version>1.0-SNAPSHOT</version>
    </parent>
    <modelVersion>4.0.0</modelVersion>

    <artifactId>springcloud-product-consumer-8201</artifactId>

    <dependencies>
        <!--eureka-client -->
        <dependency>
            <groupId>org.springframework.cloud</groupId>
            <artifactId>spring-cloud-starter-netflix-eureka-client</artifactId>
        </dependency>
        <!--spring boot -->
        <dependency>
            <groupId>org.springframework.boot</groupId>
            <artifactId>spring-boot-starter-web</artifactId>
        </dependency>
        <!--热部署-->
        <dependency>
            <groupId>org.springframework.boot</groupId>
            <artifactId>spring-boot-devtools</artifactId>
        </dependency>
        <!--lombok-->
        <dependency>
            <groupId>org.projectlombok</groupId>
            <artifactId>lombok</artifactId>
        </dependency>
    </dependencies>

    <!--热启动插件-->
    <build>
        <plugins>
            <plugin>
                <groupId>org.springframework.boot</groupId>
                <artifactId>spring-boot-maven-plugin</artifactId>
                <configuration>
                    <fork>true</fork>
                    <addResources>true</addResources>
                </configuration>
            </plugin>
        </plugins>
    </build>

</project>
4.2 新增application.yml配置
server:
  port: 8201

spring:
  application:
    name: springcloud-product-consumer-8201

eureka:
  instance:
    instance-id: ${spring.application.name}
  client:
    fetch-registry: true
    register-with-eureka: true
    service-url:
      defaultZone: http://localhost:8300/eureka/,http://localhost:8301/eureka/
4.3 新增主ProductConsumer8201 启动类
package com.elio.springcloud;

import org.springframework.boot.SpringApplication;
import org.springframework.boot.autoconfigure.SpringBootApplication;
import org.springframework.boot.autoconfigure.jdbc.DataSourceAutoConfiguration;
import org.springframework.boot.autoconfigure.orm.jpa.HibernateJpaAutoConfiguration;
import org.springframework.cloud.client.discovery.EnableDiscoveryClient;

@SpringBootApplication(exclude={DataSourceAutoConfiguration.class,HibernateJpaAutoConfiguration.class})
@EnableDiscoveryClient
public class ProductConsumer8201 {

    public static void main(String[] args){
        SpringApplication.run(ProductConsumer8201.class, args);
    }
}
4.4 测试
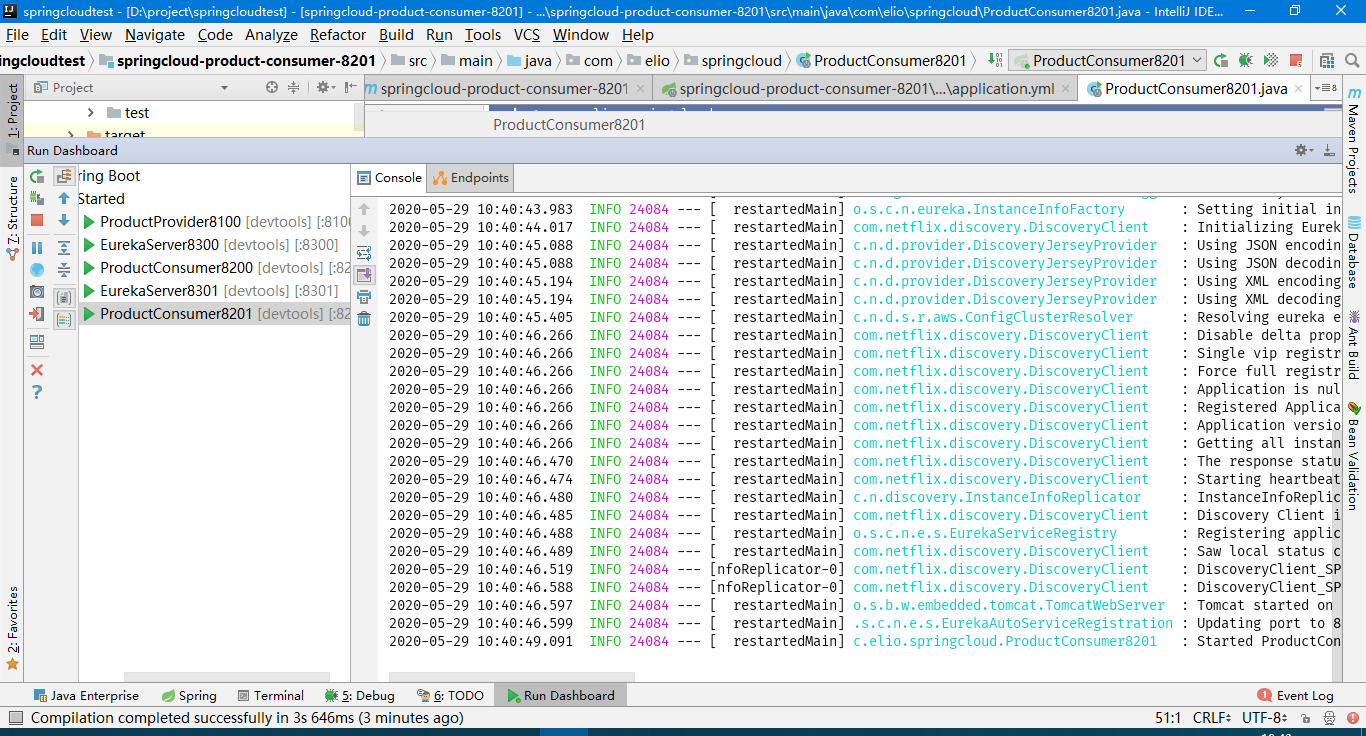
启动成功后,可看下图已经成功注册到两个服务器上面了,至此Eureka Server和Eureka Client 我们已经成功搭建起了单机版本和集群版本。
启动成功界面
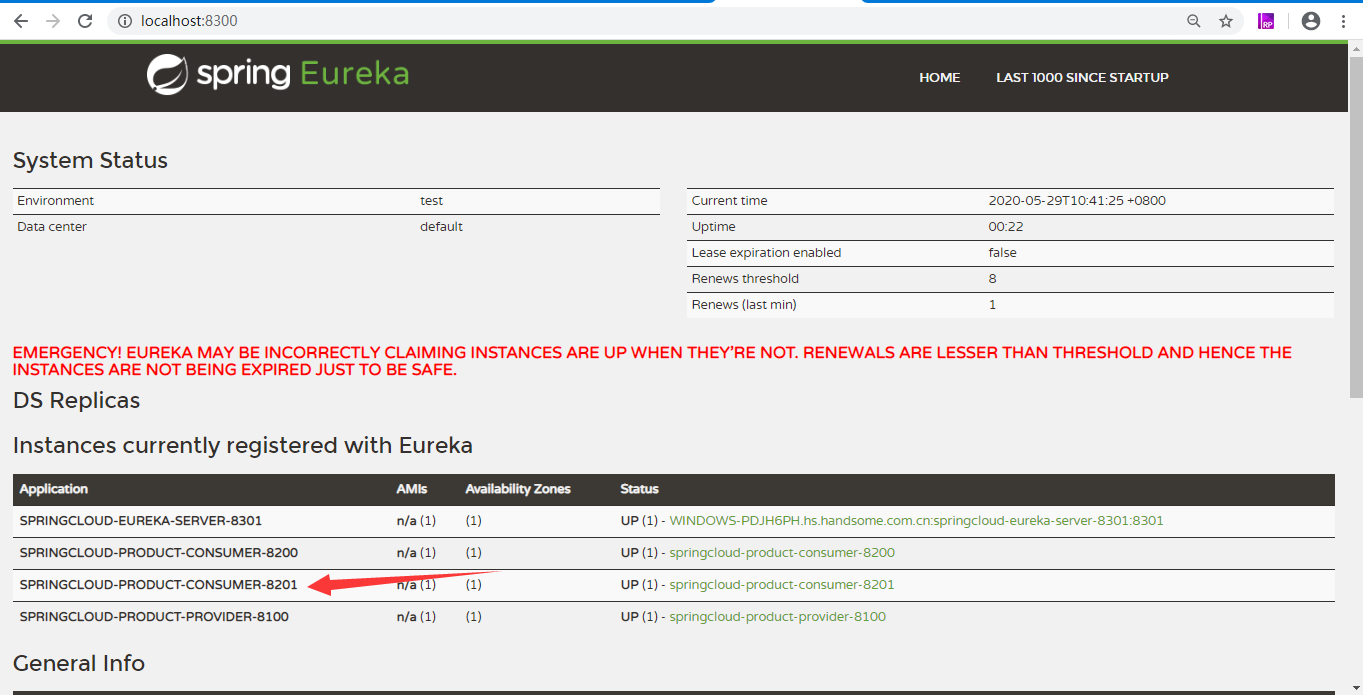
8201成功注册到8300上面
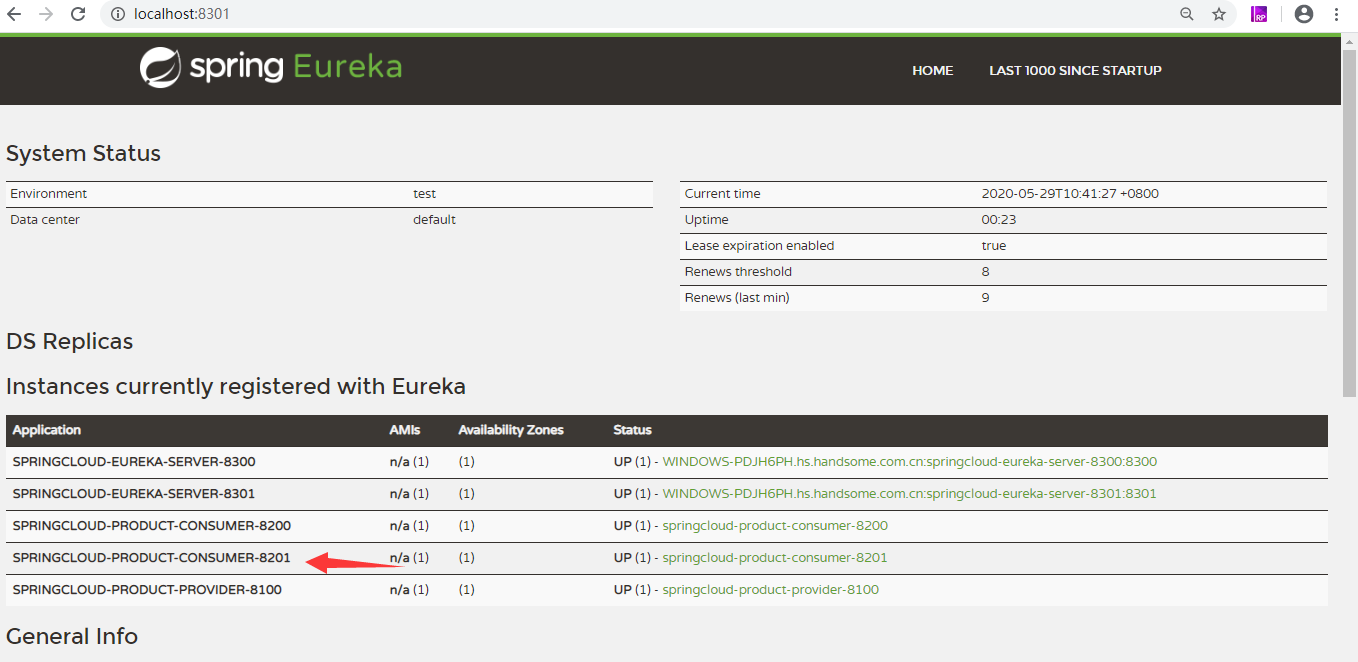
8201成功注册到8301上面
5. 搭建公共项目
还记得上一篇文章中我们抛出的两个问题么。第一个问题,服务之间注册我们已经实现了。第二个问题就是服务之间的公共类比如Result类都被引用了,当这个Result类被修改了后,我们将要修改多个微服务项目,这显然是不明智的,因此我们需要一个公共模块,来构建公共的api。
5.1 新增公共模块
新增公共模块和以上子模块都一样,在此只贴出重要代码和配置即可
5.2 pom.xml配置
<?xml version="1.0" encoding="UTF-8"?>
<project xmlns="http://maven.apache.org/POM/4.0.0"
         xmlns:xsi="http://www.w3.org/2001/XMLSchema-instance"
         xsi:schemaLocation="http://maven.apache.org/POM/4.0.0 http://maven.apache.org/xsd/maven-4.0.0.xsd">
    <parent>
        <artifactId>springcloudtest</artifactId>
        <groupId>com.elio.springcloud</groupId>
        <version>1.0-SNAPSHOT</version>
    </parent>
    <modelVersion>4.0.0</modelVersion>

    <artifactId>springcloud-common-api</artifactId>

    <dependencies>
        <!--spring boot -->
        <dependency>
            <groupId>org.springframework.boot</groupId>
            <artifactId>spring-boot-starter-web</artifactId>
        </dependency>
        <!--热部署-->
        <dependency>
            <groupId>org.springframework.boot</groupId>
            <artifactId>spring-boot-devtools</artifactId>
        </dependency>
        <!--lombok-->
        <dependency>
            <groupId>org.projectlombok</groupId>
            <artifactId>lombok</artifactId>
        </dependency>
    </dependencies>

    <!--热启动插件-->
    <build>
        <plugins>
            <plugin>
                <groupId>org.springframework.boot</groupId>
                <artifactId>spring-boot-maven-plugin</artifactId>
                <configuration>
                    <fork>true</fork>
                    <addResources>true</addResources>
                </configuration>
            </plugin>
        </plugins>
    </build>
</project>
5.3 新增Result类
package com.elio.springcloud.dto;

import lombok.AllArgsConstructor;
import lombok.Getter;
import lombok.NoArgsConstructor;
import lombok.Setter;

@AllArgsConstructor
@NoArgsConstructor
@Setter
@Getter
public class Result {
    private int code;
    private String message;
    private Object result;
}
5.4 消费者和提供者引入jar包
由于只是公共实体类模块,在此不用新增配置和启动类,接下来就是修改消费者8200和提供者8100的pom.xml引入以下配置即可
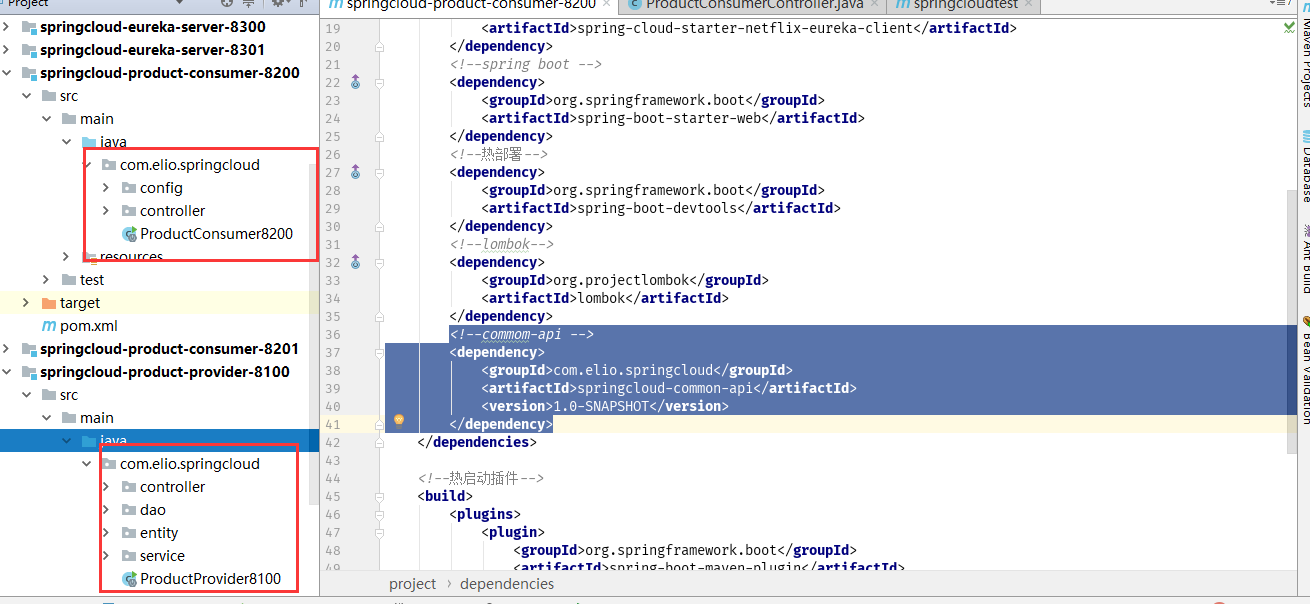
<!--commom-api -->
        <dependency>
            <groupId>com.elio.springcloud</groupId>
            <artifactId>springcloud-common-api</artifactId>
            <version>1.0-SNAPSHOT</version>
        </dependency>
引入成功后,删除8200和8100中的dto文件夹
删除dto文件夹
5.5 测试
重新启动8200和8100项目,然后浏览器测试下
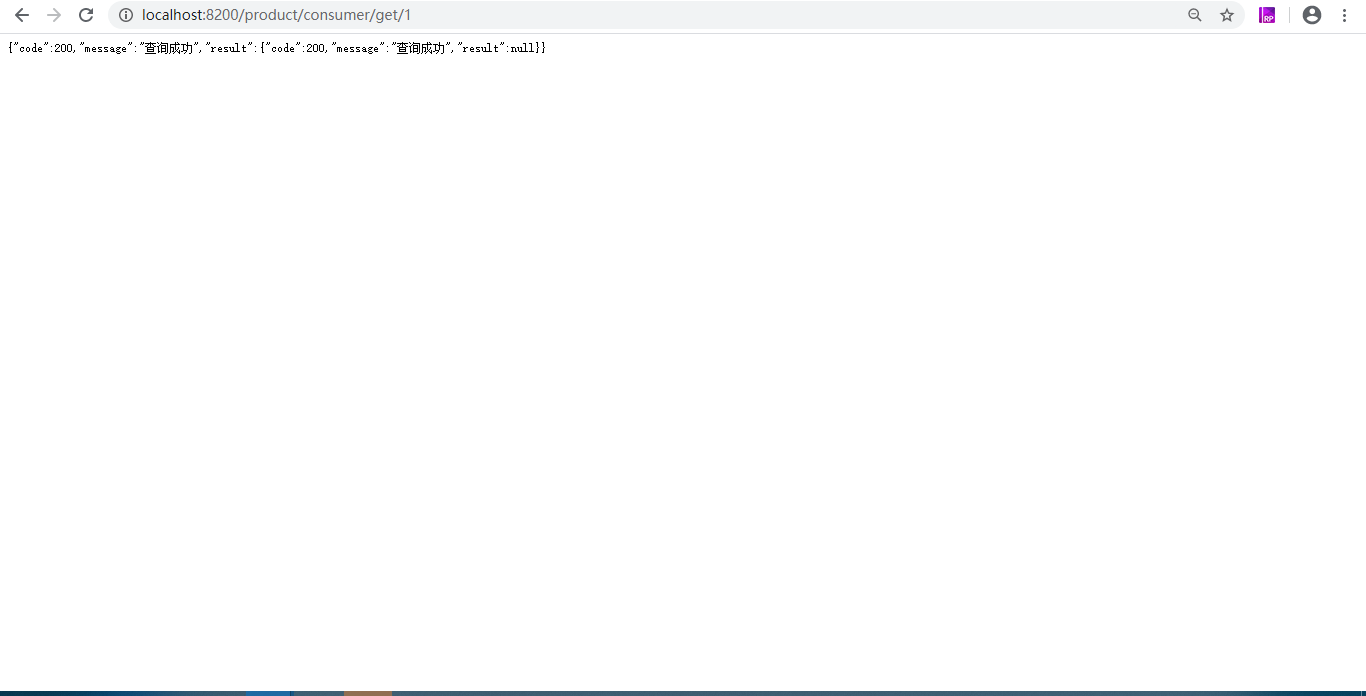
8200测试通过
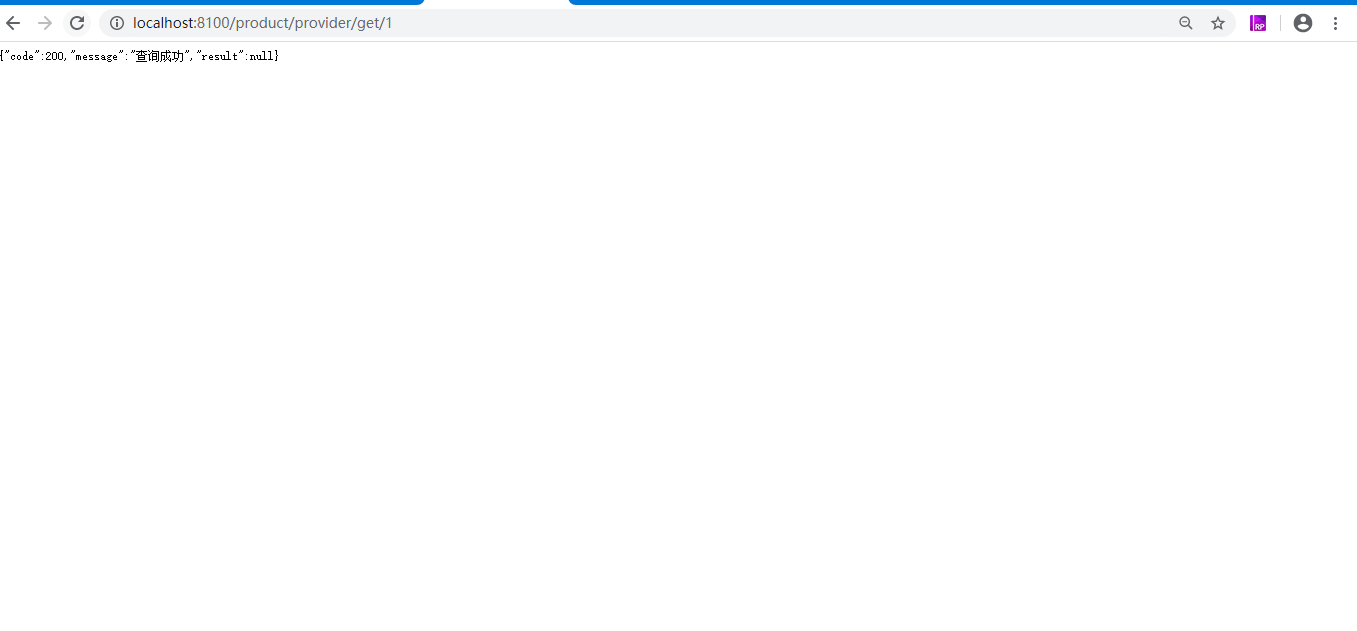
8100测试通过
总结
这篇文章我们成功地配置了Eureka Server端和Eureka Client端,并分别搭建了单机版本和集群版本。通过搭建步骤,我们了解Eureka的基本使用,具体的原理本文没有涉及,将会再写一篇文章来解析了。
现在项目存在的问题就是在服务消费者中,服务提供者地址我们还是写死了。第二个问题就是假如服务提供者集群部署,服务消费者应该去访问哪个提供者,这两个问题我们接下来将在下一篇文章介绍。