效果图: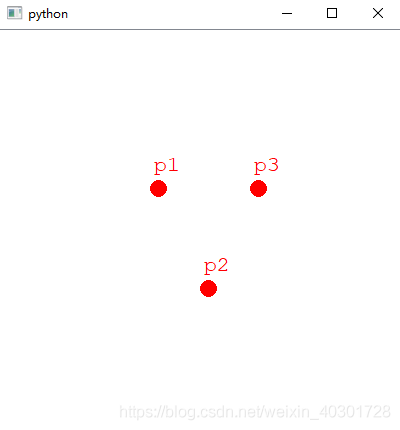
from PyQt5.QtCore import Qt, QRectF
from PyQt5.QtGui import QColor, QPen, QBrush, QFont
from PyQt5.QtWidgets import (QGraphicsView, QGraphicsScene, QApplication)


class MainWindow(QGraphicsView):
    def __init__(self, parent=None):
        super(MainWindow, self).__init__(parent)
        # 创建场景
        self.scene = MyGraphScene(self)
        # 在场景中添加文字
        self.addPoint(0, 0, "p1")
        self.addPoint(50, 100, "p2")
        self.addPoint(100, 0, "p3")
        self.setSceneRect(QRectF(-150, -150, 400, 400))
        self.scale(2, 2)
        # 将场景加载到窗口
        self.setScene(self.scene)

    def addPoint(self, x, y, name):
        self.scene.addEllipse(x, y, 16, 16, QPen(QColor(Qt.red)), QBrush(QColor(Qt.red)))
        text = self.scene.addText(name)
        text.setDefaultTextColor(QColor(Qt.red))
        text.setFont(QFont("Courier New", 16))
        text.setPos(x, y - 30)


class MyGraphScene(QGraphicsScene):
    def __init__(self, parent=None):
        super(MyGraphScene, self).__init__(parent)

    def drawBackground(self, painter, rect):
    	# 在这里可以绘制底板,比如网格
        pass


if __name__ == '__main__':
    import sys

    # 每个PyQt程序必须创建一个application对象,sys.argv 参数是命令行中的一组参数
    # 注意:application在 PyQt5.QtWidgets 模块中
    # 注意:application在 PyQt4.QtGui 模块中
    app = QApplication(sys.argv)
    # 创建桌面窗口
    mainWindow = MainWindow()
    # 显示桌面窗口
    mainWindow.show()
    sys.exit(app.exec_())
使用概要:
1、创建继承自QGraphicsView的窗口
2、创建继承自QGraphicsScene的画布
3、将画布设置给View窗口QGraphicsView::setScene(self.scene)
4、自由的在画布上添加元素:
①通过已经封装好的方法,如前面代码使用的
②自定义item,继承自QGraphicsItem该类,并通过QGraphicsScene::addItem(item)的方法将item添加到画布
QGraphicsView的API
QGraphicsScene的API
PS.这一篇是为下一篇做一个铺垫,下一篇将做一个预览窗口,是以QGraphicsScene、QGraphicsView 这两个类为基础实现的