先上效果图 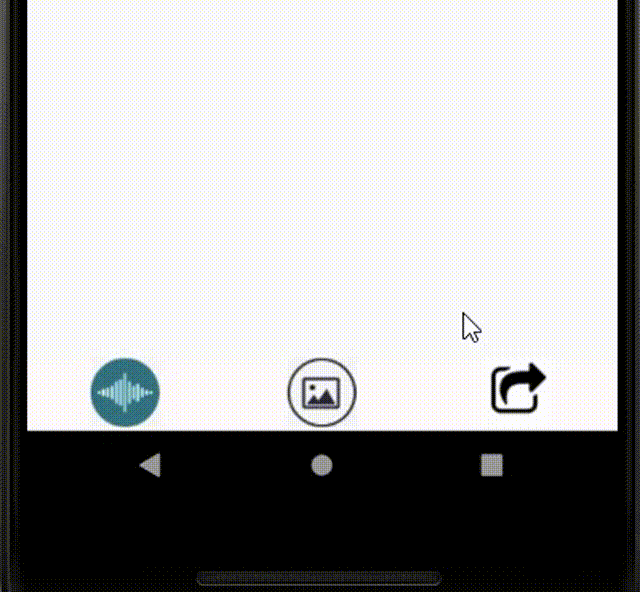
基本使用方法
View view = getLayoutInflater().inflate(R.layout.activity_photo_preview, null);

 if (popupBigPhoto == null) {
            popupBigPhoto = new PopupWindow(view, ViewGroup.LayoutParams.MATCH_PARENT, ViewGroup.LayoutParams.MATCH_PARENT, true);
            popupBigPhoto.setOutsideTouchable(true);
            popupBigPhoto.setOnDismissListener(this);
        }
        if (popupBigPhoto.isShowing()) {
            popupBigPhoto.dismiss();
        } else {
            popupBigPhoto.showAtLocation(headview, Gravity.TOP, 0, 0);
        }
基本属性方法
- window.setBackgroundDrawable(new ColorDrawable(Color.TRANSPARENT));
设置PopupWindow的背景 - window.setOutsideTouchable(true);
设置PopupWindow是否能响应外部点击事件 - window.setTouchable(true);
设置PopupWindow是否能响应点击事件 - window.setAnimationStyle(R.style.animTranslate)
添加动画
创建anim文件夹设置弹出和消失的动画,在style中设置。
位置设置
//直接显示在参照View 的左下方
public void showAsDropDown(View anchor)
// 显示在参照View的左下方,可以通过xoff,yOff,来调节x,y方向的偏移
public void showAsDropDown(View anchor, int xoff, int off)

public void showAsDropDown(View anchor, int xoff, int yoff, int gravity)
//显示在指定位置,相对于父布局而言,通过gravity调解显示在左、上、右、下、中. x,y调整两个方向的偏移
public void showAtLocation(View parent, int gravity, int x, int y)
布局文件
<?xml version="1.0" encoding="utf-8"?>
<RelativeLayout xmlns:android="http://schemas.android.com/apk/res/android"
    android:layout_width="match_parent"
    android:layout_height="wrap_content"
    android:gravity="center_horizontal">

    <LinearLayout
        android:id="@+id/id_pop_layout"
        android:layout_width="match_parent"
        android:layout_height="wrap_content"
        android:orientation="vertical"
        android:layout_alignParentBottom="true"
        android:background="#FFFFFF">

        <Button
            android:id="@+id/id_btn_take_photo"
            android:layout_width="match_parent"
            android:layout_height="wrap_content"
            android:text="拍照"
            android:background="@drawable/button_shape"/>

        <Button
            android:id="@+id/id_btn_select"
            android:layout_width="match_parent"
            android:layout_height="wrap_content"
            android:text="从相册中选择"
            android:background="@drawable/button_shape"/>

        <Button
            android:id="@+id/id_btn_cancelo"
            android:layout_width="match_parent"
            android:layout_height="wrap_content"
            android:text="取消"
            android:background="@drawable/button_shape"/>

    </LinearLayout>

</RelativeLayout>
边框样式文件
<?xml version="1.0" encoding="utf-8"?>
<shape xmlns:android="http://schemas.android.com/apk/res/android">
    <gradient android:startColor="#FFFFFF"  android:endColor="#FFFFFF" android:angle="90" /><!--背景颜色渐变 angle为渐变角度-->
    <solid android:color="#00ffffff" /><!-- 背景填充颜色 -->
    <stroke android:width="3dp" android:color="#ff000000" /><!-- 描边,边框宽度、颜色 -->
    <corners android:radius="10dp" /><!-- 边角圆弧的半径 -->
</shape>
JAVA代码:
public void initPopWindow(View v){
        View contentView = LayoutInflater.from(NoteEditor.this).inflate(R.layout.photo_insert_layout, null);
        mPopWindow = new PopupWindow(contentView,
                ViewGroup.LayoutParams.MATCH_PARENT, ViewGroup.LayoutParams.WRAP_CONTENT, true);
        //显示PopupWindow
        View rootview = LayoutInflater.from(NoteEditor.this).inflate(R.layout.photo_insert_layout, null);
        mPopWindow.showAtLocation(rootview, Gravity.BOTTOM, 0, 0);
        View view = mPopWindow.getContentView();
        Button tButton = view.findViewById(R.id.id_btn_take_photo);
        Button gButton = view.findViewById(R.id.id_btn_select);
        Button cButton = view.findViewById(R.id.id_btn_cancelo);
        tButton.setOnClickListener(new View.OnClickListener() {
            @Override
            public void onClick(View v) {
                Toast.makeText(NoteEditor.this,"开发中",Toast.LENGTH_SHORT).show();
            }
        });
        gButton.setOnClickListener(new View.OnClickListener() {
            @Override
            public void onClick(View v) {
                Toast.makeText(NoteEditor.this,"开发中",Toast.LENGTH_SHORT).show();
            }
        });
        cButton.setOnClickListener(new View.OnClickListener() {
            @Override
            public void onClick(View v) {
                mPopWindow.dismiss();
            }
        });
    }