Pytorch加载自己的数据集(以图片格式的Mnist数据集为例)
前言
初学pytorch,看了很多教程,发现所有教程在加载数据集的时候都用的pytorch已经定义好的模块,没有详细讲到如何使用Dataset和DataLoader加载自己格式多样的数据集,经过一段时间研究,成功跑通以图片为训练数据集的简单分类模型,现记录如下。
数据集在这里:
链接: https://pan.baidu.com/s/16T1IoAgOsepLqFRzjDck3g?pwd=h254 提取码: h254 复制这段内容后打开百度网盘手机App,操作更方便哦
一、数据集转换
Mnist是非常经典的数据集之一,从官网下载得到的是二进制的文件,与我们常用的图片格式不符,所以先将二进制文件转换为图像。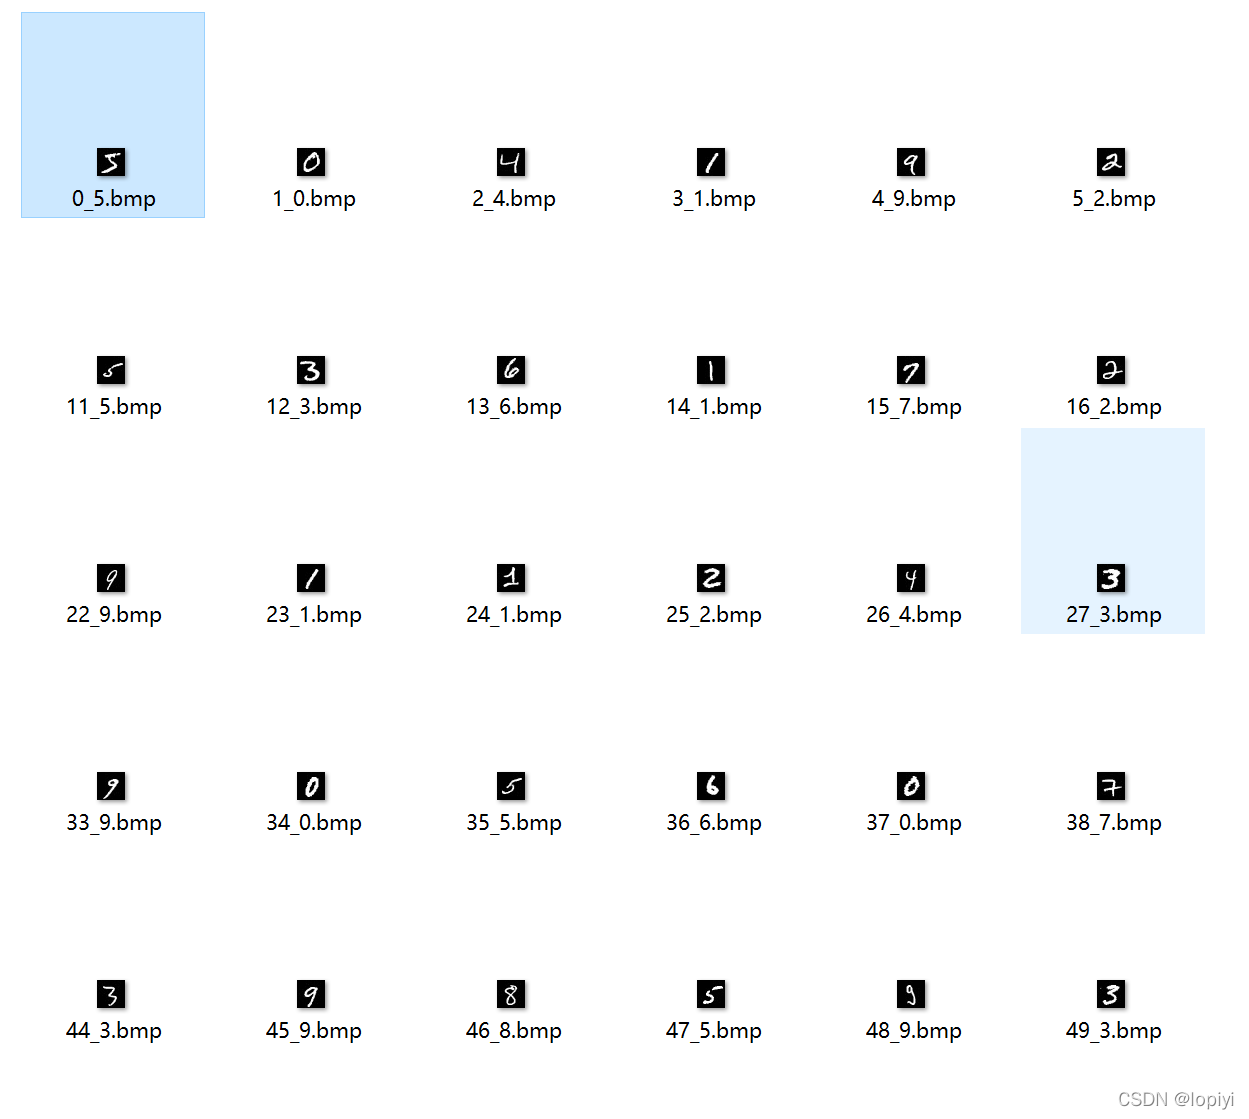
转换代码如下:
#-*- coding: utf-8-*-
import numpy as np
importstructimport os
import cv2


classDataUtils(object):
    def__init__(self, filename=None, outpath=None):
        self._filename= filename
        self._outpath= outpath

        self._tag='>'  # 大端格式
        self._twoBytes='II'
        self._fourBytes='IIII'
        self._pictureBytes='784B'
        self._labelByte='1B'
        self._twoBytes2= self._tag+ self._twoBytes
        self._fourBytes2= self._tag+ self._fourBytes
        self._pictureBytes2= self._tag+ self._pictureBytes
        self._labelByte2= self._tag+ self._labelByte

        self._imgNums=0
        self._LabelNums=0

    defgetImage(self):"""
        将MNIST的二进制文件转换成像素特征数据"""
        binfile=open(self._filename,'rb')  # 以二进制方式打开文件
        buf= binfile.read()
        binfile.close()
        index=0
        numMagic, self._imgNums, numRows, numCols=struct.unpack_from(self._fourBytes2, buf, index)
        index+=struct.calcsize(self._fourBytes)
        images=[]print('image nums: %d'% self._imgNums)for i inrange(self._imgNums):
            imgVal=struct.unpack_from(self._pictureBytes2, buf, index)
            index+=struct.calcsize(self._pictureBytes2)
            imgVal=list(imgVal)
            images.append(imgVal)return np.array(images), self._imgNums

    defgetLabel(self):"""
        将MNIST中label二进制文件转换成对应的label数字特征"""
        binFile=open(self._filename,'rb')
        buf= binFile.read()
        binFile.close()
        index=0
        magic, self._LabelNums=struct.unpack_from(self._twoBytes2, buf, index)
        index+=struct.calcsize(self._twoBytes2)
        labels=[]for x inrange(self._LabelNums):
            im=struct.unpack_from(self._labelByte2, buf, index)
            index+=struct.calcsize(self._labelByte2)
            labels.append(im[0])return np.array(labels)

    defoutImg(self, arrX, arrY, imgNums):"""
        根据生成的特征和数字标号,输出图像"""
        output_txt= self._outpath+'/img.txt'
        output_file=open(output_txt,'a+')

        m, n= np.shape(arrX)
        # 每张图是28*28=784Bytefor i inrange(imgNums):
            img= np.array(arrX[i])
            img= img.reshape(28,28)#print(img)
            outfile=str(i)+"_"+str(arrY[i])+".bmp"#print('saving file: %s'% outfile)

            txt_line= outfile+" "+str(arrY[i])+'\n'
            output_file.write(txt_line)
            cv2.imwrite(self._outpath+'/'+ outfile, img)
        output_file.close()if __name__=='__main__':
    # 二进制文件路径,需要修改,和自己的相对应
    trainfile_X='C:\\Users\\60058670\\Desktop\\MNIST\\train-images.idx3-ubyte'
    trainfile_y='C:\\Users\\60058670\\Desktop\\MNIST\\train-labels.idx1-ubyte'
    testfile_X='C:\\Users\\60058670\\Desktop\\MNIST\\t10k-images.idx3-ubyte'
    testfile_y='C:\\Users\\60058670\\Desktop\\MNIST\\t10k-labels.idx1-ubyte'

    # 加载mnist数据集
    train_X, train_img_nums=DataUtils(filename=trainfile_X).getImage()
    train_y=DataUtils(filename=trainfile_y).getLabel()
    test_X, test_img_nums=DataUtils(testfile_X).getImage()
    test_y=DataUtils(testfile_y).getLabel()

    # 以下内容是将图像保存到本地文件中
    path_trainset="C:\\Users\\60058670\\Desktop\\MNIST\\train"
    path_testset="C:\\Users\\60058670\\Desktop\\MNIST\\test"if not os.path.exists(path_trainset):
        os.mkdir(path_trainset)if not os.path.exists(path_testset):
        os.mkdir(path_testset)DataUtils(outpath=path_trainset).outImg(train_X, train_y,int(train_img_nums/10))  #/10是只转换十分之一,用于测试DataUtils(outpath=path_testset).outImg(test_X, test_y,int(test_img_nums/10))
二、构建自己的数据集
构建方法为继承Dataset类,用DataLoader加载
1.引入库
from torch.utils.data import Dataset
from torch.utils.data import DataLoader
2.构建MnistDataset类
# 构建自己的数据集
classMnistDataset(Dataset):
    def__init__(self, transform=None, lu_jing=None):
        self.lu_jing= lu_jing
        self.数据= os.listdir(self.lu_jing)
        self.transform= transform
        self.len=len(self.数据)

    def__getitem__(self, index):
        image_index= self.数据[index]
        img_path= os.path.join(self.lu_jing, image_index)
        img= Image.open(img_path)if self.transform:
            img= self.transform(img)

        label=int(image_index[-5])
        label= self.oneHot(label)return img, label

    def__len__(self):return self.len

    # 将标签转为onehot编码
    defoneHot(self, label):
        tem= np.zeros(10)
        tem[label]=1return torch.from_numpy(tem)
3.搭建网络模型
只为演示,模型比较简单。
classModel(torch.nn.Module):
    def__init__(self):super(Model, self).__init__()
        self.Conv1= torch.nn.Conv2d(1,10, kernel_size=(5,5))
        self.Conv2= torch.nn.Conv2d(10,20, kernel_size=(5,5))
        self.pool= torch.nn.MaxPool2d(2)
        self.fl= torch.nn.Linear(320,10)

    defforward(self, x):
        bs= x.size(0)
        x= F.relu(self.pool(self.Conv1(x)))
        x= F.relu(self.pool(self.Conv2(x)))
        x= x.view(bs,-1)
        x= self.fl(x)return x
三 完整代码
import os
from PIL import Image
import torch
from torch.utils.data import Dataset
from torch.utils.data import DataLoader
import numpy as np
from torchvision import transforms
import torch.nn.functional as F


# 构建自己的数据集
classMnistDataset(Dataset):
    def__init__(self, transform=None, lu_jing=None):
        self.lu_jing= lu_jing
        self.数据= os.listdir(self.lu_jing)
        self.transform= transform
        self.len=len(self.数据)

    def__getitem__(self, index):
        image_index= self.数据[index]
        img_path= os.path.join(self.lu_jing, image_index)
        img= Image.open(img_path)if self.transform:
            img= self.transform(img)

        label=int(image_index[-5])
        label= self.oneHot(label)return img, label

    def__len__(self):return self.len

    # 将标签转为onehot编码
    defoneHot(self, label):
        tem= np.zeros(10)
        tem[label]=1return torch.from_numpy(tem)


classModel(torch.nn.Module):
    def__init__(self):super(Model, self).__init__()
        self.Conv1= torch.nn.Conv2d(1,10, kernel_size=(5,5))
        self.Conv2= torch.nn.Conv2d(10,20, kernel_size=(5,5))
        self.pool= torch.nn.MaxPool2d(2)
        self.fl= torch.nn.Linear(320,10)

    defforward(self, x):
        bs= x.size(0)
        x= F.relu(self.pool(self.Conv1(x)))
        x= F.relu(self.pool(self.Conv2(x)))
        x= x.view(bs,-1)
        x= self.fl(x)return xif __name__=='__main__':
    # 训练集路径
    train_data="C:\\Users\\60058670\\Desktop\\MNIST\\train"
    transform= transforms.Compose([transforms.ToTensor()])  # 归一化处理
    data=MnistDataset(transform=transform, lu_jing=train_data)
    data_loader=DataLoader(data, batch_size=200, shuffle=True)  # 使用DataLoader加载数据
    model=Model()
    criterion= torch.nn.CrossEntropyLoss()  # 交叉熵损失
    optimizer= torch.optim.SGD(model.parameters(), lr=0.01, momentum=0.5)  # model.parameters()自动完成参数的初始化操作for epoch inrange(20):for i, data1 inenumerate(data_loader,0):  # train_loader 是先shuffle后mini_batch
            inputs, labels= data1
            y_pred=model(inputs)
            loss=criterion(y_pred, labels)

            optimizer.zero_grad()
            loss.backward()

            optimizer.step()if epoch%5==0:print(epoch, loss.item())
    # 测试集路径
    test_data='C:\\Users\\60058670\\Desktop\\MNIST\\test'

    x_test=MnistDataset(transform=transform, lu_jing=test_data)
    x_test=DataLoader(x_test, batch_size=100, shuffle=False)  # 使用DataLoader加载数据
    total=0
    correct=0for i, data inenumerate(x_test,0):  # train_loader 是先shuffle后mini_batch
        inputs, labels= data
        y_pred=model(inputs)
        _, labels= torch.max(labels.data, dim=1)
        _, predicted= torch.max(y_pred.data, dim=1)
        total+= labels.size(0)
        correct+=(predicted== labels).sum().item()print('accuracy on test set: {} % '.format(100* correct/ total))print(correct, total)
总结
纸上得来终觉浅,绝知此事要躬行。自己动手写了代码就会发现一堆问题,知识就是在解决问题的过程中积累的。初学不久,有问题大家可以一起交流讨论。