环境
hadoop :1.0.0
java :1.8.0_171
启动haoop,并配置远程调试
指定远程调试监听端口8888
export HADOOP_CLIENT_OPTS="-agentlib:jdwp=transport=dt_socket,address=8888,server=y,suspend=y"利用hadoop jar命令提交任务
hadoop jar XXX.jar main函数所在的类配置idea
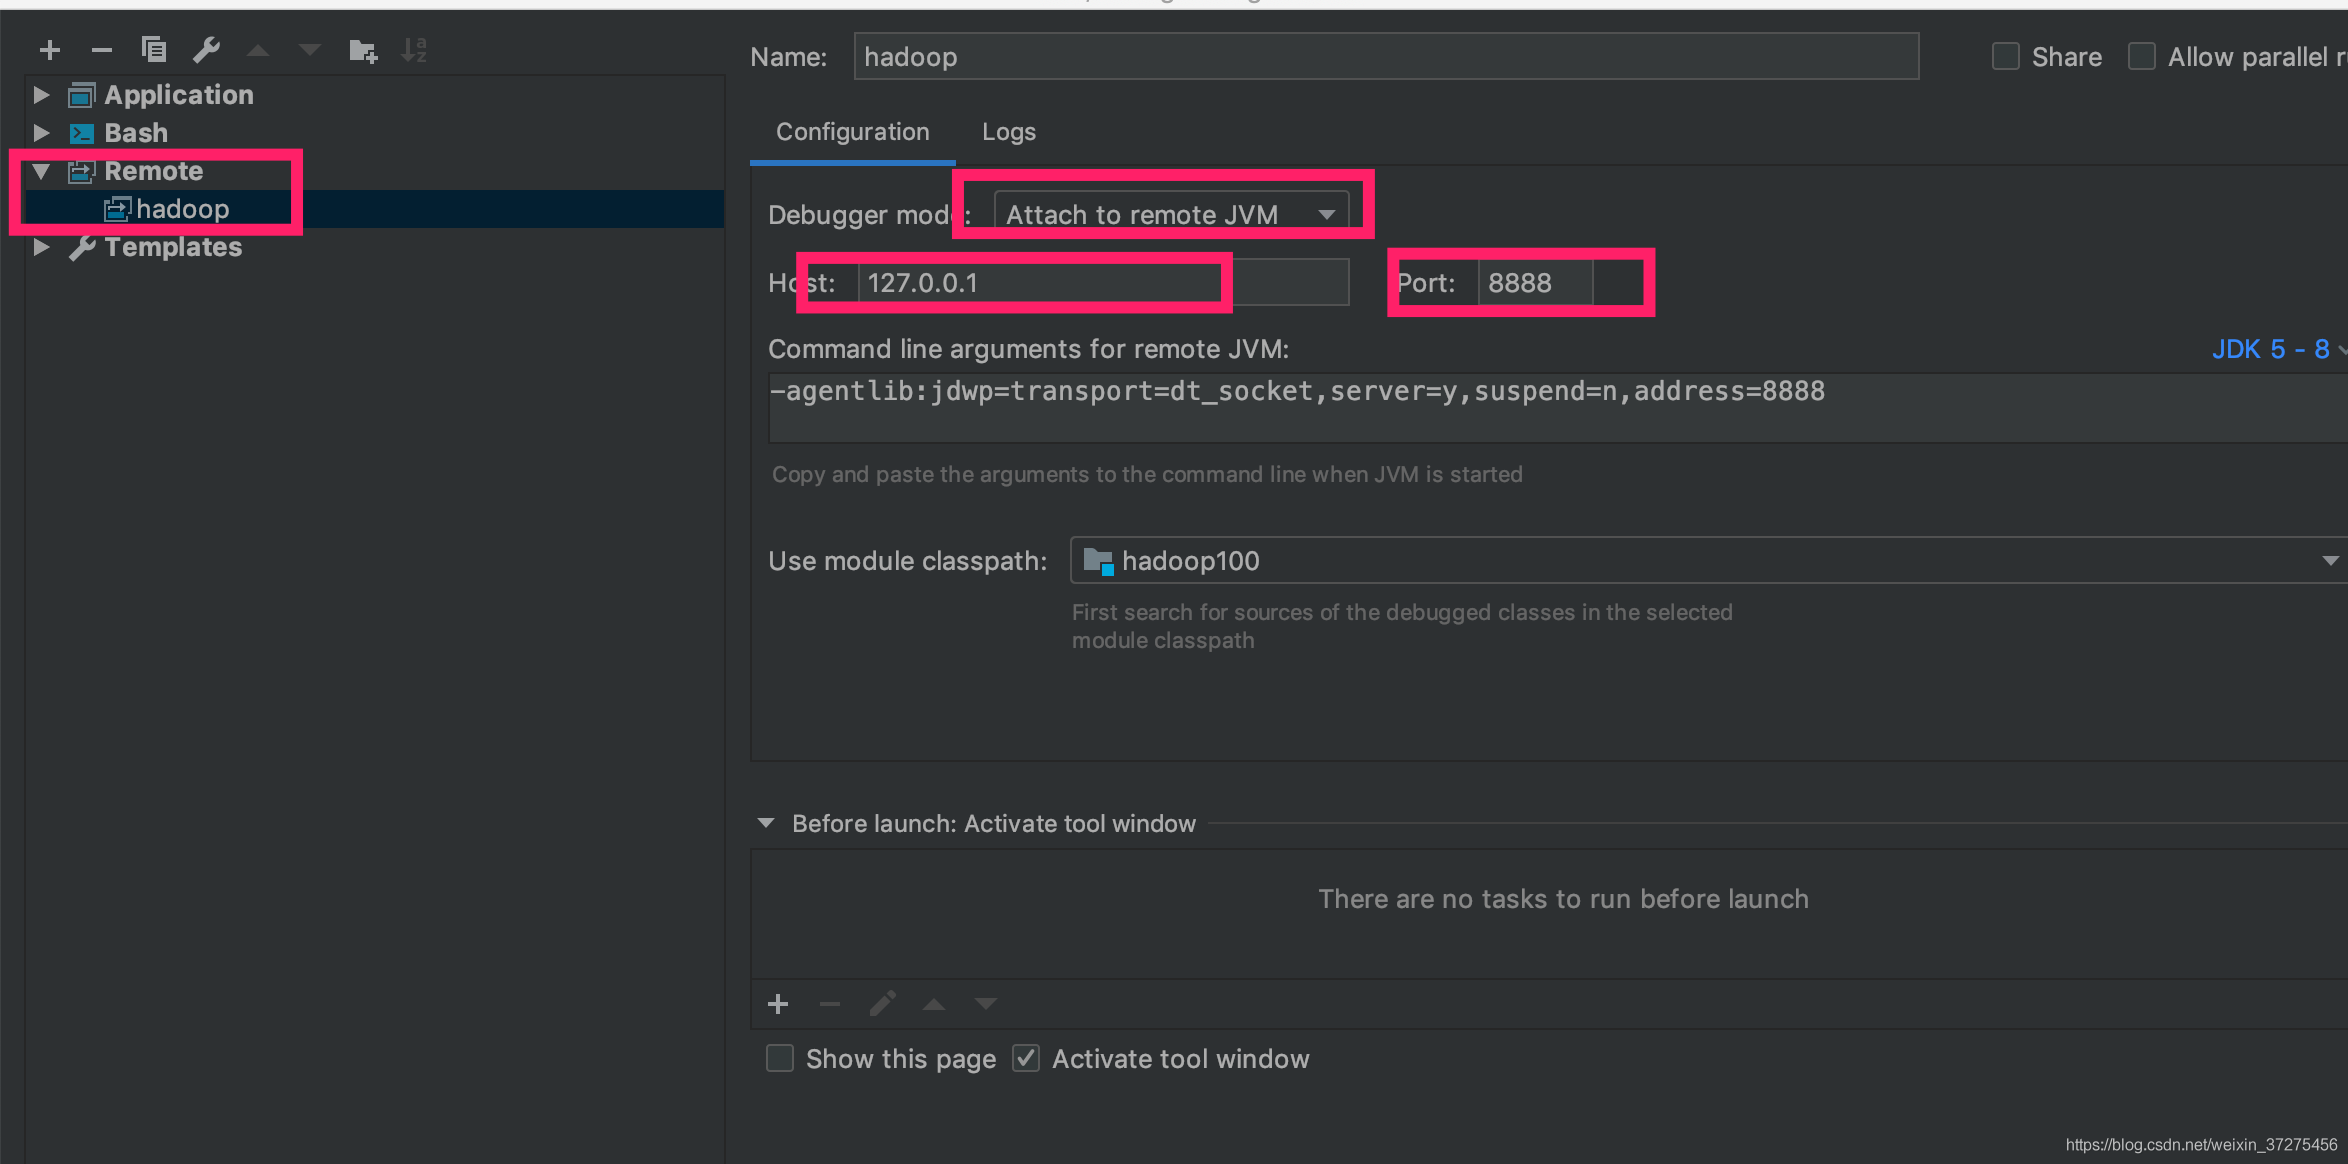
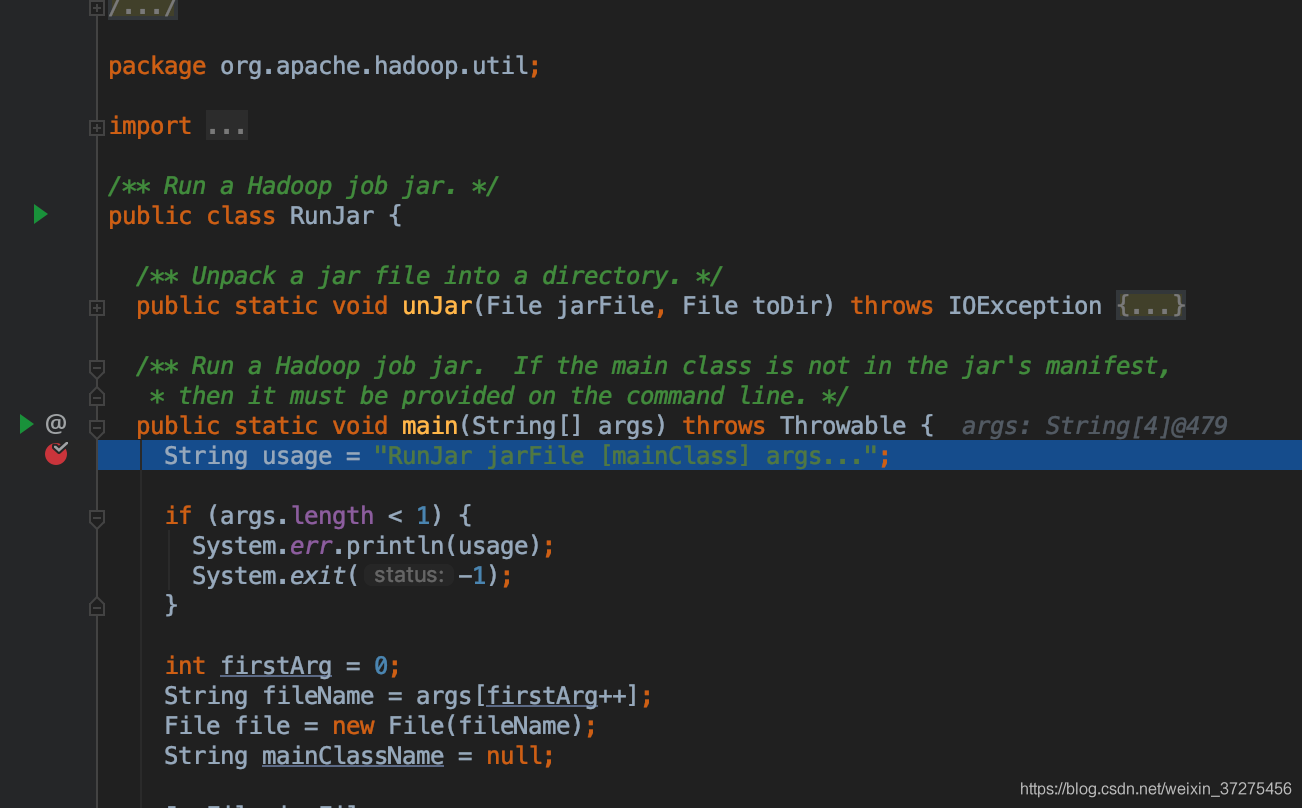
在org.apache.hadoop.util.RunJar的main函数入口下打断点
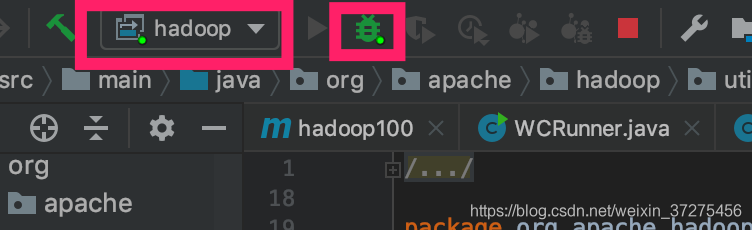
选择第三部配置的remote.hadoop.然后单击蜘蛛图标
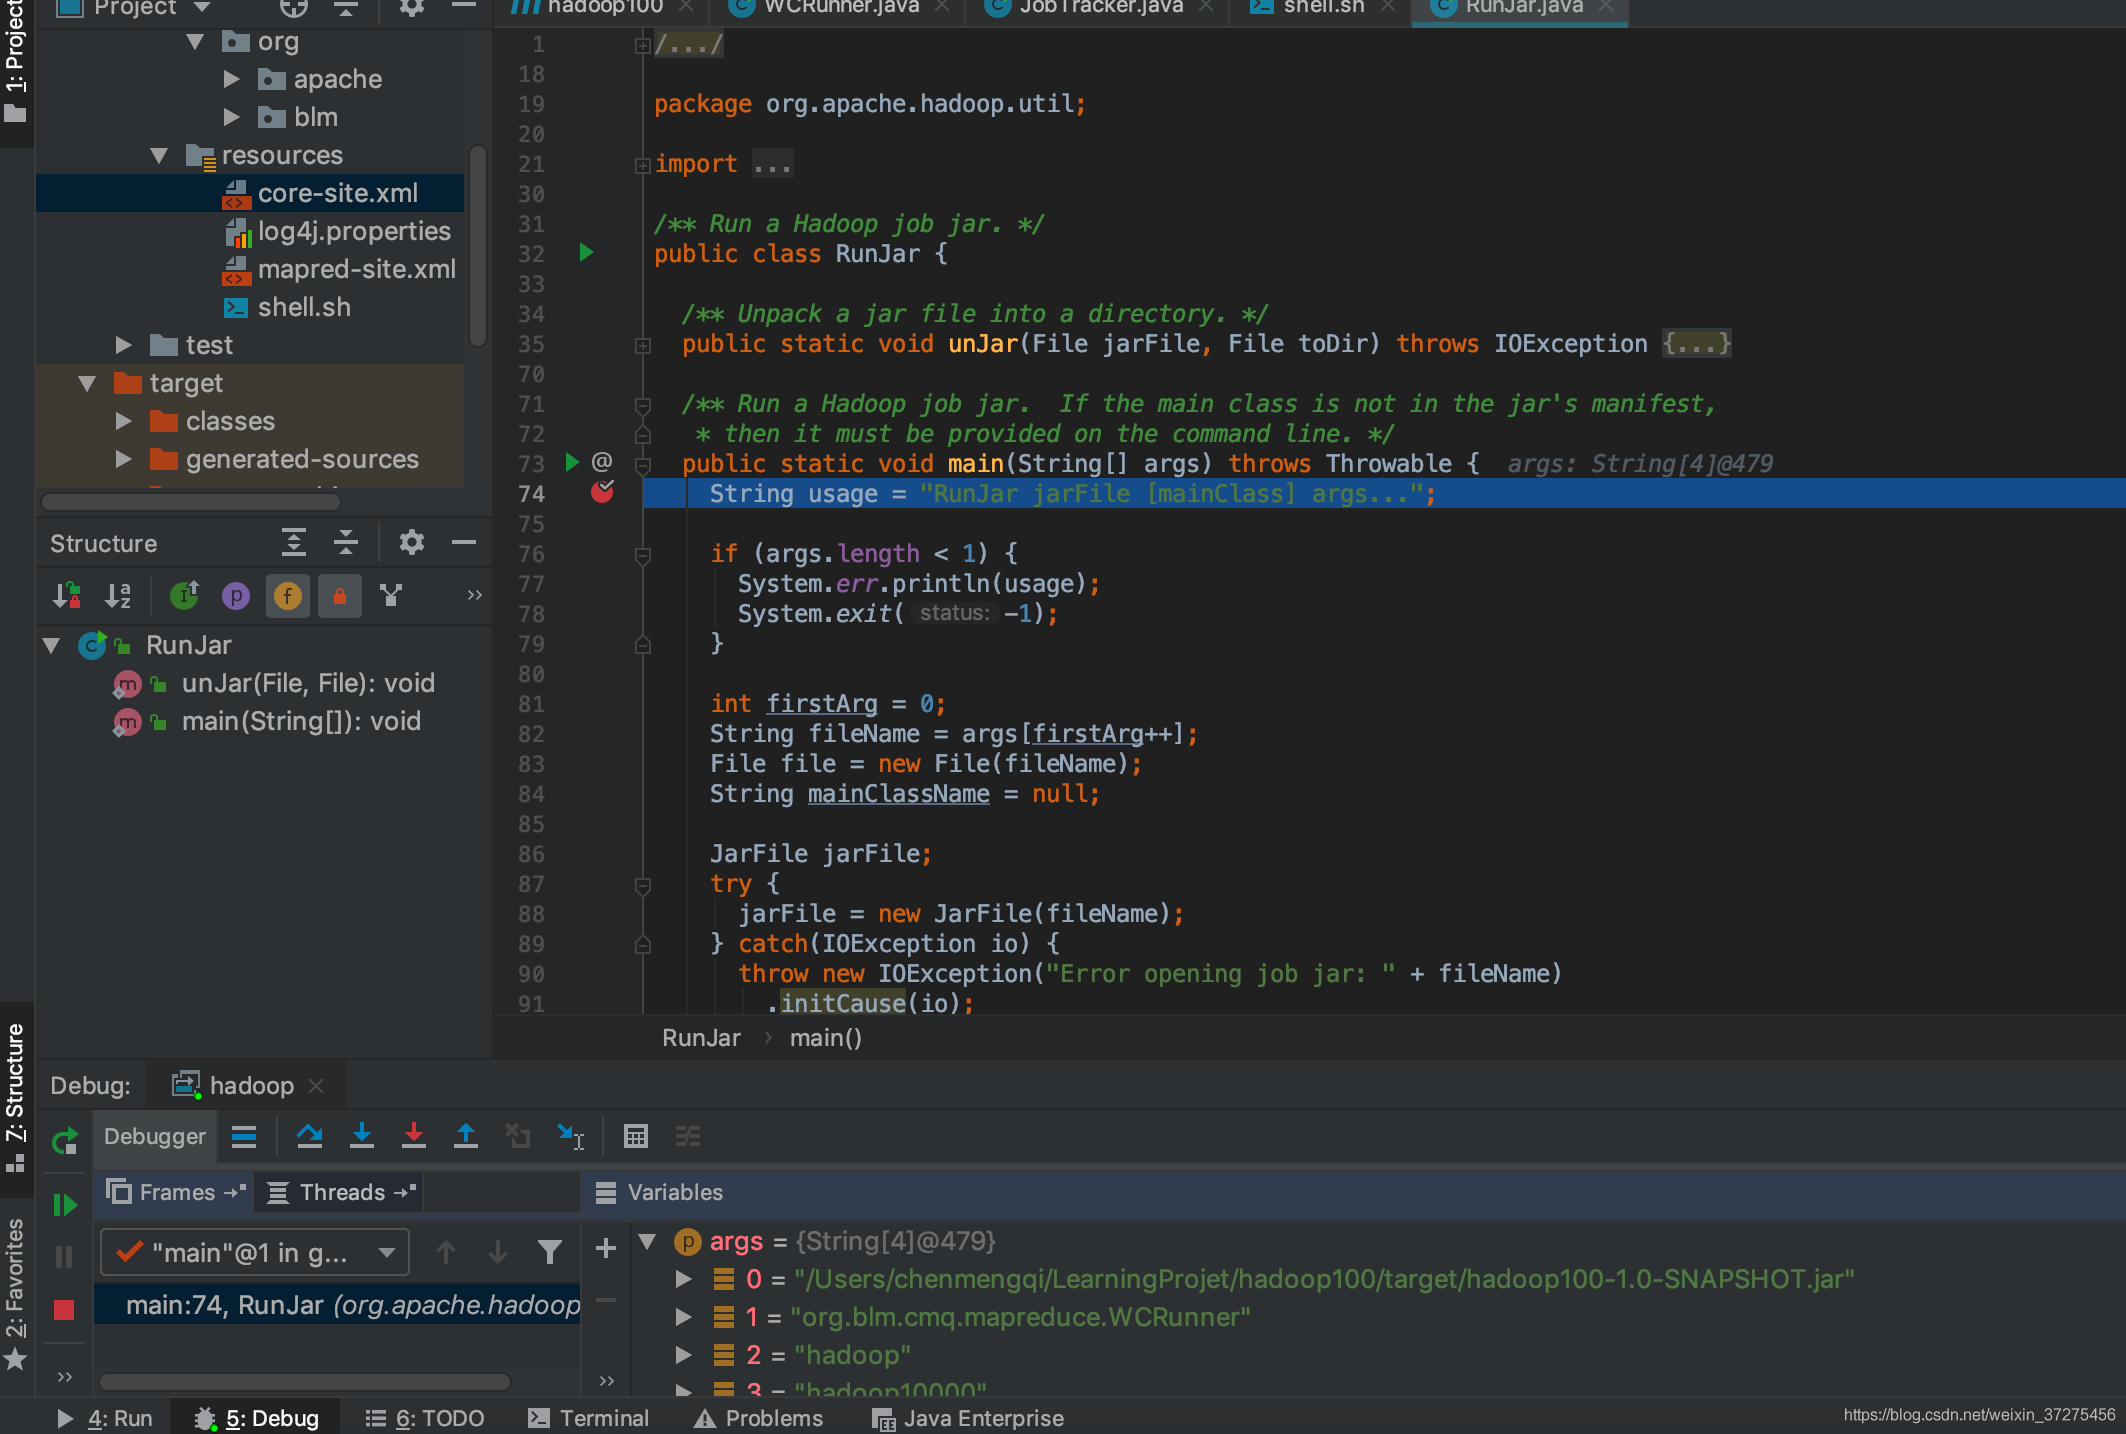
最终结果如下:
代码解析
runJar
- 如果代码在打包的时候已经配置了mainClass,在提交jar包的时候可以不用添加mainClass的相关参数
 	Manifest manifest = jarFile.getManifest();
    if (manifest != null) {
      mainClassName = manifest.getMainAttributes().getValue("Main-Class");
    }
jarFile.close();- 创建临时文件夹和工作文件夹
	File tmpDir = new File(new Configuration().get("hadoop.tmp.dir"));
    tmpDir.mkdirs();
    if (!tmpDir.isDirectory()) {
      System.err.println("Mkdirs failed to create " + tmpDir);
      System.exit(-1);
    }
    final File workDir = File.createTempFile("hadoop-unjar", "", tmpDir);
    workDir.delete();
    workDir.mkdirs();
    if (!workDir.isDirectory()) {
      System.err.println("Mkdirs failed to create " + workDir);
      System.exit(-1);
}- 添加钩子函数,在程序结束的时候清理文件
    Runtime.getRuntime().addShutdownHook(new Thread() {
        public void run() {
          try {
            FileUtil.fullyDelete(workDir);
          } catch (IOException e) {
          }
        }
});- 解压jar包,使用动态代理得到mainClass,然后并执行
   ClassLoader loader =
      new URLClassLoader(classPath.toArray(new URL[0]));

    Thread.currentThread().setContextClassLoader(loader);
    Class<?> mainClass = Class.forName(mainClassName, true, loader);
    Method main = mainClass.getMethod("main", new Class[] {Array.newInstance(String.class, 0).getClass()});
    String[] newArgs = Arrays.asList(args).subList(firstArg, args.length).toArray(new String[0]);
    try {
      main.invoke(null, new Object[] { newArgs });
    } catch (InvocationTargetException e) {
      throw e.getTargetException();
    }
自定义mapreduce程序
- 自定义的mapreduce都会调用waitForCompletion()函数。其实现如下
    public boolean waitForCompletion(boolean verbose
    ) throws IOException, InterruptedException,
            ClassNotFoundException {
        if (state == JobState.DEFINE) {
            submit();
        }
        if (verbose) {
            jobClient.monitorAndPrintJob(conf, info);
        } else {
            info.waitForCompletion();
        }
        return isSuccessful();
    }

    public void submit() throws IOException, InterruptedException,
            ClassNotFoundException {
        ensureState(JobState.DEFINE);
        setUseNewAPI();

        // Connect to the JobTracker and submit the job
        // connect()函数里初始化了 jobClient
        connect();
        // 这里正是提交任务
        info = jobClient.submitJobInternal(conf);
        super.setJobID(info.getID());
        state = JobState.RUNNING;
    }
这个函数只做两件事,第一件事是提交任务,第二件事等待任务结束。
观察submit()的实现,程序依靠JobClient类来实现连接到集群和提交任务。
- JobClient解析
JobClient的构造函数如下:
    public JobClient(JobConf conf) throws IOException {
        setConf(conf);
        // init()函数通过通过动态代理获得jobSubmitClient的代理对象
        init(conf);
    }
构造函数里调用了init()方法,其实现如下:
    public void init(JobConf conf) throws IOException {
        String tracker = conf.get("mapred.job.tracker", "local");
        tasklogtimeout = conf.getInt(
                TASKLOG_PULL_TIMEOUT_KEY, DEFAULT_TASKLOG_TIMEOUT);
        this.ugi = UserGroupInformation.getCurrentUser();
        if ("local".equals(tracker)) {
            conf.setNumMapTasks(1);
            // 使用本地模式
            // LocalJobRunner实现了JobSubmissionProtocol接口,并没有调用JobTracker
            this.jobSubmitClient = new LocalJobRunner(conf);
        } else {
            // 使用非本地模式
            this.jobSubmitClient = createRPCProxy(JobTracker.getAddress(conf), conf);
        }
    }
由init()函数可知:如果mapred.job.tracker的配置值是local或者没有配置,则jobSubmitClient的实例是一个本地已经实现的LocalJobRunner。如果不是local,则jobSubmitClient只是一个RPC客户端,真正的实现是在远程的JobTracker。
- JobTracker解析
我们上面说到的东西我们画个图来总结一下: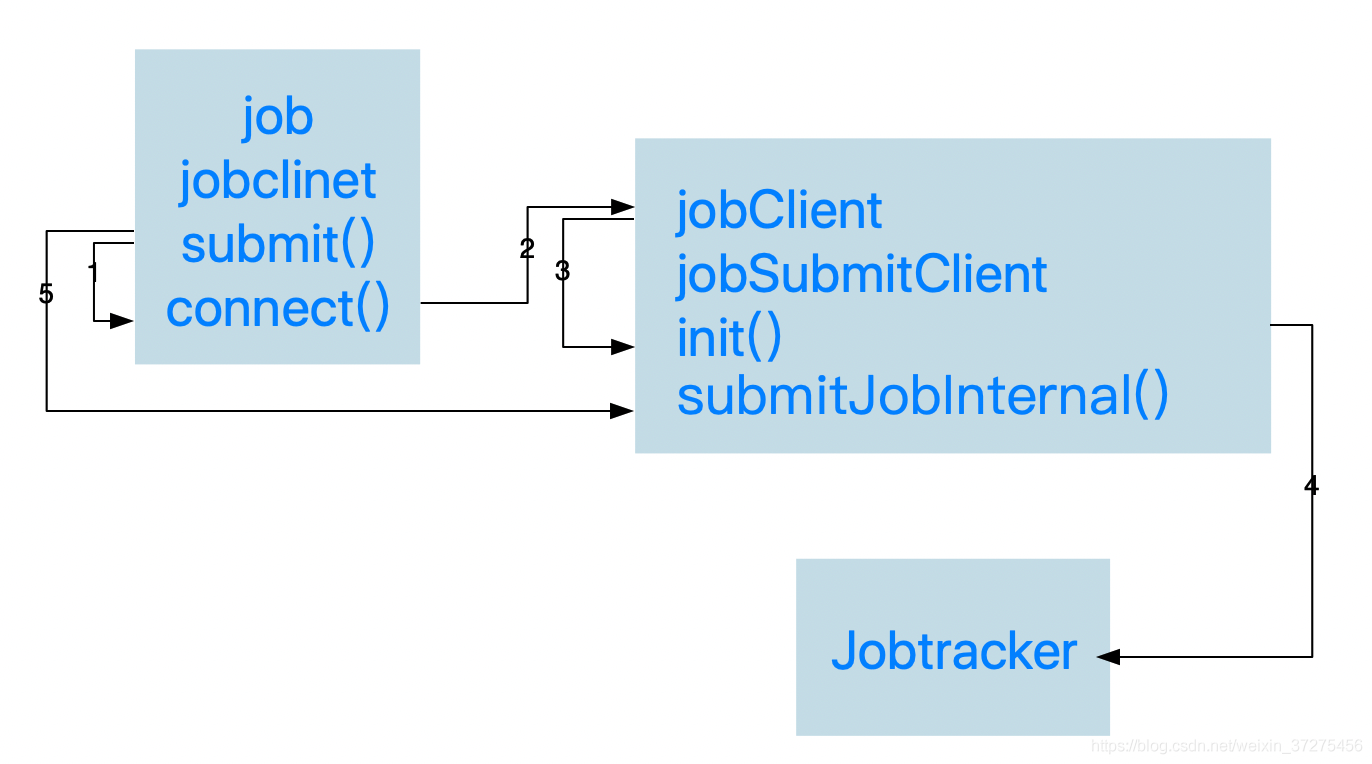
- job 的 submit()函数调用connect函数
- connect函数创建jobclient
- jobclient对象在创建的时候,构造函数里调用init()函数
- init()函数根据配置信息选择创建LocalJobRunner还是Jobtracker的Rpc代理。
- job submit()函数通过函数jobclient的submitJobInternal提交任务。