Springboot,Mybatis根据实体类自动建表
在创建实体类的同时还要在数据库建表,如果只是很少的属性那么无所谓,但是当实体类很多或者字段很多时这就是一个非常让人不爽的事情了
通常有两种思路,一种是根据数据库来自动创建实体类,这个mybatis-generator已经提供了方法
还有一种思路就是根据实体类来自动建立表格
这里需要用到A.CTable框架,也就是mybatis-enhance-actable
一个小Demo,一步步来
首先添加依赖项
<dependency>
<groupId>mysql</groupId>
<artifactId>mysql-connector-java</artifactId>
<version>5.1.17</version>
</dependency>
<!-- 添加mybatis依赖 -->
<!-- https://mvnrepository.com/artifact/org.mybatis.spring.boot/mybatis-spring-boot-starter -->
<dependency>
<groupId>org.mybatis.spring.boot</groupId>
<artifactId>mybatis-spring-boot-starter</artifactId>
<version>2.0.1</version>
</dependency>
<!--添加A.CTable框架 -->
<dependency>
<groupId>com.gitee.sunchenbin.mybatis.actable</groupId>
<artifactId>mybatis-enhance-actable</artifactId>
<version>1.0.3</version>
</dependency>
<!-- 阿里系的Druid依赖包 -->
<dependency>
<groupId>com.alibaba</groupId>
<artifactId>druid-spring-boot-starter</artifactId>
<version>1.1.9</version>
</dependency>
<!-- Druid 依赖 log4j包 -->
<dependency>
<groupId>log4j</groupId>
<artifactId>log4j</artifactId>
<version>1.2.17</version>
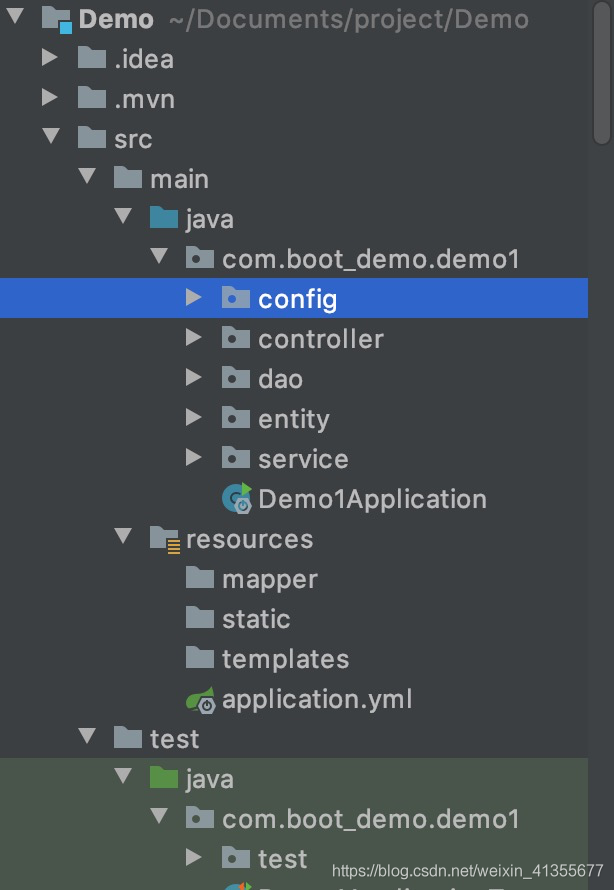
</dependency>项目结构如下
然后在application.yml文件里添加配置信息
#服务配置
server:
  port: 8080

spring:
  #数据库配置
  datasource:
    username: yourusername
    password: yourpassword
    driver-class-name: com.mysql.jdbc.Driver
    url: jdbc:mysql://yoururl
    #阿里druid连接池驱动配置信息
    type: com.alibaba.druid.pool.DruidDataSource
    #连接池的配置信息
    druid:
      #初始化大小,最小,最大
      initial-size: 2

#A.CTable配置
mybatis:
  #自动更新表
  table:
    auto: true
  #实体类扫描地址
  model:
    pack: com.boot_demo.demo1.entity
  #数据库类型
  database:
    type: mysql
下面开始写配置信息
@Configuration
@ComponentScan(basePackages = {"com.gitee.sunchenbin.mybatis.actable.manager.*"})
public class TestConfig {

    @Value("${spring.datasource.driver-class-name}")
    private String driver;

    @Value("${spring.datasource.url}")
    private String url;

    @Value("${spring.datasource.username}")
    private String username;

    @Value("${spring.datasource.password}")
    private String password;

    @Bean
    public YamlPropertiesFactoryBean configProperties() throws Exception{
        YamlPropertiesFactoryBean propertiesFactoryBean = new YamlPropertiesFactoryBean();
        PathMatchingResourcePatternResolver resolver = new PathMatchingResourcePatternResolver();
        propertiesFactoryBean.setResources(resolver.getResources("classpath*:application.yml"));
        return propertiesFactoryBean;
    }

    @Bean
    public DruidDataSource dataSource() {
        DruidDataSource dataSource = new DruidDataSource();
        dataSource.setDriverClassName(driver);
        dataSource.setUrl(url);
        dataSource.setUsername(username);
        dataSource.setPassword(password);
        dataSource.setMaxActive(30);
        dataSource.setInitialSize(10);
        dataSource.setValidationQuery("SELECT 1");
        dataSource.setTestOnBorrow(true);
        return dataSource;
    }

    @Bean
    public DataSourceTransactionManager dataSourceTransactionManager() {
        DataSourceTransactionManager dataSourceTransactionManager = new DataSourceTransactionManager();
        dataSourceTransactionManager.setDataSource(dataSource());
        return dataSourceTransactionManager;
    }

    @Bean
    public SqlSessionFactoryBean sqlSessionFactory() throws Exception{
        SqlSessionFactoryBean sqlSessionFactoryBean = new SqlSessionFactoryBean();
        sqlSessionFactoryBean.setDataSource(dataSource());
        PathMatchingResourcePatternResolver resolver = new PathMatchingResourcePatternResolver();
        sqlSessionFactoryBean.setMapperLocations(resolver.getResources("classpath*:com/gitee/sunchenbin/mybatis/actable/mapping/*/*.xml"));
        sqlSessionFactoryBean.setTypeAliasesPackage("com.example.entity.*");
        return sqlSessionFactoryBean;
    }

}
@Configuration
@AutoConfigureAfter(TestConfig.class)
public class MyBatisMapperScannerConfig {
@Bean
public MapperScannerConfigurer mapperScannerConfigurer() throws Exception{
MapperScannerConfigurer mapperScannerConfigurer = new MapperScannerConfigurer();
mapperScannerConfigurer.setBasePackage("com.example.dao.*;com.gitee.sunchenbin.mybatis.actable.dao.*");
mapperScannerConfigurer.setSqlSessionFactoryBeanName("sqlSessionFactory");
return mapperScannerConfigurer;
}
}下面创建实体类
根据Column注解在数据库创建指定的结构
@Table(name="test")
public class Test {

    @Column(name="id",type= MySqlTypeConstant.VARCHAR)
    private String id;

    @Column(name="value",type = MySqlTypeConstant.VARCHAR)
    private String value;

    @Column(name="comment",type = MySqlTypeConstant.VARCHAR)
    private String comment;

    }
如果指定了某个字段为主键且要自增,那么该字段必须为Integer-MySqlTypeConstant.INT且需要在Column注解中添加如下属性
isKey = true,isAutoIncrement = truemybatis-enhance-actable本身BaseMysqlCRUDManager提供了根据实体类进行简单增删改查的方法,当然如果有特殊需要还是要自己写mapper映射的,这里就不写了,来看看它提供的基础方法
先写dao层
@Repository
public class TestDao {

    @Autowired
    private BaseMysqlCRUDManager baseMysqlCRUDManager;

    public void delete(Test test){
        baseMysqlCRUDManager.delete(test);
    }

    public void insert(Test test){
        baseMysqlCRUDManager.save(test);
    }
}
然后写一下service层
@Service
public class TestServiceImpl implements TestService {

    @Autowired
    private TestDao testDao;

    @Override
    public void insert(Test test) {
        testDao.insert(test);
    }

    @Override
    public void delete(Test test) {
        testDao.delete(test);
    }
}
controller层
@RestController
@RequestMapping("/test")
public class TestController {
    @Autowired
    private TestService testService;

    @RequestMapping("/hello")
    public String hello(){
        return "hello";
    }

    @RequestMapping("/add")
    public String add(){
        Test test=new Test();
        test.setId(UUID.randomUUID().toString());
        test.setValue("插入测试");
        test.setComment("插入测试");
        try {
            testService.insert(test);
        } catch (Exception e) {
            e.printStackTrace();
            return "failed";
        }
        return "success";
    }

    @RequestMapping("/remove")
    public String remove(){
        Test test=new Test();
        test.setId("1b2c3d4e");
        try {
            testService.delete(test);
        } catch (Exception e) {
            e.printStackTrace();
            return "failed";
        }
        return "success";
    }
}
下面启动项目,我们可以看到控制台日志出现这样的信息
这就代表数据库表已经建立成功了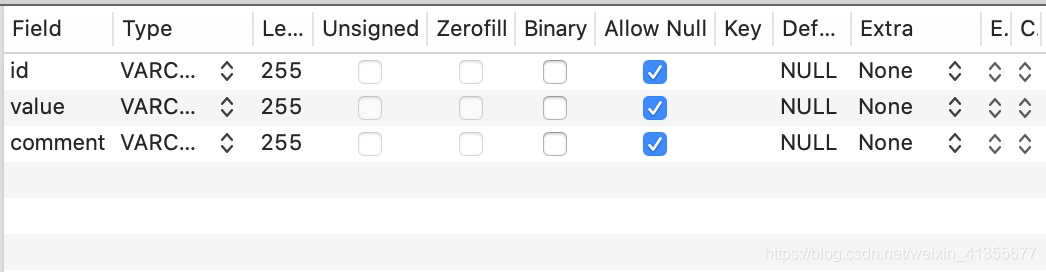
如果控制台出现ClassNotFound:apache.common.lang.ArrayUtils的报错,就需要再添加一下依赖
	<!-- https://mvnrepository.com/artifact/commons-lang/commons-lang -->
		<dependency>
			<groupId>commons-lang</groupId>
			<artifactId>commons-lang</artifactId>
			<version>2.6</version>
		</dependency>
下面测试一下add和delete方法
我先在数据库中添加数据
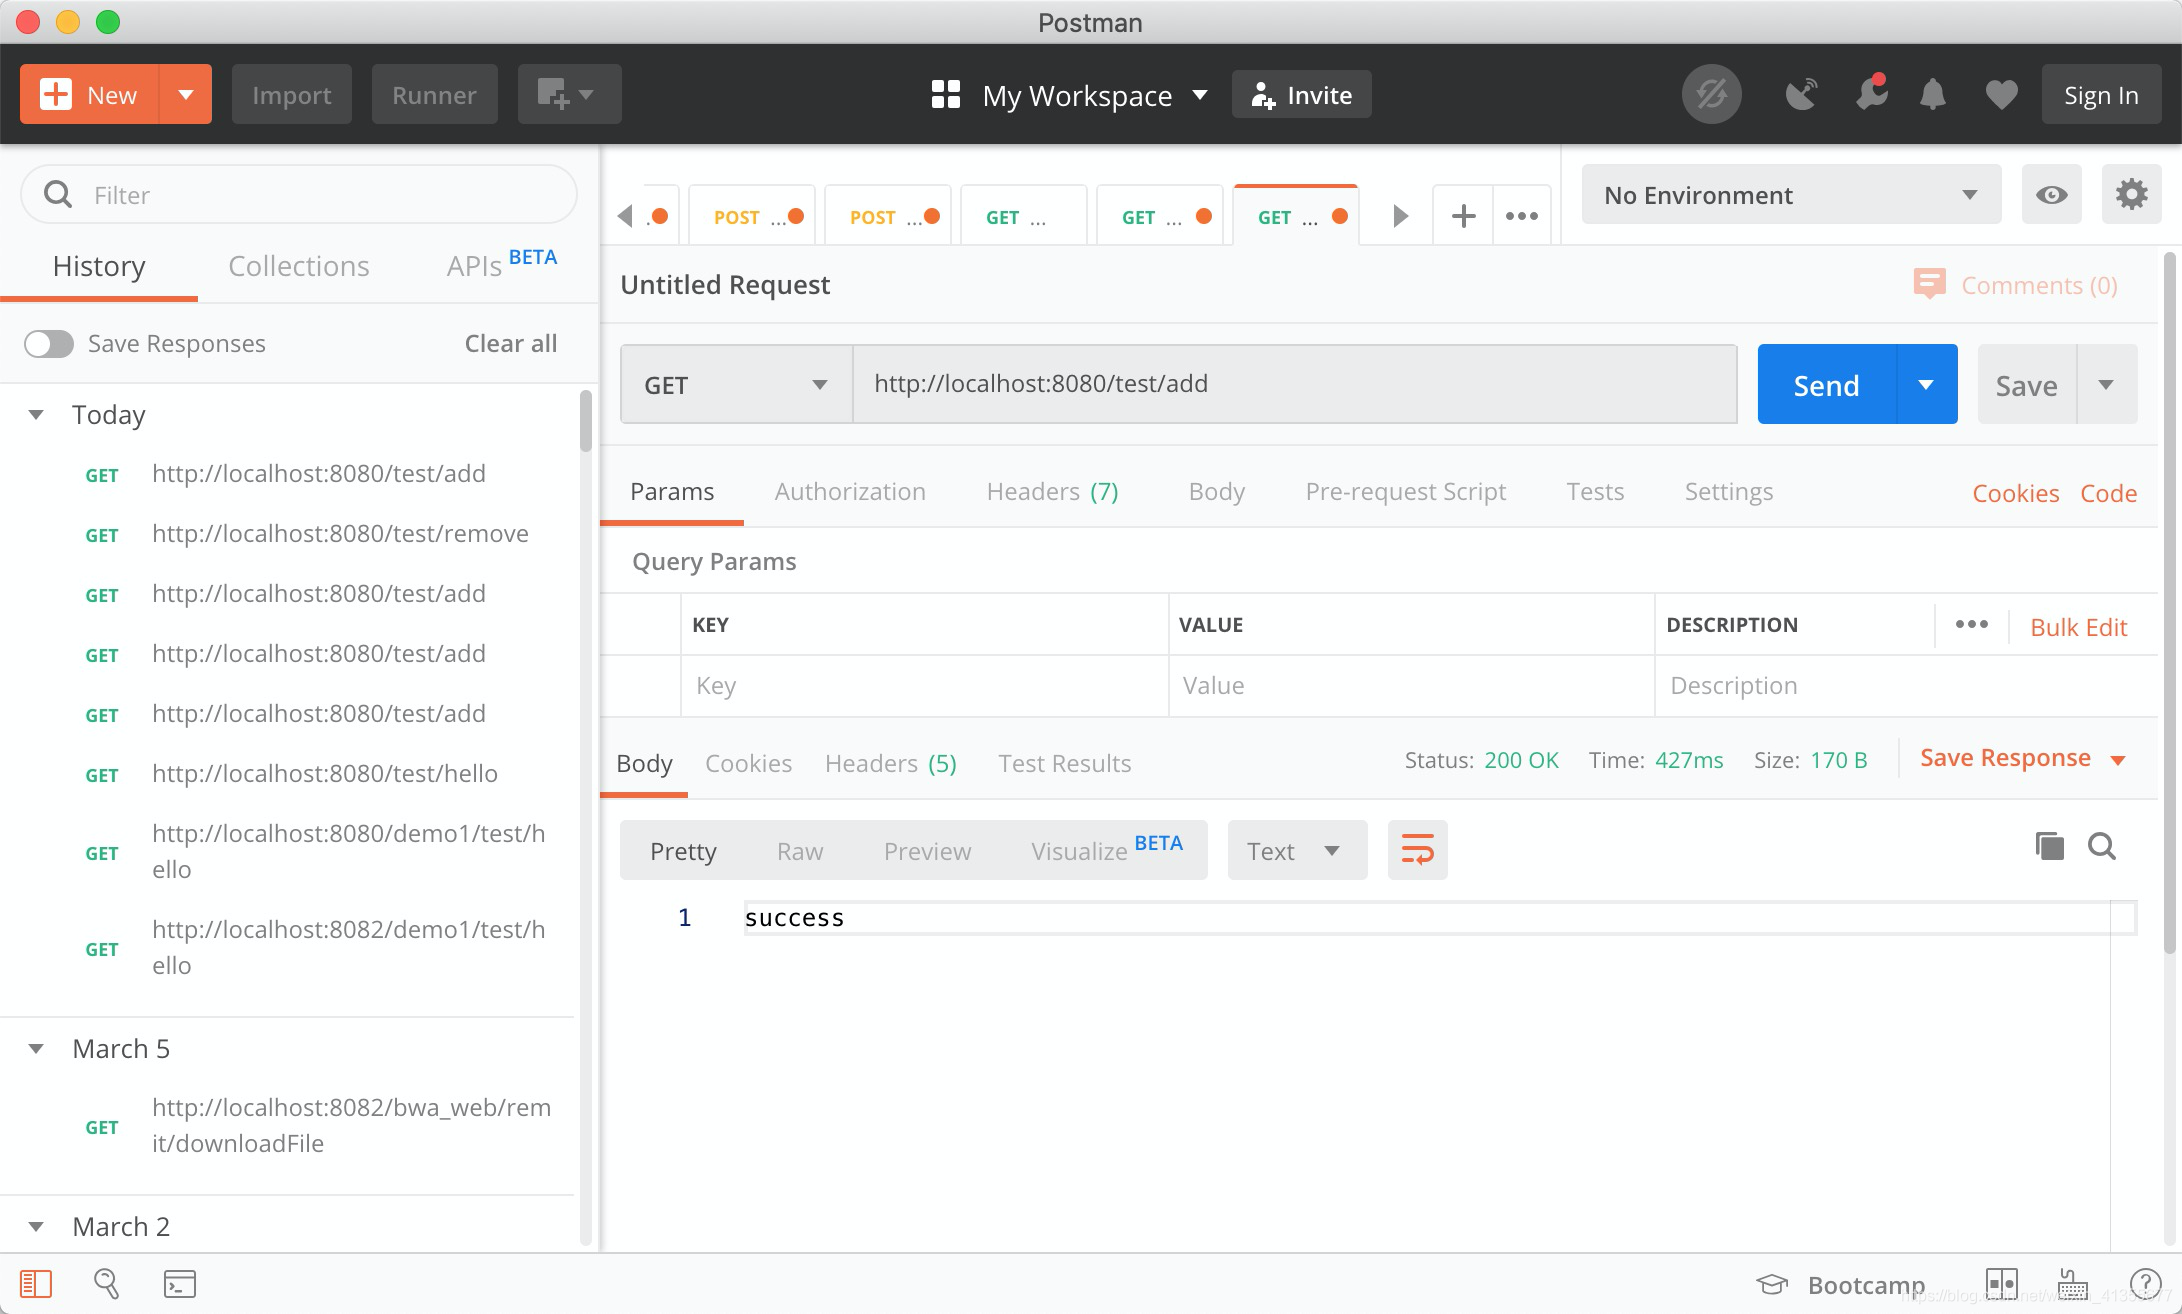

数据添加成功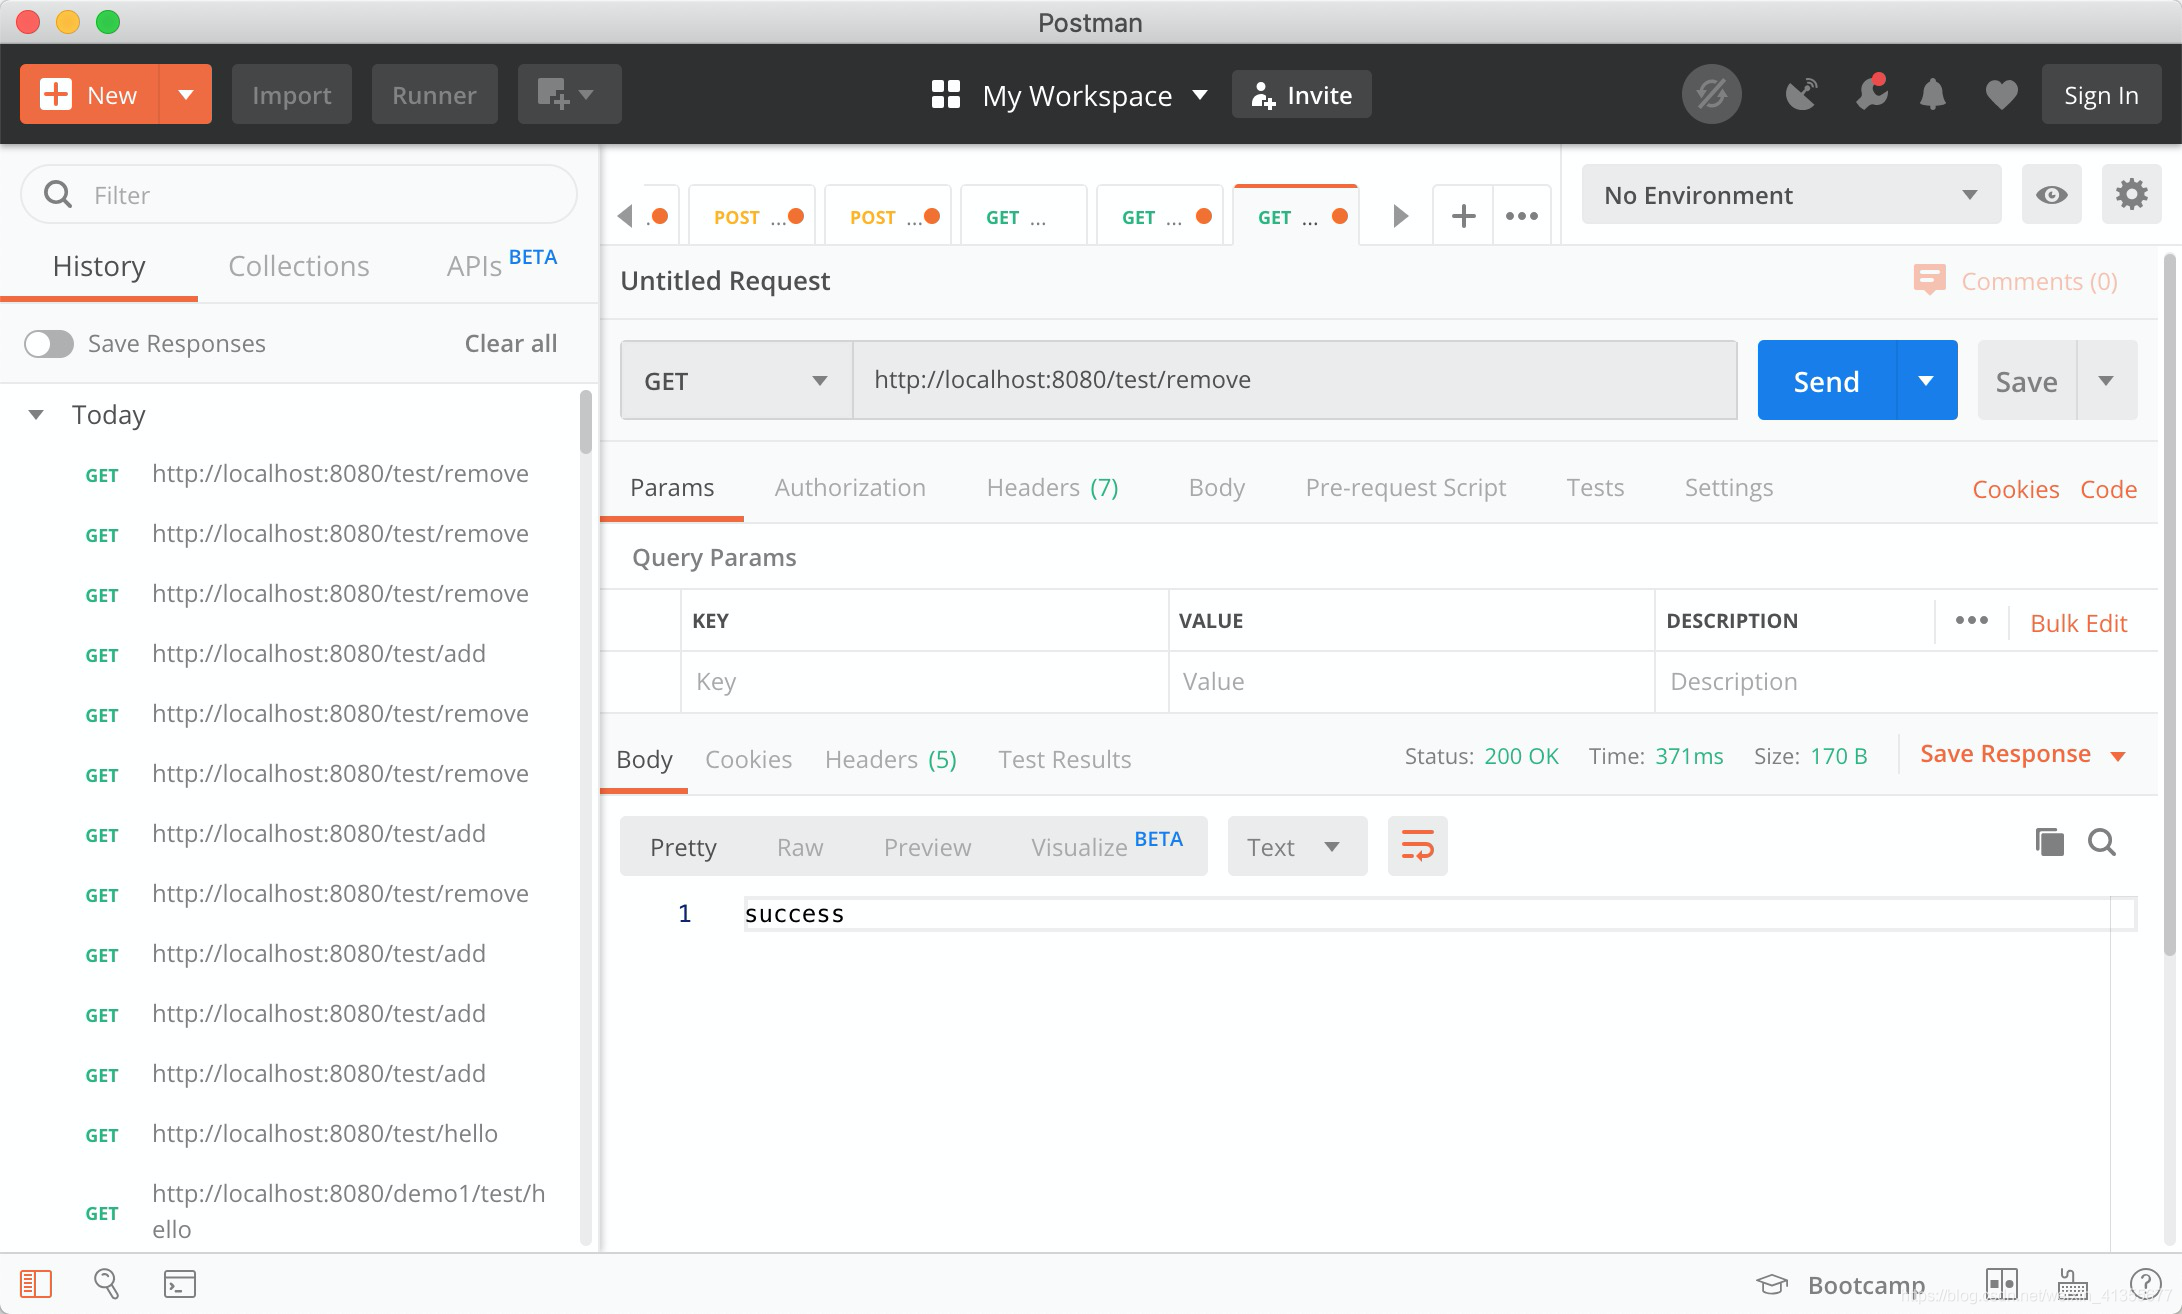

数据删除成功
参考文章
spring-boot + mybatis-enhance-actable 实现mybatis自动建表
SpringBoot+Mybatis 自动创建数据表