前言
Vue官网推荐使用Axios用于Ajax调用。本文介绍如何在Vue项目中引入Axios。
准备服务端程序
本服务端程序仅用来测试,如果读者有其他rest接口用于测试可跳过此节。
我通过Eclipse创建一个Springboot项目。首先新建maven
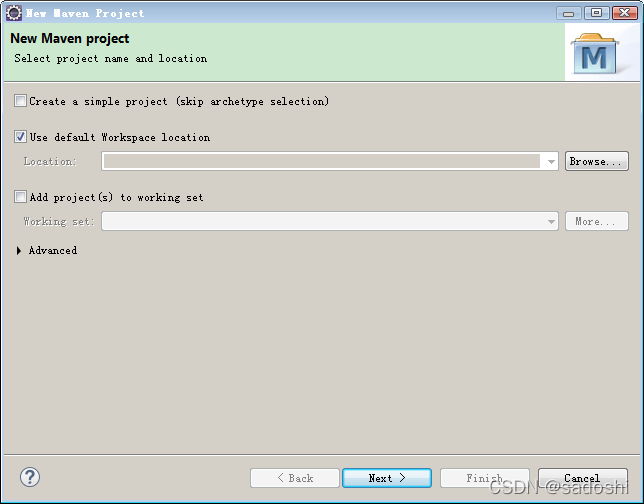
选择webapp那一项

填写必要信息便可完成
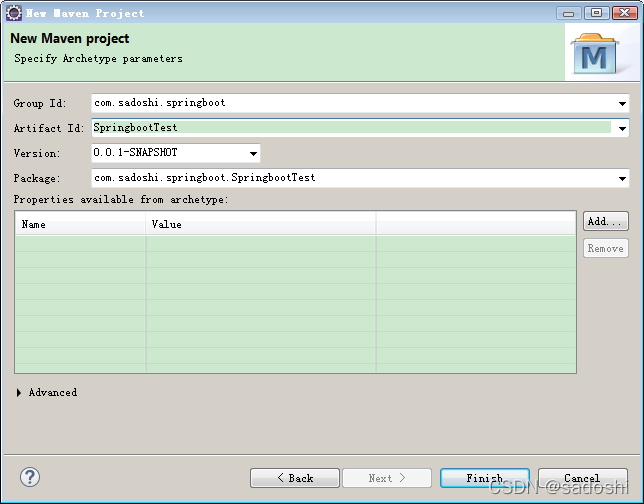
修改pom.xml文件,主要增加对spring-boot和spring-mvc的依赖。前几行注释掉的地方是我的项目信息,读者可以改成自己的。
<project xmlns="http://maven.apache.org/POM/4.0.0" xmlns:xsi="http://www.w3.org/2001/XMLSchema-instance"
	xsi:schemaLocation="http://maven.apache.org/POM/4.0.0 http://maven.apache.org/maven-v4_0_0.xsd">
<!--	改成你的项目信息
	<modelVersion>4.0.0</modelVersion>
	<groupId>com.sadoshi.springboot</groupId>
	<artifactId>SpringbootTest</artifactId>
	<packaging>war</packaging>
	<version>0.0.1-SNAPSHOT</version>
	<name>SpringbootTest Maven Webapp</name>
	<url>http://maven.apache.org</url>
-->
	<parent>
		<groupId>org.springframework.boot</groupId>
		<artifactId>spring-boot-starter-parent</artifactId>
		<version>2.6.2</version>
		<relativePath />
	</parent>

	<dependencies>
		<dependency>
			<groupId>org.springframework.boot</groupId>
			<artifactId>spring-boot-starter-web</artifactId>
		</dependency>
	</dependencies>
	<build>
		<pluginManagement>
			<plugins>
				<plugin>
					<groupId>org.springframework.boot</groupId>
					<artifactId>spring-boot-maven-plugin</artifactId>
				</plugin>
			</plugins>
		</pluginManagement>
	</build>
</project>
在src/main文件夹下新增目录java,新建主类App.java
package com.sadoshi.springboottest;

import org.springframework.boot.SpringApplication;
import org.springframework.boot.autoconfigure.SpringBootApplication;

import com.sadoshi.springboottest.App;

@SpringBootApplication
public class App {

	public static void main(String[] args) {
		SpringApplication.run(App.class, args);
	}
}
新建一个controller处理类HelloController.java,作为rest接口:
package com.sadoshi.springbootABC;

import org.springframework.web.bind.annotation.PostMapping;
import org.springframework.web.bind.annotation.RequestBody;
import org.springframework.web.bind.annotation.RequestMapping;
import org.springframework.web.bind.annotation.RestController;

@RestController
@RequestMapping("/hello")
public class HelloController {

	@RequestMapping("")
	public String test() {
		return "test HelloController";
	}

	@PostMapping("/name")
	public String name(@RequestBody String name) {
		return "hello " + name;
	}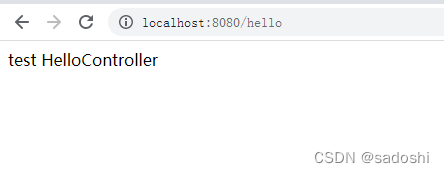
}启动App类,然后浏览器调用http://localhost:8080/hello,如果出现以下页面则表示成功:
新建Vue项目
和前面一样,我们先新建Vue项目并安装依赖:
vue create axios1
cd axios1
npm install
谨记,项目名不要设成“axios”,否则安装axios依赖时,会由于同名导致安装依赖失败。
接着安装axios依赖
npm install axios --save在main.js中引入axios,并添加到全局环境,这样就不用在每个需要用到axios的组件里都import引入。
import Vue from 'vue'
import App from './App.vue'

import axios from 'axios'
Vue.prototype.$axios = axios
Vue.config.productionTip = false

new Vue({
  render: h => h(App),
}).$mount('#app')
简化App.vue,去掉多余的信息
<template>
  <div id="app">
    <HelloWorld/>
  </div>
</template>

<script>
import HelloWorld from './components/HelloWorld.vue'

export default {
  name: 'App',
  components: {
    HelloWorld
  }
}
</script>

<style>
</style>
HelloWorld.vue修改为:
<template>
  <div class="hello">
    <button @click="onHello">测试</button>
  </div>
</template>

<script>

export default {
  name: 'HelloWorld',
  data() {
    return {
      name: '',
    }
  },
  methods: {
    onHello(){
      this.$axios.get("/hello").then(res => {
        console.log(res);
      })
    }
  }

}
</script>

<style scoped>
</style>
启动项目,看到以下界面:
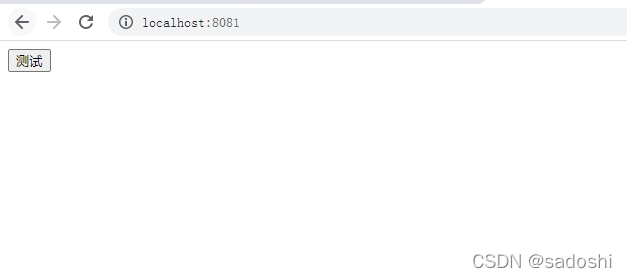
点击测试按钮,调用后端接口http://localhost:8080/hello,我们点f12查看调试信息:

看到报错信息,意思是跨域。显然我们在localhost:8081调用localhost:8080属于跨域。那我们要怎么处理呢?
处理跨域问题
主要是通过代理方式解决。通常项目中,我们前端调用会增加一个前缀,通常是“api”,修改main.js:
import Vue from 'vue'
import App from './App.vue'

import axios from 'axios'
Vue.prototype.$axios = axios
Vue.config.productionTip = false

axios.defaults.baseURL = '/api'


new Vue({
  render: h => h(App),
}).$mount('#app')在第8行添加内容之后,对于相对路径,后面axios调用都会加上api前缀(绝对路径则不变)。接着我们设置代理,在项目根路径下创建vue.config.js文件(与src、package.json目录同级)。
module.exports = {
  devServer: {
      proxy: {
          '/api': {
              target: 'http://localhost:8080/',
              // 允许跨域
              changeOrigin: true,
              pathRewrite: {
                  '^/api': ''
              }
          }
      }
  }
}上面的意思是,对于前缀api的调用,请求时替换成调用http://localhost:8080/。这里记得一定要加上http这个前缀。
修改HelloWorld.vue,axios调用改为使用相对路径
<template>
  <div class="hello">
    <button @click="onHello">测试</button>
  </div>
</template>

<script>

export default {
  name: 'HelloWorld',
  data() {
    return {
      name: '',
    }
  },
  methods: {
    onHello(){
      this.$axios.get("/hello").then(res => {
        console.log(res);
      })
    }
  }

}
</script>

<style scoped>
</style>
重新运行项目,然后点击按钮,可以看到调用成功了
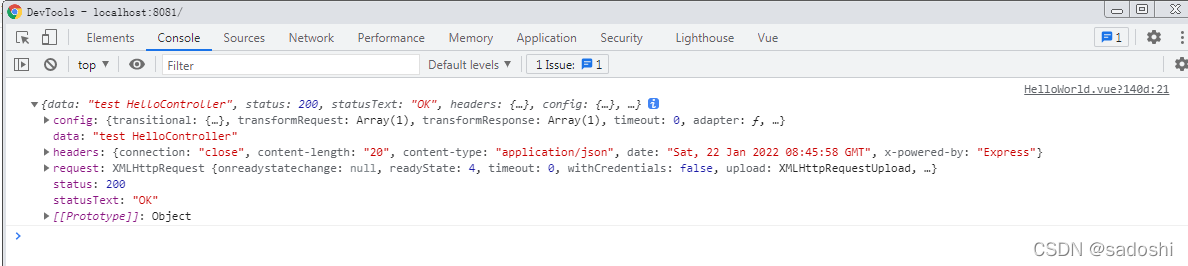
不过上面返回的信息量有点大,如果在业务代码中处理各种返回信息会显得很繁琐(例如返回200时怎么做,返回400时怎么做,返回500时怎么样做,尤其是一些嵌套调用。所以通常会对返回信息进行封装,在业务层仅进行数据处理就好了。
封装axios调用
封装axios通常使用axios拦截器实现。不过封装的情况和rest接口返回信息,以及读者的应用要如何处理异常情况有关,这里展示一下简单的封装,在src目录下新建utils目录,在src/utils目录下新建request.js:
import axios from 'axios'
import { Notification, MessageBox, Message } from 'element-ui'

axios.defaults.headers['Content-Type'] = 'application/json;charset=utf-8'
// 创建axios实例
const service = axios.create({
  // axios中请求配置有baseURL选项,表示请求URL公共部分
  baseURL: '/api',
  // 超时
  timeout: 10000
})
// request拦截器
service.interceptors.request.use(config => {
  return config
}, error => {
    console.log(error)
    Promise.reject(error)
})

// 响应拦截器
service.interceptors.response.use(res => {
    // 未设置状态码则默认成功状态
    const code = res.data.code || 200;
    // 获取错误信息
    const message = res.data.msg
    if (code === 401) {
      MessageBox.confirm(
        '登录状态已过期,您可以继续留在该页面,或者重新登录',
        '系统提示',
        {
          confirmButtonText: '重新登录',
          cancelButtonText: '取消',
          type: 'warning'
        }
      ).then(() => {
        // store.dispatch('LogOut').then(() => {
        //   location.reload() // 为了重新实例化vue-router对象 避免bug
        // })
      })
    } else if (code === 500) {
      Message({
        message: message,
        type: 'error'
      })
      return Promise.reject(new Error(message))
    } else if (code !== 200) {
      Notification.error({
        title: message
      })
      return Promise.reject('error')
    } else {
      return res.data
    }
  },
  error => {
    console.log('err' + error)
    Message({
      message: error.message,
      type: 'error',
      duration: 5 * 1000
    })
    return Promise.reject(error)
  }
)

export default service
上面的代码引入了element ui这个开源组件,主要是异常处理时前端如何提示。读者也可以按照自己的需要做对应的提示,也可以把element ui相关的那几行注释掉。由于第8行已经设置了baseURL,所以main.js第8行“axios.defaults.baseURL = '/api'”这句可以删掉。
通常实际项目对后台的调用都是定义在api目录里面,例如我们在src下新建目录api,目录下新建hello.js:
import request from '../utils/request'

export function hello() {
  return request({
    url: '/hello',
    method: 'get'
  })
}

export function sayHello(data) {
  return request({
    url: '/hello/name',
    method: 'post',
    data: data
  })
}
之后修改下HelloWorld.vue
<template>
  <div class="hello">
    <button @click="onHello">测试</button>
    名字:<input v-model="name" />
    <button @click="onName">发送</button>
  </div>
</template>

<script>
import { hello, sayHello } from '@/api/hello'

export default {
  name: 'HelloWorld',
  data() {
    return {
      name: '',
    }
  },
  methods: {
    onHello(){
      hello().then(res => {
        console.log(res)
      })
    },
    onName(){
      sayHello(this.name).then(res => {
        console.log(res)
      })
    }
  }

}
</script>

<style scoped>
</style>
启动项目后,分别测试两个按钮的效果即可。对于成功的调用,仅返回数据,就不用业务层处理繁琐的返回信息。
小结:
axios的使用很简单,大多数情况下只要项目封装好之后,直接调用封装的request即可,一般不必再写axios。