试了试前三种方法,一个一秒一帧一个5秒一帧,只有cv2.Laplacian能跟得上摄像头的连续出图,后面的看了下似乎也都是需要各种高强度计算,懒得测试了
主要:
while (cv2.waitKey(1) != 27):
        print(cv2.Laplacian(mat,cv2.CV_64F).var())#mat:灰度图,返回的值越大图像越清晰对焦越准确
        cv2.imshow(u"Camera", mat)#显示图像数据
完整:
用的摄像头用OpenCV打不开,只能用厂家提供的SDK,代码肯定不能和其他摄像头通用,用的黑白摄像头,彩色的话要先把图像转换成灰度图
import numpy as np
import cv2
import math
from dvp import *
def frame2mat(frameBuffer):
frame, buffer = frameBuffer
bits = np.uint8 if(frame.bits == Bits.BITS_8) else np.uint16
shape = None
convertType = None
if(frame.format >= ImageFormat.FORMAT_MONO and frame.format <= ImageFormat.FORMAT_BAYER_RG):
shape = 1
elif(frame.format == ImageFormat.FORMAT_BGR24 or frame.format == ImageFormat.FORMAT_RGB24):
shape = 3
elif(frame.format == ImageFormat.FORMAT_BGR32 or frame.format == ImageFormat.FORMAT_RGB32):
shape = 4
else:
return None
mat = np.frombuffer(buffer, bits)
mat = mat.reshape(frame.iHeight, frame.iWidth, shape) #转换维度
return mat
def brenner(img):
'''
Brenner 梯度函数
:param img:narray 二维灰度图像
:return: float 图像约清晰越大
1FPS
'''
shape = np.shape(img)
out = 0
for x in range(0, shape[0]-2):
for y in range(0, shape[1]):
out+=(int(img[x+2,y])-int(img[x,y]))**2
return out
def Laplacian(img):
'''
Laplacian梯度函数
:param img:narray 二维灰度图像
:return: float 图像约清晰越大
30FPS
'''
return cv2.Laplacian(img,cv2.CV_64F).var()
def SMD(img):
'''
SMD(灰度方差)
:param img:narray 二维灰度图像
:return: float 图像约清晰越大
0.2FPS
'''
shape = np.shape(img)
out = 0
for x in range(0, shape[0]-1):
for y in range(1, shape[1]):
out+=math.fabs(int(img[x,y])-int(img[x,y-1]))
out+=math.fabs(int(img[x,y]-int(img[x+1,y])))
return out
camera = Camera(0)#以索引号的方式打开相机
camera.Start()#启动视频流
cv2.namedWindow(u"Camera",0)#可以拖动窗口大小
cv2.resizeWindow(u"Camera", 640, 480)#设置窗口大小
cv2.moveWindow(u"Camera",1200,500)#设置窗口位置
while (cv2.waitKey(1) != 27):
frame = camera.GetFrame(3000)#从相机采集图像数据,超时时间为3000毫秒
mat = frame2mat(frame)#转换为标准数据格式
print(Laplacian(mat))
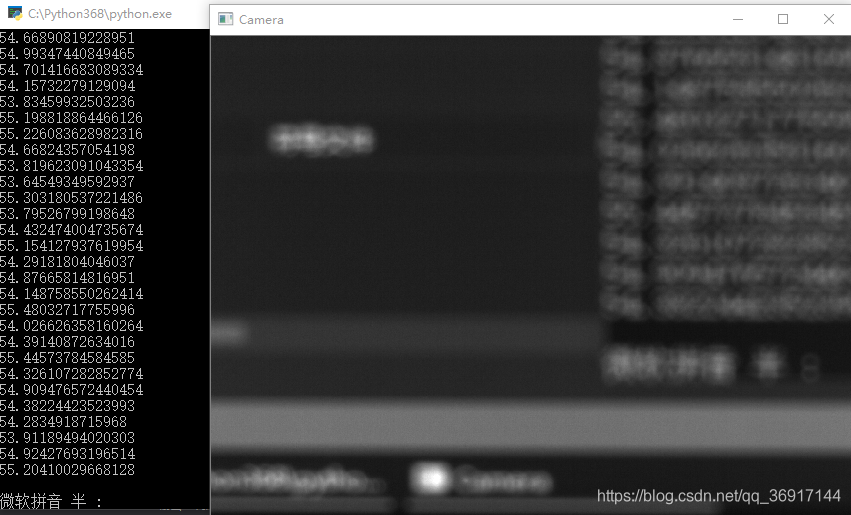
cv2.imshow(u"Camera", mat)#显示图像数据试了下效果,Laplacian对常规场景的判断对焦和失焦的值差距不是很大,对上焦是80左右的数值,失焦也就60左右
但对电子屏幕似乎有奇效,朝着电脑屏幕对上焦后数值能飙到800多
对准焦距:
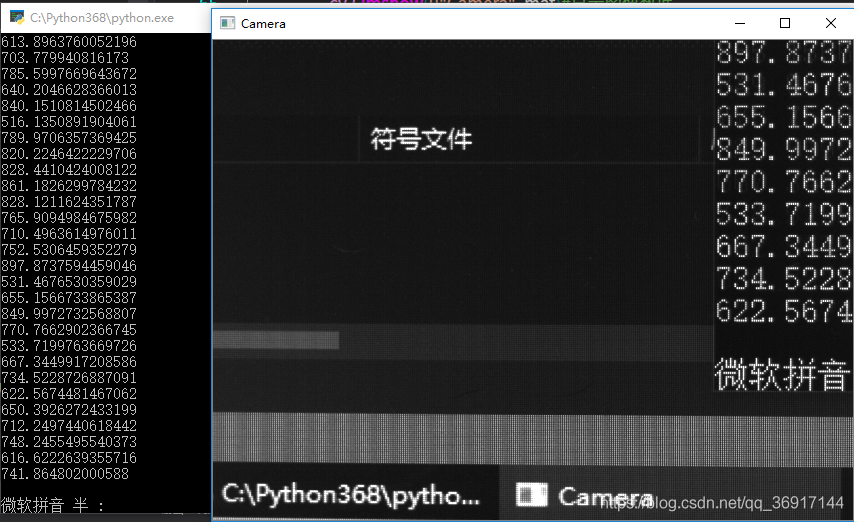
焦距过长:
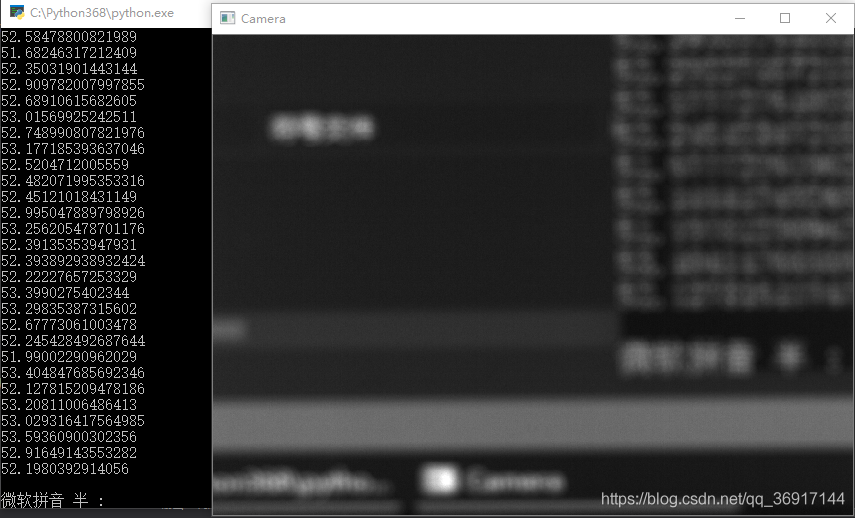
焦距过短: