vue通过el-menus和el-tabs联动,实现点击侧边栏,页面内显示一行tab以及点击tab切换路由
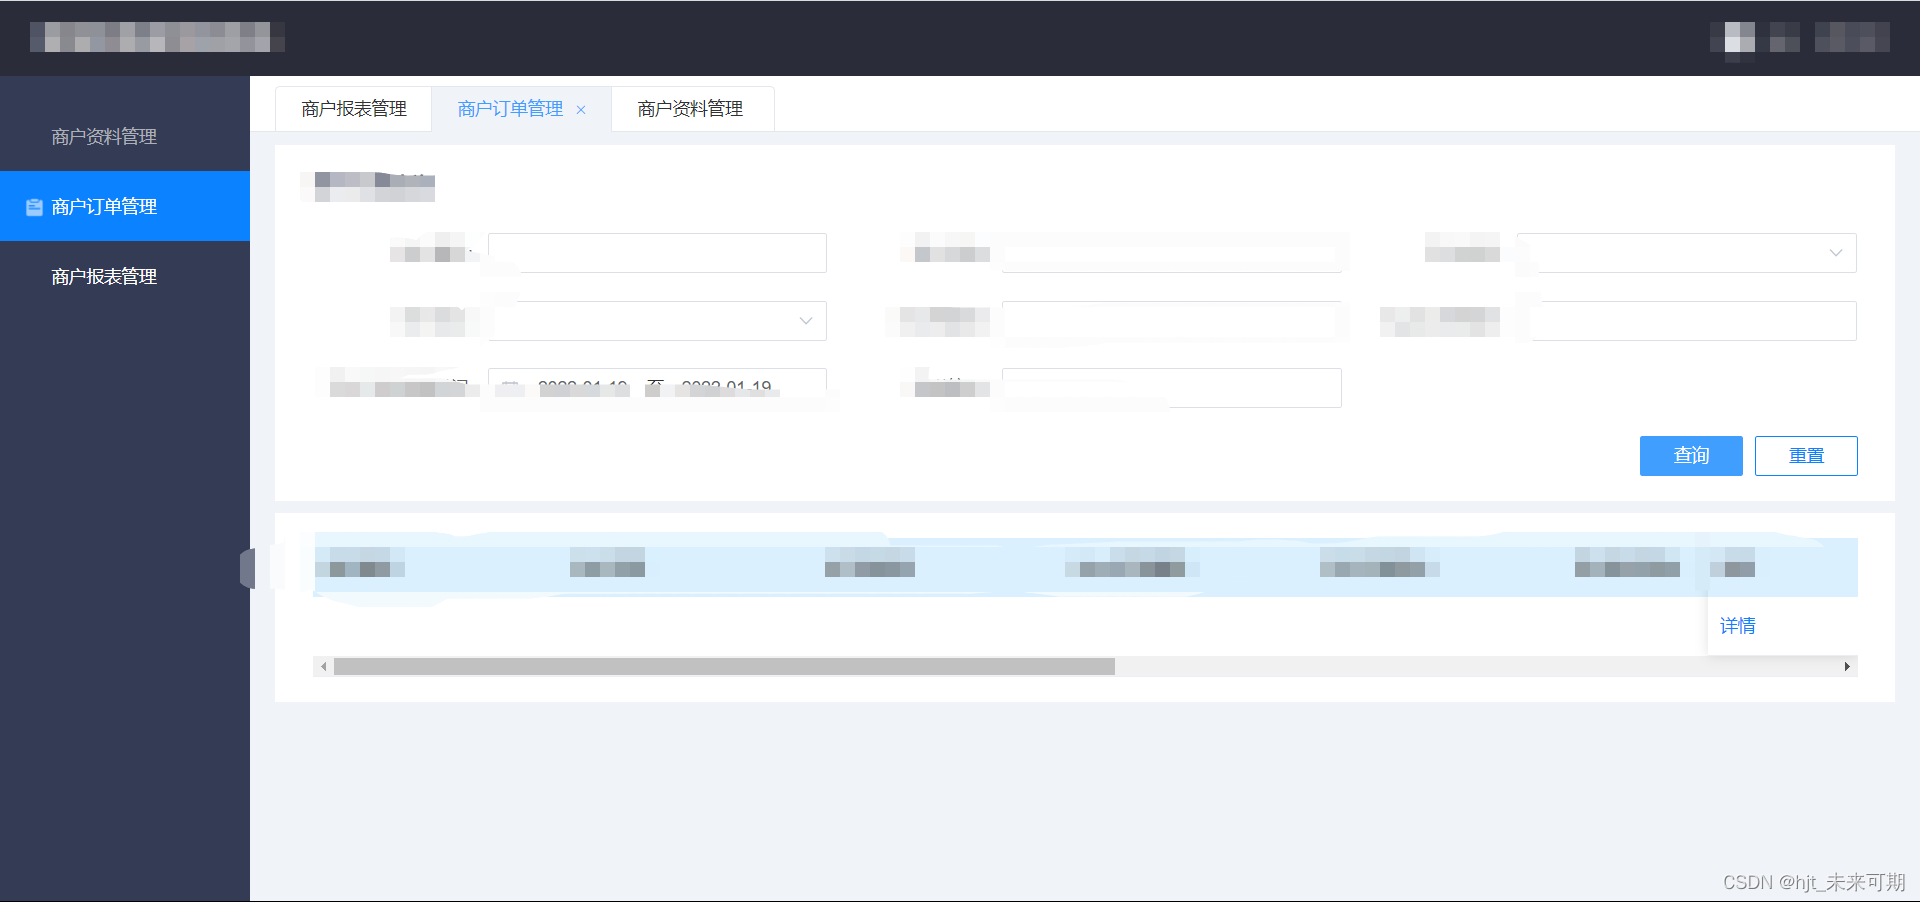
实现效果如下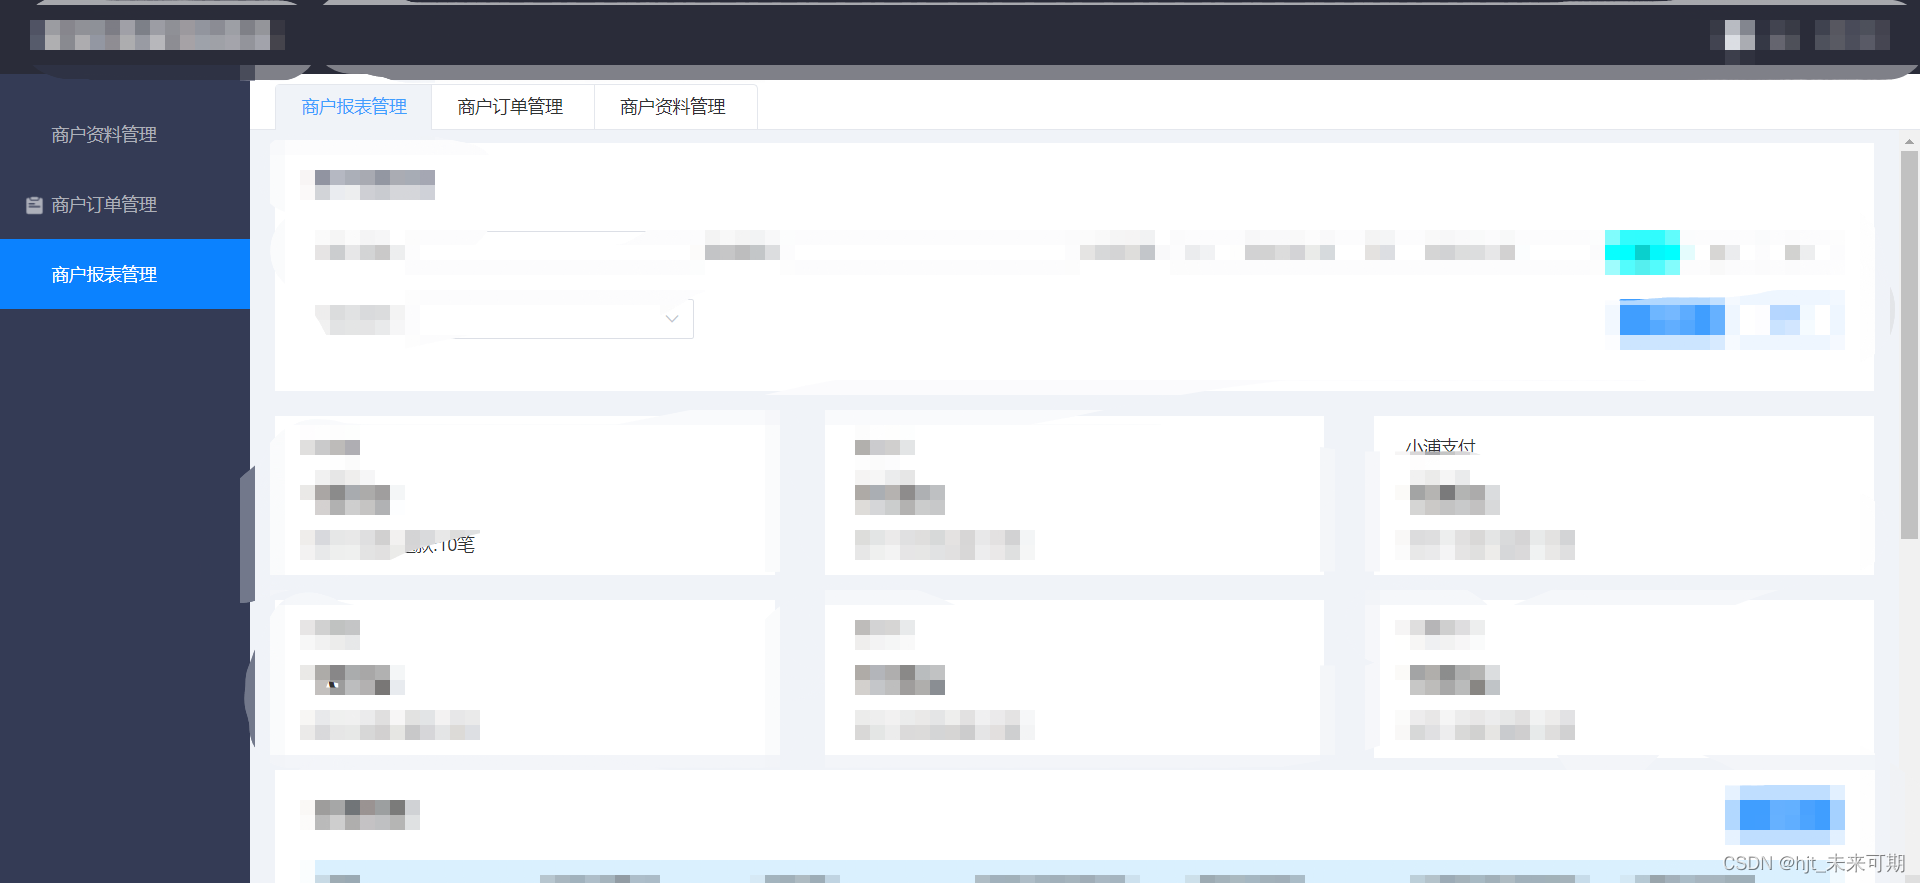
实现思路 左侧边栏添加点击事件/设置el-menu的路由模式,然后监听路由的变化,拿到的路由去改变el-tabs绑定的属性,然后改变el-tab-pane循环的数组,然后设置el-tabs的点击/删除事件,最终实现联动
- 首先使用vuex定义公共状态openTab以及activeIndexTab 也就是循环的数组和当前高亮
import Vuefrom"vue"import Vuexfrom"vuex"
Vue.use(Vuex)exportdefaultnewVuex.Store({
  state:{
    openTab:[],
    activeIndexTab:''},
  mutations:{//添加tab事件add_tabs(state, data){
      state.openTab.push(data)},//删除delete_tabs(state, name){let index=0for(let itemof state.openTab){if(item.name=== name){break}
        index++}
      state.openTab.splice(index,1)},//设置高亮tabset_active_index(state, index){
state.activeIndexTab= index},},})- html模板
<el-menu><divv-for="(item, index) in menuList":key="index"><el-menu-item:index="item.index":class="{'isActive':activeIndex == item.index}"@click="routeTo(item)"><i:class="['icon', item.name]"></i><spanslot="title">{{ item.title }}</span></el-menu-item></div></el-menu><el-tabsv-model="activeIndexTab"type="card"@tab-click="clickTab"@tab-remove="removeTab"closable><el-tab-panev-for="item of openTab"v-if="openTab.length":key="item.title":label="item.title":name="item.name"></el-tab-pane></el-tabs>- 定义data函数中要用到的属性
data(){return{
   activeIndex:"",
menuList:[{"index":"1","title":"商户资料管理","name":"meansManage"},{"index":"2","title":"商户订单管理","name":"payOrderManage"},{"index":"3","title":"商户报表管理","name":"reportManage"},]}},- 在vuex中取到el-tabs用到的属性
 computed:{openTab(){returnthis.$store.state.openTab},
activeIndexTab:{get(){returnthis.$store.state.activeIndexTab},set(val){this.$store.commit('set_active_index', val)}},},- 路由配置信息如下
{
  path:"/",
  component: frame,
  redirect:"/meansManage",
  children:[{
      path:"/meansManage",
      name:"meansManage",
      meta:{title:'商户资料管理'},component:()=>import("../components/merchantManage/meansManage/index.vue")},{
      path:"/payOrderManage",
      name:"payOrderManage",
      meta:{title:'商户订单管理'},component:()=>import("../components/merchantManage/payOrderManage/orderIndex.vue")},{
      path:'/reportManage',
      name:'reportManage',
meta:{title:'商户报表管理'},component:()=>import('../components/merchantManage/reportManage/index.vue')}]},- 随后监听路由变化在watch中
watch:{'$route'(val){let flag=falsethis.openTab.forEach(tab=>{if(val.path== tab.name){this.$store.commit('set_active_index',val.path)
         flag=truereturn}})if(!flag){this.$store.commit('add_tabs',{name: val.path, title: val.meta.title})this.$store.commit('set_active_index', val.path)}}},
上面的代码大概意思就是,如果openTab中已经存在这个路由,则直接设置高亮tab,如果不存在,则先添加路由信息到openTab中,然后再设置高亮
7. 当前页面刷新,需要保留一个tab也就是当前页的
mounted(){this.$store.commit('add_tabs',{name:this.$route.path, title:this.$route.meta.title})this.$store.commit('set_active_index',this.$route.path)}- 设置tab的点击事件
clickTab(tab){this.$router.push({path:this.activeIndexTab})},removeTab(target){//target当前被点击的name属性if(this.openTab.length==1){return}this.$store.commit('delete_tabs', target)if(this.activeIndexTab=== target){// 设置当前激活的路由if(this.openTab&&this.openTab.length>=1){this.$store.commit('set_active_index',this.openTab[this.openTab.length-1].name)this.$router.push({path:this.activeIndexTab})}}},最终完美实现想要的效果。