#实战经验
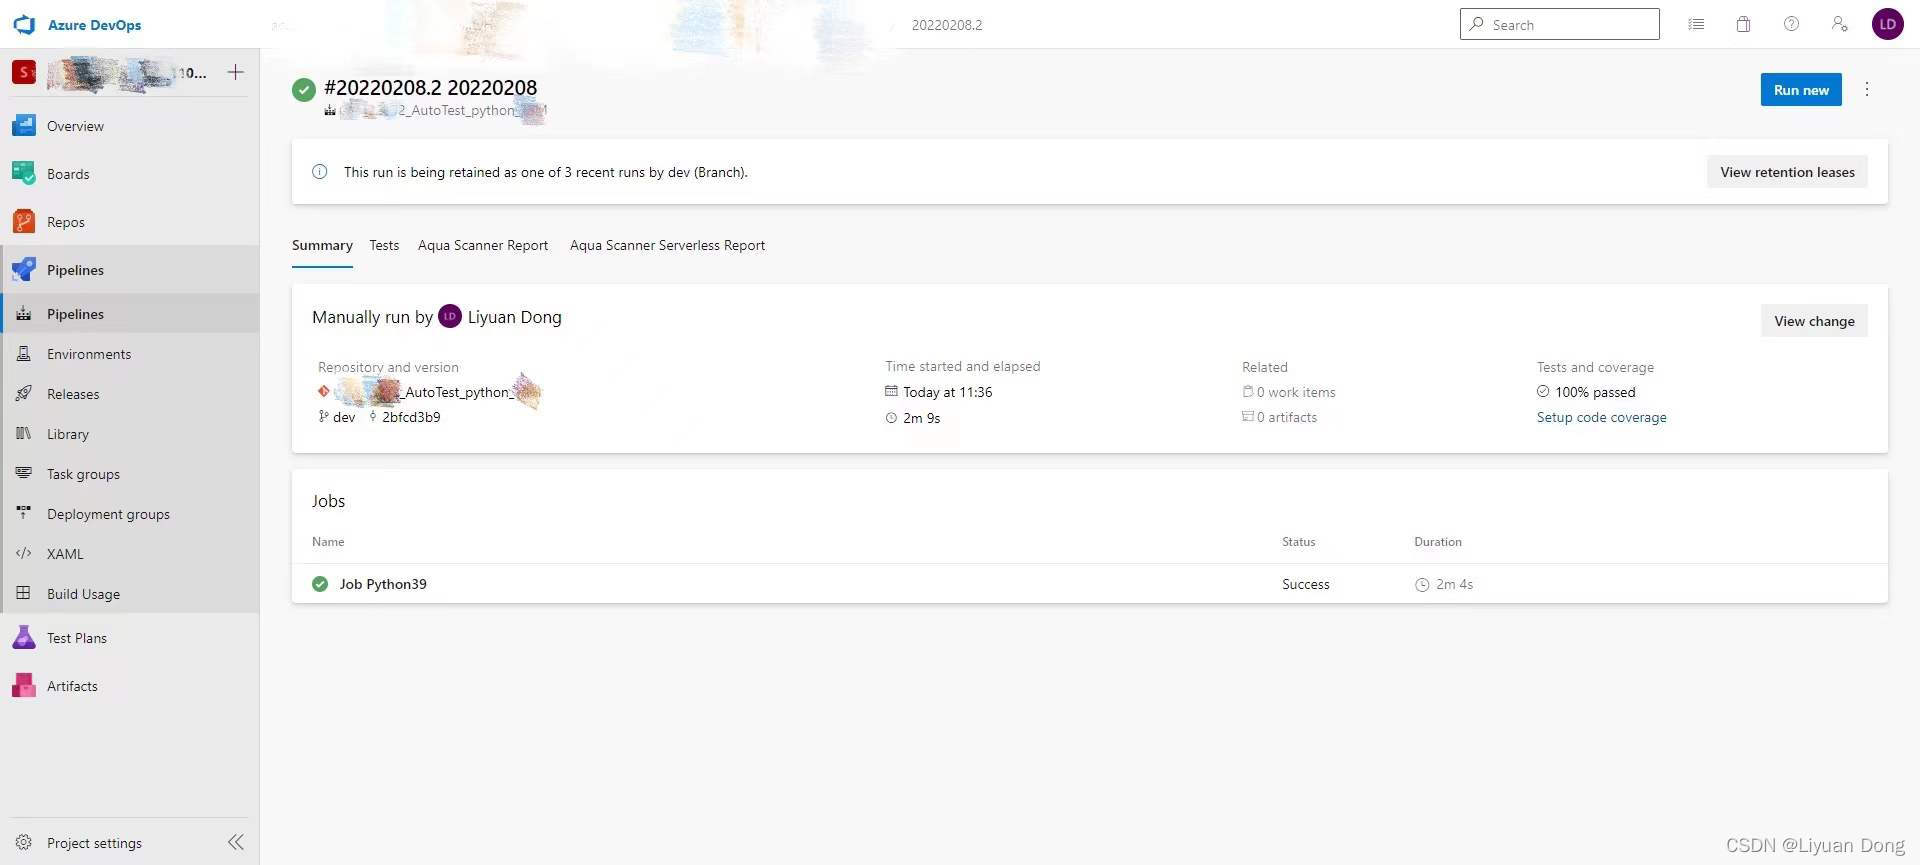
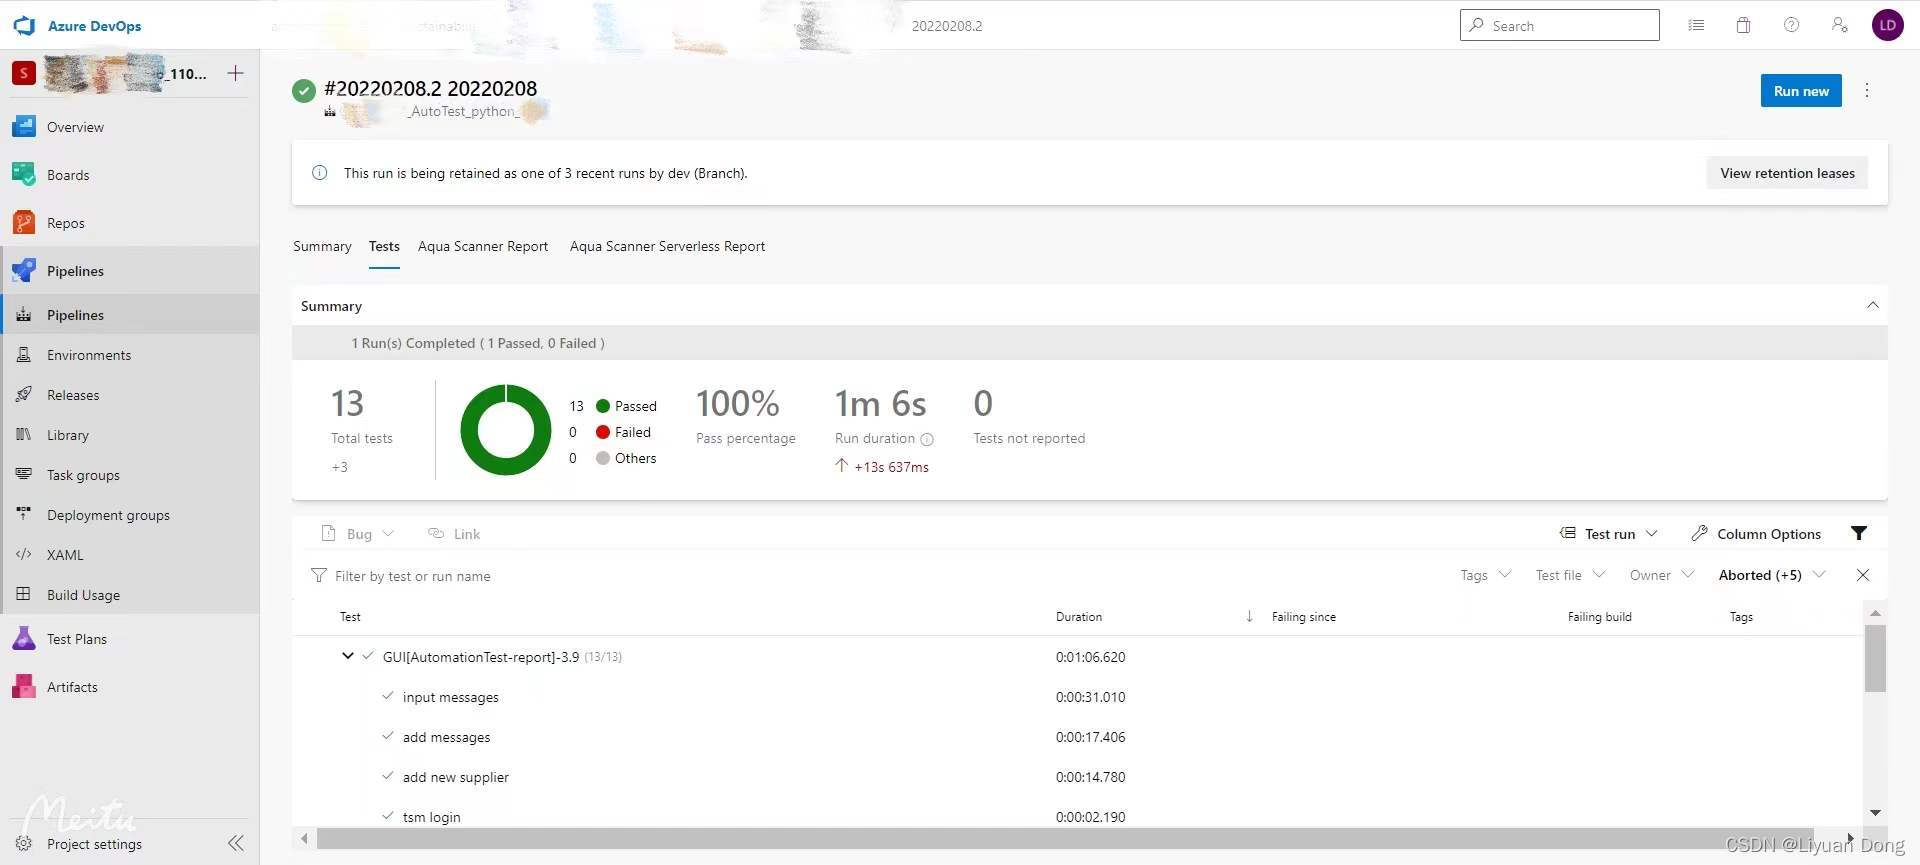
年前忙着准备版本上线,初次将Selenium+Python+BDD自动化框架在Web页面的UI自动化测试实践到Regression测试中,脚本到不多,共计1feature,4个Scenarios,13个steps,累计发现2个bug,想着应该把学到的东西总结一下,并且通过回顾,能够仔细的发现、归纳出在工作过程中出现的问题,在认识层面上理解问题的产生原因。
#自动化知识储备
- F12 console use
- Python's eight element positioning methods(ID and XPath)
- Python basic knowledge
- Behavior-Driven Development (BDD) basic knowledge(given when then)
- Chrome driver basic knowledge
- Foundation frame construction
- CI/CD basic knowledge
一、基于Python的Selenium WebDriver环境搭建
#前提条件
在使用这个框架前,你需要先安装好下边的软件/工具:
- Java JDK 1.8:来支持运行Selenium server
- Visual Studio Code:作为开发工具,也可以选择Python对应编辑器PyCharm
- VS Code Extension: Cucumber (Gherkin) Full Support:具有自动补足Gherkin代码以及将Gherkin语句跟对应的step definition相关联
- Git安装git-scm.com或者gitforwindows.org
# How to start
1. installpython
- 安装python时勾选Add python 3.9 to PATH
- 如果遇到pip需要升级的Warning提示,执行python.exe -m pip install --upgrade pip语句
2. open the cmd window and run the below
pip install nose

pip install selenium

pip install behave
3. Prepare your automated scripts
- Github Project:https://github.com/6LiyuanDong6/Selenium-Python-BDD
- 这是一个基础的项目/框架,使用Selenium,Python结合BDD进行自动化测试,使用VS Code做为开发工具
- 一个简单的demo,内容为百度输入框输入Selenium关键字点击搜索按钮的搜索功能验证
4. open the cmd window and run the below
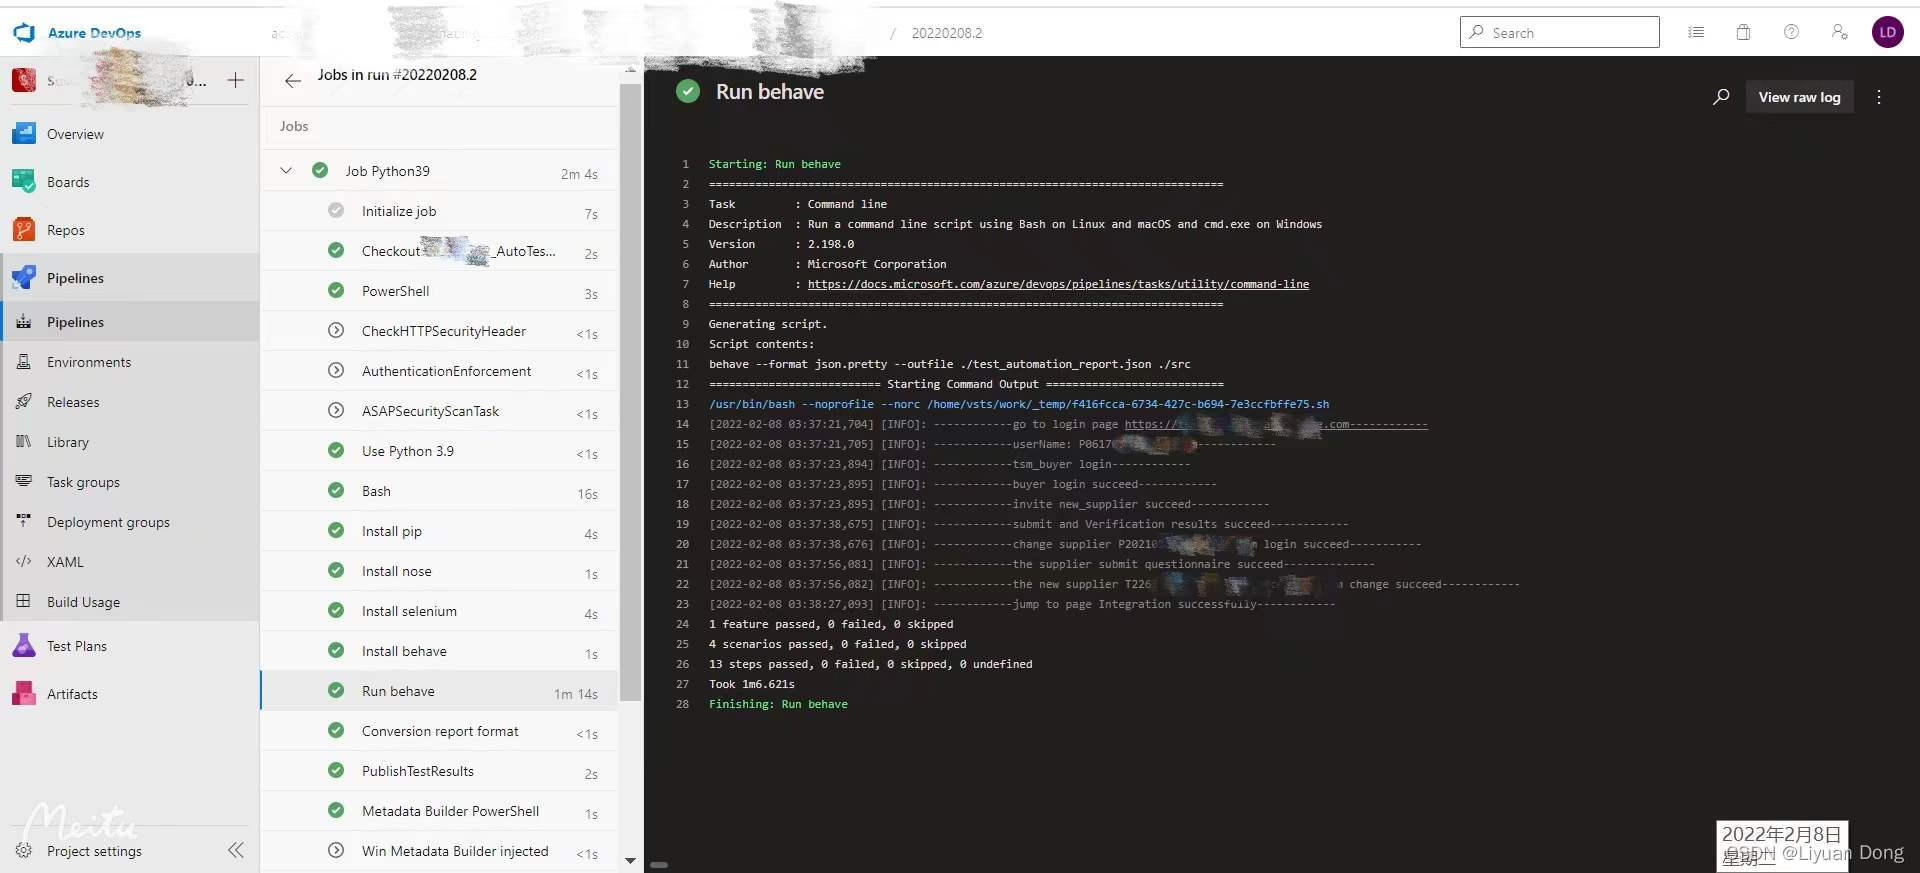
behave --format json.pretty --outfile ./test_automation_report.json ./src- 每个本地机器浏览器不一样,若提示chromedriver.exe错误,请更新浏览器驱动和浏览器一致版本
- 下载浏览器Chrome Driver,通过查看Chrome浏览器版本,选择对应的版本号
- 在windows系统中,driver是不区分32位和64位的,即下载win32.zip即可
5. 如果你对python语法或者脚本维护感到吃力,可以查看第二篇文章Selenium IDE安装录制以及本地工程维护
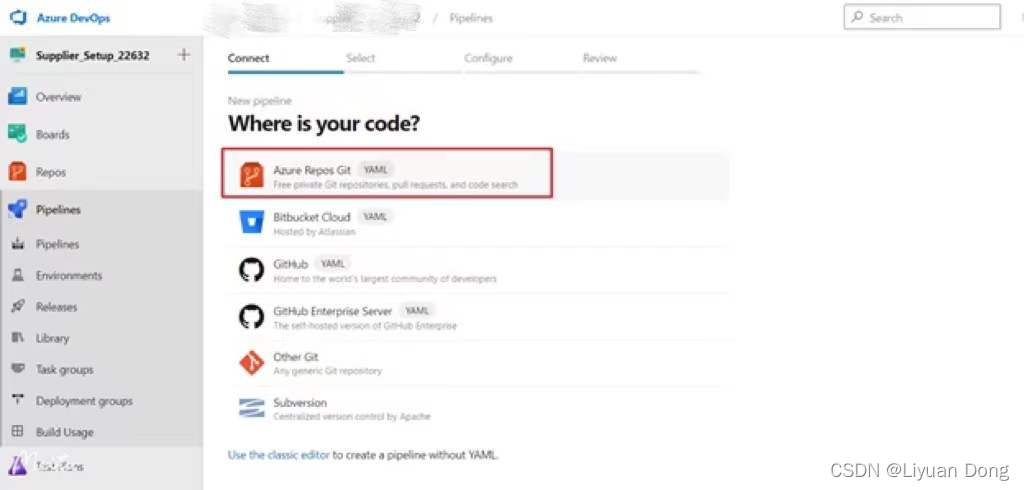
二、Azure搭建Pipeline
1. 登录Azure Devops
2. 创建存储库Repos
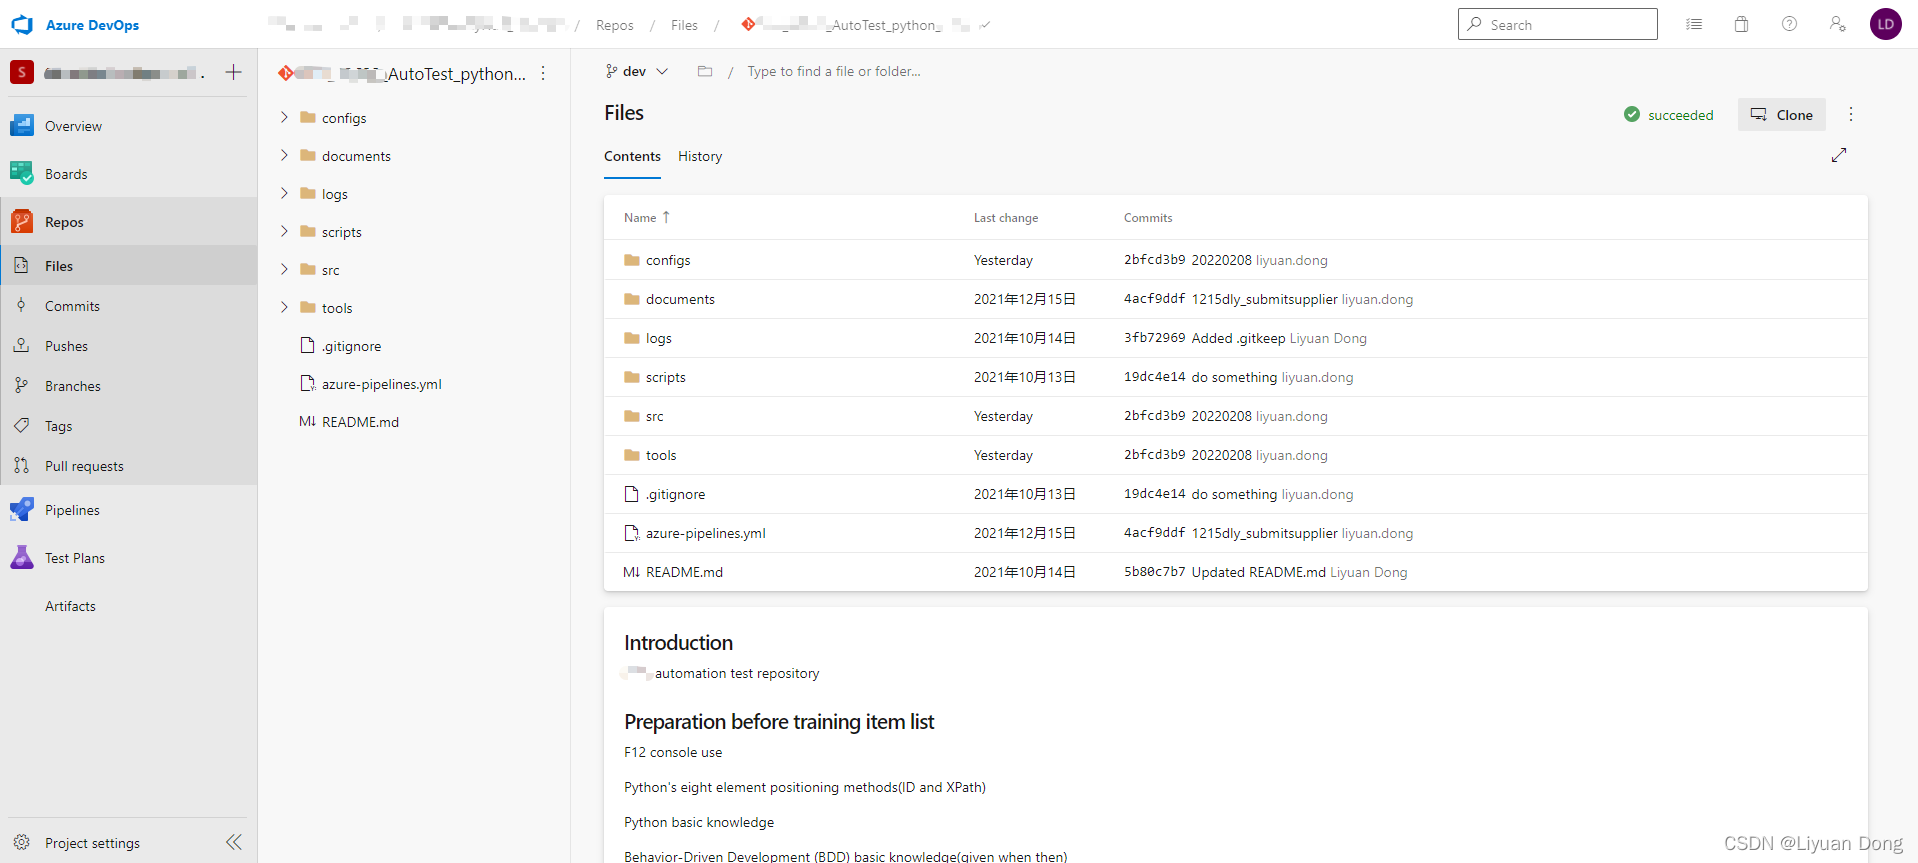
本地VS code代码跑通后可以用git方法提交到Azure Devops的Repos中
3. 创建Pipeline
4. 修改Pipeline的构建文件
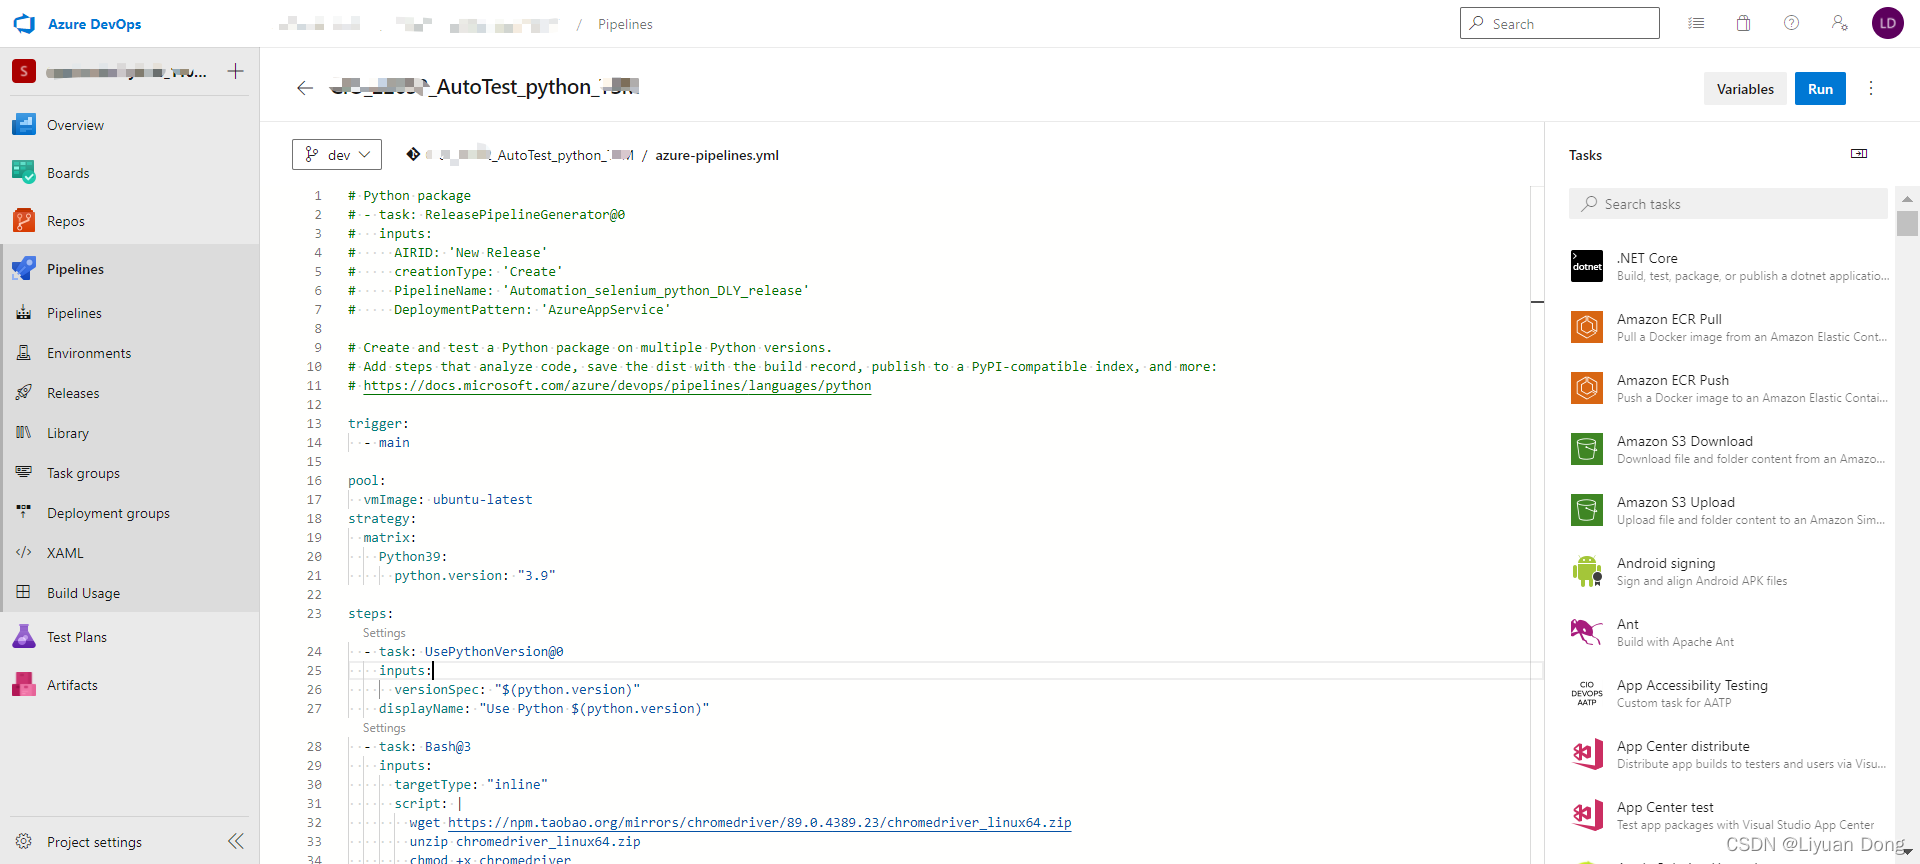
5. Run Pipeline