**
windows下 nginx的简单使用
**
1. 下载nginx
下载地址: http://nginx.org/en/download.html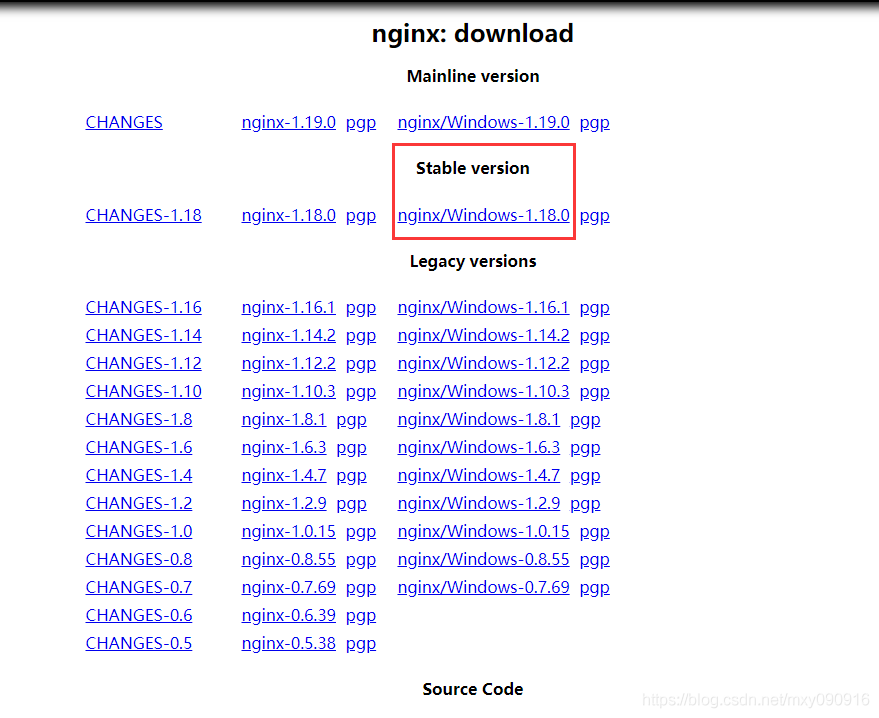
启动关闭命令
windows 环境下,启动关闭nginx服务命令:
启动: start nginx
关闭: nginx -s -stop、
将nginx做成window服务
 首先下载一个工具包:下载地址如下:
 https://github.com/winsw/winsw/releases


 根据电脑.netframework版本选择
 WinSW.NET2.exe -- 对应 netframework 2.0版本
 WinSW.NET4.exe -- 对应 netframework 4.0版本
 sample-allOptions.xml -- 完整配置文件
 sample-minimal.xml    -- 简单配置文件
做法:
 将WinSW.NET4.exe 复制到 nginx根目录下,与nginx.exe平级目录下
 将sample-minimal.xml 复制到同样的目录下
 更改WinSW.NET4.exe文件名称,例如 nginxService.exe
 更改sample-minimal.xml 文件名称,与niginxService名称一致。
 更改xml文件相关配置,配置信息如下:
<!-- 系统服务的ID--><id>nginx</id><!-- 系统服务的显示名称--><name>NginxService</name><!-- 服务描述--><description>This service is a service created from a sample configuration</description><!-- 当前指向nginx.exe的绝对路径--><executable>D:\ldw\soft\nginx-1.18.0\nginx.exe</executable>切换到 当前目录下,运行命令打成服务:
安装服务: nginxService install
卸载服务: niginService uninstall
启动服务(使用windows命令启动关闭服务)
启动:net start nginx
停止:net stop nginx- 关于反向代理的配置
对于proxy_pass的配置有几种情况需要注意:

复制代码
假设server_name为www.xxx.com
当请求http://www.xxx.com/aming/a.html的时候,以上示例分别访问的结果是
示例1:
location/aming/{
    proxy_pass http://192.168.1.10;...}

结果1:http://192.168.1.10/aming/a.html

示例2:
location/aming/{
    proxy_pass http://192.168.1.10/;...}

结果2:http://192.168.1.10/a.html

示例3:
location/aming/{
    proxy_pass http://192.168.1.10/linux/;...}
结果3:http://192.168.1.10/linux/a.html

示例4:
location/aming/{
    proxy_pass http://192.168.1.10/linux;...}

结果4:http://192.168.1.10/linuxa.html
5. 负载均衡
修改nginx.conf文件
#user  nobody;
worker_processes1;
error_log  logs/error.log;# 开启日志
pid        logs/nginx.pid;...
    upstream lyf{
    server192.168.37.220:8001; #3个tomcat服务
    server192.168.37.220:8002;
    server192.168.37.220:8003;}
    server{
        listen80;
        server_name192.168.37.220;# 监听ip
        location/{
            proxy_pass   http://lyf;  # 设置代理
            index  index.html index.htm;}}
标lyf部分要对应,名称可以自由指定.
5.1.加权负载平衡
权重越大,分发到的请求就越多
upstream lyf{
    server192.168.37.220:8001 weight=3;
    server192.168.37.220:8002;
    server192.168.37.220:8003;}
5.2.最少连接负载平衡
将新请求分发给不太繁忙的服务器,避免服务器过载
upstream lyf{
    least_conn;
    server192.168.37.220:8001;
    server192.168.37.220:8002;
    server192.168.37.220:8003;}
5.3.会话持久性
使客户端的会话“粘滞”或“持久”,也就是说用户如果第一次访问被分发到8001,那么以后请求都在8001,而不会被再次分发到其他端口
upstream lyf{
    ip_hash;
    server192.168.37.220:8001;
    server192.168.37.220:8002;
    server192.168.37.220:8003;}
5.4.访问控制
Nginx还可以对IP的访问进行控制,allow代表允许,deny代表禁止.
location/{
    deny192.168.78.1;
    allow192.168.78.0/24;
    allow10.1.1.0/16;
    allow192.168.1.0/32;
    deny all;
    proxy_pass http://lyf;}<!--
从上到下的顺序,先禁止了192.168.78.1,接下来允许了3个网段,其中包含了一个ipv6,最后未匹配的IP全部禁止访问.-->
参考网址:
https://www.cnblogs.com/linyufeng/p/9671453.html